Whether you’re a first-time player looking for directions or a veteran looking for some extra tips, this guide will help you through the very early stages of a long, grueling adventure. After over 1,000 hours of gameplay across many playthroughs and the countless times I have played through the beginning, I believe I have gathered enough knowledge to share, what I believe to be, one of the best starts you can get when playing through Fallout 3.
Opening
This overly long, in-depth guide will cover the very early-game, everything from taking your first steps as a baby in the safety of Vault 101, to leaving Megaton for the first time, ready to explore the horrors of the Wasteland. I could go on past this point and write a complete walkthrough covering everything, but I feel that this is a game where YOU choose what you want to do and that there is no definitive way to play (that and the fact that this is probably way too long already for about 30 minutes of gameplay).
As such, everything in this guide is completely optional. You can choose to follow it exactly, just a few things or nothing at all. Since this guide is so long, I added a summary of the main points for each part but I recommend reading it all if you want to know everything as it goes quite in-depth. Now, with all that out of the way, let us begin.
Vault 101

Anyone who has played Fallout 3 before should be pretty familiar with this section of the game as it is pretty linear and there aren’t a whole lot of tricks. If you’re new, or just want to know everything, there are a few things to keep note of.
This section covers:
- Gender
- S.P.E.C.I.A.L.
- Birthday Party
- G.O.A.T.
- Escape!
Gender
Summary
- Female is better

“Now let’s see, are you a boy or a girl?” The only reason it is better to play as a female is because of Black Widow, a perk that unlocks at level 2 and gives you +10% damage to the opposite sex in combat. Male characters get the same perk, renamed Lady Killer, which affects women. It is better to play as a female and take Black Widow, rather than the male variant, as the vast majority of enemies, if human, will be male. Race does not matter, so feel free to create your character however you want.
S.P.E.C.I.A.L.
Summary
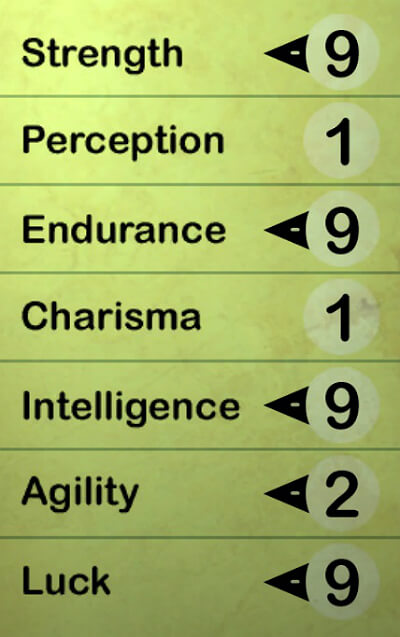
- Never put 10 points in one stat
- Endurance and Intelligence – extremely useful, almost always set to 9
- Perception and Charisma – borderline irrelevant, almost always set to 1
1 year later, after disobeying Dad and breaking free from your playpen, you will be able to choose your S.P.E.C.I.A.L. stats by reading the ‘You’re S.P.E.C.I.A.L.’ book on the floor. Either flip through each page individually or skip to the end to set your stats. Some perks in Fallout 3 have certain S.P.E.C.I.A.L. requirements to unlock but since we are focusing purely on the usefulness of each stat in general gameplay, set Perception and Charisma to 1 and Endurance and Intelligence to 9.
A higher Perception stat will increase the range that enemies are shown on the compass which is pretty much useless as you can just use your own eyes to see in the distance. The slightly more useful Charisma will give you a higher percentage to pass speech checks, giving you a small amount of XP, caps or general information. This isn’t worth the investment as they can all be easily acquired through other methods.
Endurance and Intelligence, on the other hand, are far more useful. Every point of Endurance will give you +20 HP and +2% to poison and radiation resistances so investing 9 points in this stat at the start of the game will give you a big boost. Intelligence will give you extra skill points to spend every time you level up and with only 30 levels and a bunch of skills to increase, you will want as many as you can get.
Never put 10 points into a single S.P.E.C.I.A.L. stat as you will find bobbleheads later in the game that can boost each stat by 1. If you put 10 points into a stat now and find a bobblehead of the same stat later, the bonus from the bobblehead will end up being wasted.
Luck is a solid stat to invest points in as it will increase the chance of critical hits as well as increasing all skills by a few points. Strength is the better stat to max out, compared to Agility, as it increases your carrying capacity and damage with melee weapons, whereas Agility increases your Action Points.
All stats will affect the starting number of the corresponding skill, for example, Strength raises Unarmed and Melee Weapons, Perception raises Energy Weapons and Lockpick and so on. It is best to ignore this as you can always raise those skills later by leveling up while still having the unique bonuses from the S.P.E.C.I.A.L. stat. Below is my preferred build when making a new character:
Birthday Party
Summary
- Save comic book until you take Comprehension
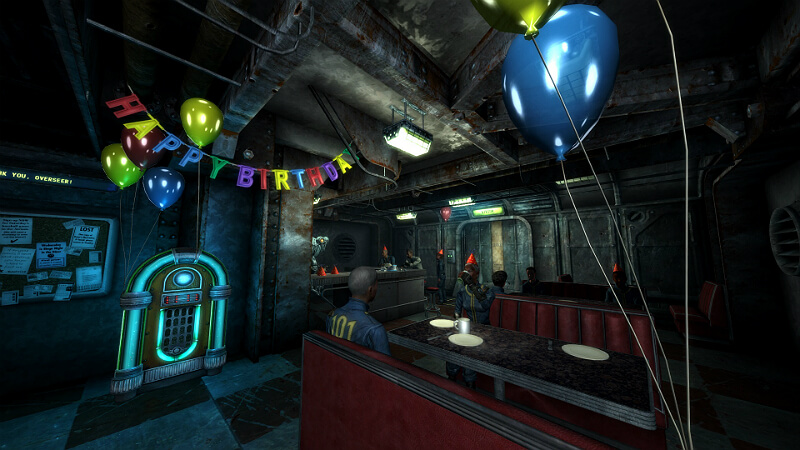
This sequence is the most linear and as such, there isn’t much to say here. The main thing would be to not read the Grognak the Barbarian comic book Amata gives you. Reading skill books in Fallout 3 will grant you +1 to the corresponding skill, in this case, Melee Weapons.
The Comprehension perk that unlocks at level 4 will allow you to gain an extra point when reading skill books, bringing the total to +2 for every book read so, with this perk and hundreds of books to find in the Wasteland, you can gain a lot of skill points as well as leveling up. Instead of reading the comic book straight away, save it until you take this perk later.
Once you get the word from Dad to go and look for Jonas for your surprise present, you can skip the interaction with Beatrice and her disturbing poem by hugging the wall on the left and running down to the reactor.
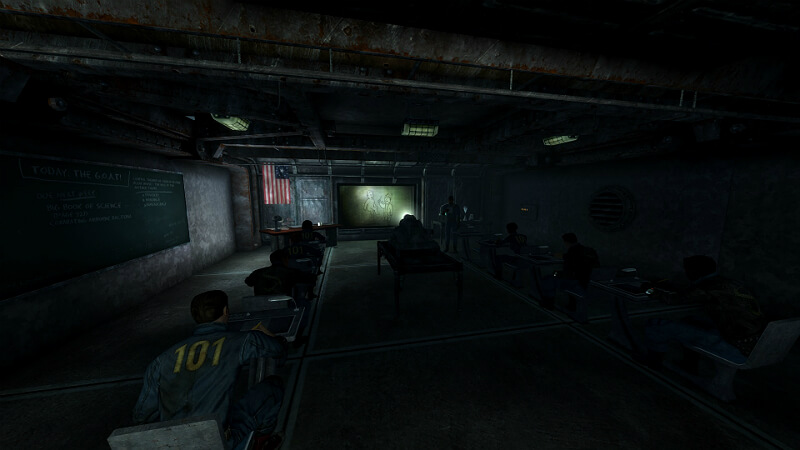
G.O.A.T.
Summary
- Tagging at least one combat and support-like skill is important
- Barter and Speech are the worst skills
- Explosives 25 and Repair 30 for Megaton
After your Dad tells you about the G.O.A.T., be sure to look down on his desk and grab the Medicine Bobblehead, permanently raising your Medicine skill by 10 points.
On your way to class, you’ll see Butch and his gang bullying Amata. Pay him a visit and swing your fists at him a few times until he backs off and wanders into class. You will gain Karma by doing this which will effectively cancel out the Karma that will be lost shortly. Apart from companions who have certain Karma requirements to convince them to join you on your travels, Karma isn’t all that important.
Upon entering the classroom yourself, you’ll be greeted by Mr. Brotch. If this is your first time playing Fallout 3, you’ll most likely want to take the test as it is quite enjoyable the first time. If you’ve already taken it too many times before, you can skip the test by saying;
Come on. I don’t really have to take this stupid test, do I?
Cool. Let me see the results and I’ll fill it out myself.
Whichever option you decide to take, you will be brought to a screen where you can choose your tagged skills. When you tag a skill, it will raise it by 15 points. Tag at least one combat skill such as Big Guns or Energy Weapons, depending on what you want to use. Also tag at least one supportive skill, such as Medicine or Repair. If you have one tag left, you can choose another skill based on the playstyle you want to play.
Make sure Explosives is at least 25 and Repair, 30. You’ll need these once you get to Megaton as there are 2 quests you can finish instantly. If you don’t tag these skills and get them up now, you will need to do so when you level up. If you’re not sure you’ll get these skills up from the next level, tag them now and, once you do level up, you can focus putting points into these two skills before working on others. Explosives 25 and Repair 30 are optional as you can always raise them later and go back to finish the quests in Megaton but for the sake of this guide, and getting the best start, you will want to complete them straight away for their rewards.
I choose to tag Medicine, Repair and Small Guns as these are the of the most important and useful skills, especially early-game. Medicine will increase the HP gain from Stimpaks as well as the Radiation cured from Rad-Away. Repair will allow you to repair items up to a higher percentage, this is useful as many times you find weapons they will be in low condition, dealing less damage and jamming more frequently. The more weapons and armour you find, the more you can use them to repair your current equipment, allowing you to deal the most damage and have the highest damage resistance. Small Guns is the best combat skill, at least to start out with, as you will find plenty of weapons and ammo throughout the game that are affected by this skill.
With these skills tagged, as well as my S.P.E.C.I.A.L. stats, my total starting skill points are:

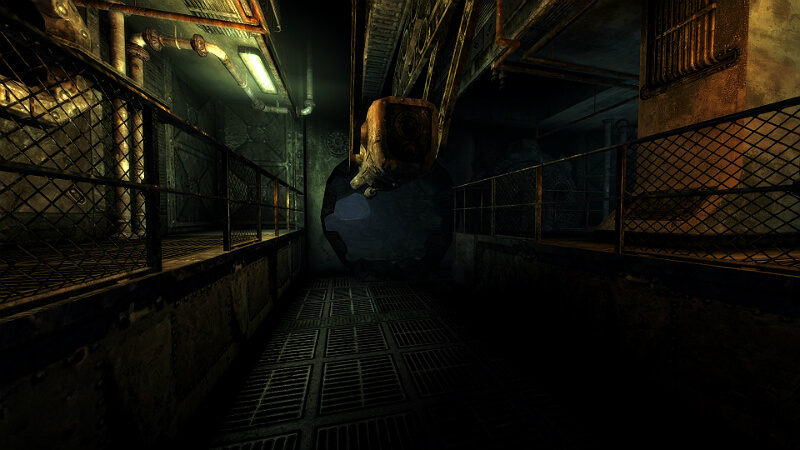
Escape!
Summary
- Kill all Radroaches with fists to save ammo and bat condition
- Only use pistol when enemy has one
- ‘Take all’ when looting bodies, desks, lockers etc.
This is where the game starts to get interesting. Amata will wake you from your sleep and tell you your Dad has somehow left the vault and the whole place is going crazy. After a brief conversation about this, she will tell you she has a plan to get you out to search for your Dad. Go along with her plan and she will give you some Bobby Pins to aid your escape. After this, she will tell you she stole her Father’s pistol and insists you take it. Choose the first answer to take the pistol and ammo to use later.
After being given control, go straight to the desk and take everything on it, as well as everything in the first aid kit to the left and the dresser to the right. Running out of your room to the right, you will see Officer Kendall fighting some Radroaches. Kill Kendall with your bat (to save ammo) and the roaches with your fists (to keep your bat at full condition), then loot them all and take everything. Make sure to equip Kendall’s security armour and helmet.
Continue down the hallway and you’ll run into Butch who pleads for you to help his Mother being attacked by Radroaches. Since we’re going to kill them both anyway, it doesn’t matter whether you choose to ‘help’ him or not. After the dialog, kill Butch, kill his Mum and kill the roaches, then loot them all and take everything on them, as well as the bottles of vodka lying on the ground.
Moving along, you will pass the diner. Ignoring Grandma Sparkles, go in and kill the Radroaches and loot their meat, then back out and continue up the stairs where you’ll run into Officer Gomez. Considering Gomez is one of the nicer guards of Vault 101 and lets you go about your business, you can choose to do the same for him or kill him anyway for his armour and baton.
You might have heard Andy in the background by now, dealing with more roaches. Run over to him and kill the rest of them. Ignoring the room to the left, continue forward to the Atrium. You will see Mary and Tom Holden run to the door leading to the vault entrance, where they get gunned down by the two guards. Equip the Overseer’s 10mm pistol and use it to kill Officer O’Brian and Richards and take their gear. Follow the stairs to the upper level, killing and looting the Radroaches along the way.
You will end up in the systems room. Kill the roaches and loot Floyd Lewis, the toolbox next to him and the Radroaches. Moving into Admin, kill and loot the patrolling Security Chief Hannon, then open the door to where the Overseer and Officer Mack have Amata hostage. Officer Mack will attack you on sight so deal with him first. You can choose whether or not to kill the Overseer for the few Stimpaks he has. Being her Father, Amata will obviously not be pleased if you do so. To get the key and password to his terminal without killing him, choose this dialogue tree:
Just give me the keys to your office and your password. Then I’ll be going.
Amata trust me. If you don’t give me what I want. I’ll hurt her. Bad.
After you decide what to do with the Overseer, loot the four lockers and two desks in the room for a bunch of pistol ammo, more armour, and a few valuables. Because each armour weighs 15 and will be taking up most of your inventory space, you may be over encumbered by now. You can solve this by either leaving it behind, repairing it for slightly better condition or dropping some items with a low value-weight ratio to make room.
In the Overseer’s office, loot Jonas and the two desks beside him, then go through the door to the left. There will be two rooms to go through here, loot the Bobby Pins from one and the 10mm pistol ammo from both dressers in each room, then use the Overseer’s Office Key to unlock the main quarters. Loot the locker on the right for a stack of pistol ammo and other valuables and use the terminal to open the secret tunnel.
You should then make it to the Vault’s main entrance and be able to use the control panel to open the Vault’s door to the outside. Once pulling the lever, the giant, steel door of Vault 101 will slide open. Once this happens, the door across the room will open and the last two security guards will chase after you. You can choose whether or not to kill them, if you have enough inventory space to loot them. If you stand outside the vault door, they won’t chase you and will instead cower away.
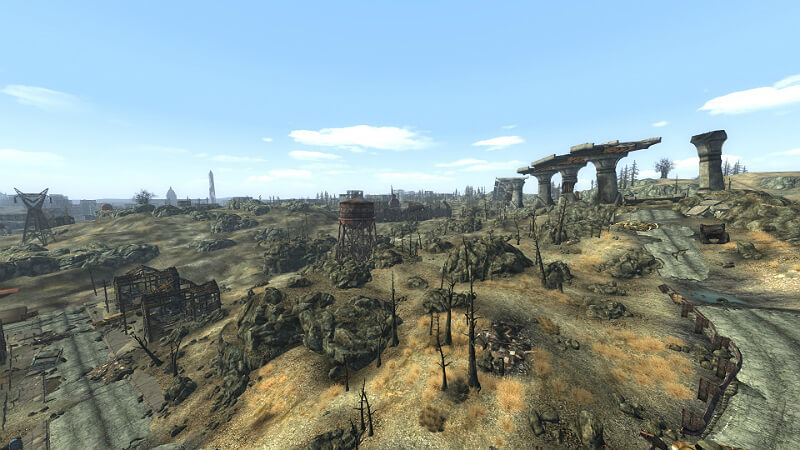
After you deal with the guards and say your goodbyes to Amata, you will finally be able to take your first ever steps outside the Vault, into the Capital Wasteland. At this point, the ‘tutorial’ is finished and the game really starts, so now is the time to revise your character and if you want, make any changes to your name, race, gender, S.P.E.C.I.A.L. stats or tag skills.
Springvale
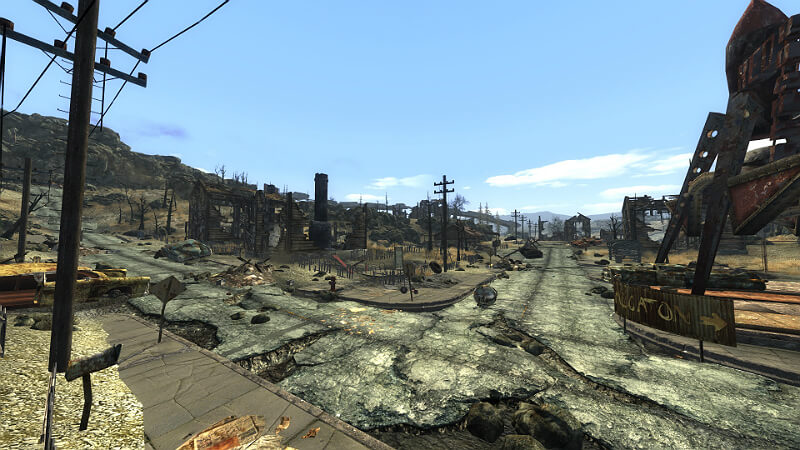
This is where the tutorial ends and the real game begins. From this point on, you are set free in the Wasteland and are able to do what you please. The first stop is Springvale where there are a number of things to do before heading to Megaton.
This section covers:
- Welcome to Level 2
- Springvale loot run
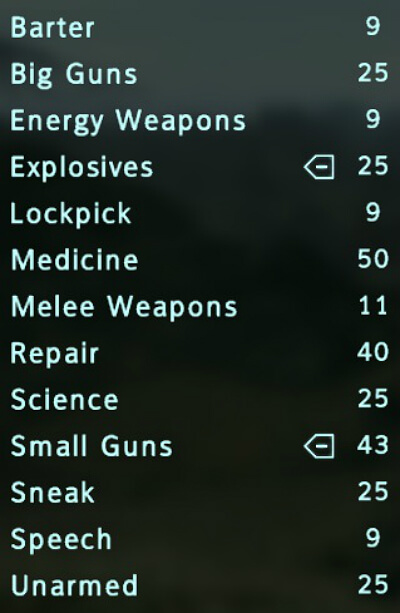
Welcome to Level 2
Summary
- At least Explosives 25, Repair 30
- Black Widow/Intense Training
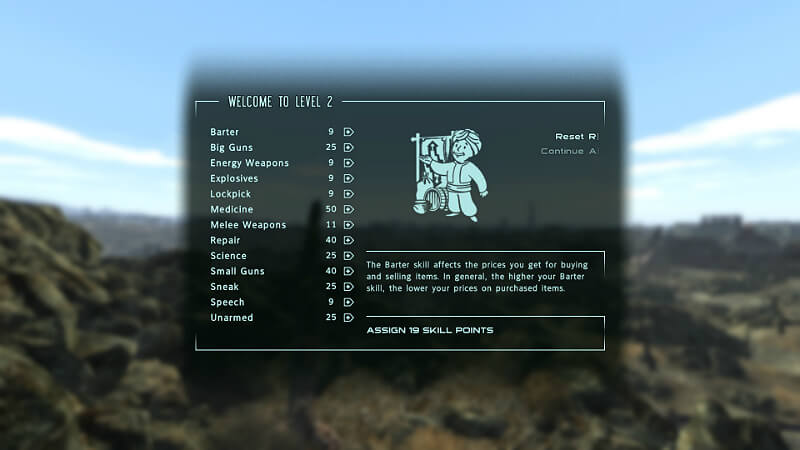
After losing your vision from the blinding sun and catching a short glimpse of the Wasteland for the first time, you will be interrupted by the level up screen. Firstly, make sure you get Explosives up to 25 and Repair to 30. If you have any remaining points left, you can choose which main skills you want to train first, some good picks being Small Guns, Medicine and Repair. I put a bunch of points into Explosives, bringing it to 25 and the rest into Small Guns, since my Medicine skill was already pretty high. Small Guns is a great skill to start off with as you will be finding and using a lot of weapons that are affected by this skill.
For your perk choice, you should either take Black Widow or Intense Training. As stated in the beginning of this guide, Black Widow will give you +10% damage against male opponents (only if you’re playing as a female) in combat. Since we’re not going to engage in combat anymore until around level 4, you can choose Intense Training if you want, raising any S.P.E.C.I.A.L. attribute by one point. If you do, put the point into whichever stat you put the remaining point into which, if you’re following this guide, is the stat that doesn’t have 1 or 9 points. If you’re playing a male character, choose Intense Training as the Lady Killer variant of Black Widow is not nearly as useful. If you’re playing a female character, it doesn’t matter which perk you choose for level 2 as you’ll choose the other at level 3.


Springvale Loot Run
Summary
- Loot mailboxes, cabinets, safe, Vending Machine
- Discover Springvale + School
- Deal with Silver
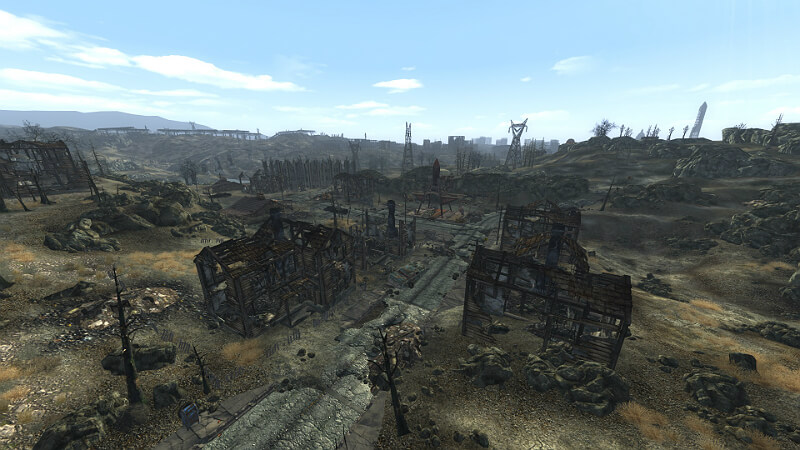
Once you’ve finished leveling up it’s time to really start your adventure. Some people might go directly to Megaton from here as it’s the next target on your quest, but instead, head straight down the cliff face, using the rocks as steps and continue further east, down the road. This is Springvale, a little abandoned town, populated only by the Enclave Eyebot roaming the streets and the raiders that have taken over the school.
You will need to have at least a little inventory space to loot the valuables in Springvale so if you want you could head to Megaton briefly and sell anything you don’t need or store your belongings in the nearest container and come back for them later. Once you have enough space and are ready to start looting, refer to the map below for all the points of interest in Springvale as well as their explanation:
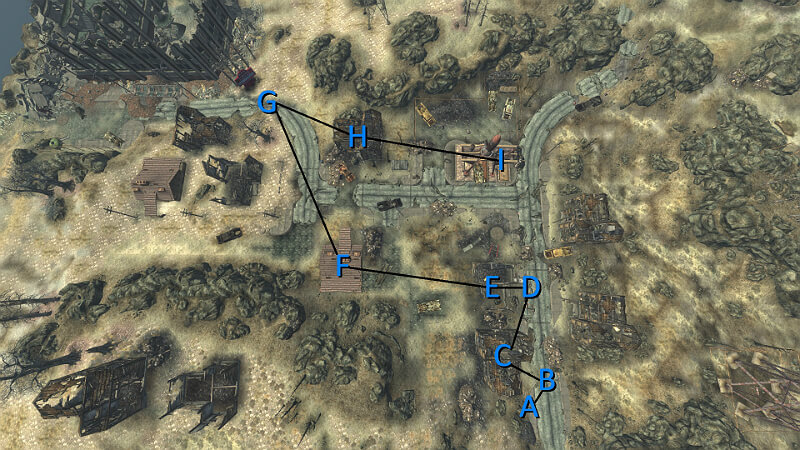
A – Mailbox
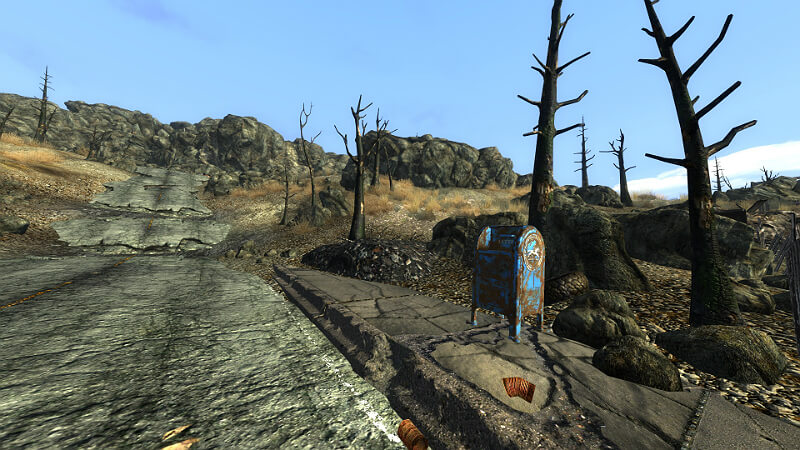
You should see this mailbox on your way into Springvale, down the road. It will always have some frag grenades and chems for you to loot.
B – Springvale
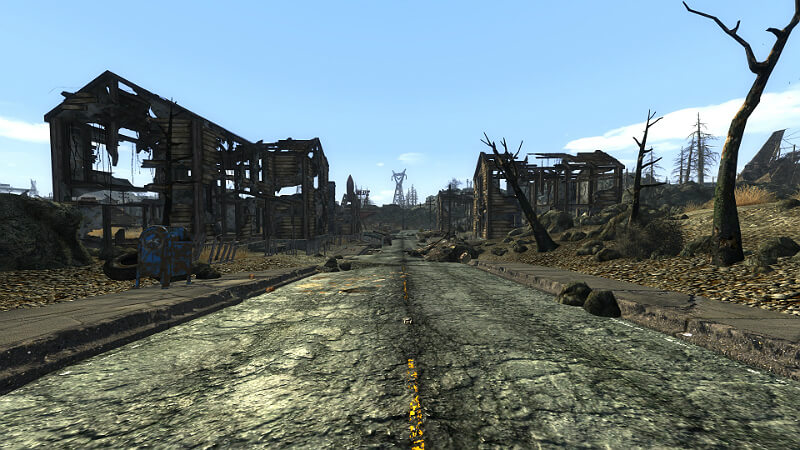
Walk on the road, past the mailbox, and you should discover Springvale. This will mark it on your map, allowing you to fast travel here from anywhere in the Wasteland as well as giving you 10 XP.
C – Cabinet
The first house on the left, right next to the mailbox, will have a cabinet leaning against the destroyed wall with a few bobby pins inside.
D – Mailbox
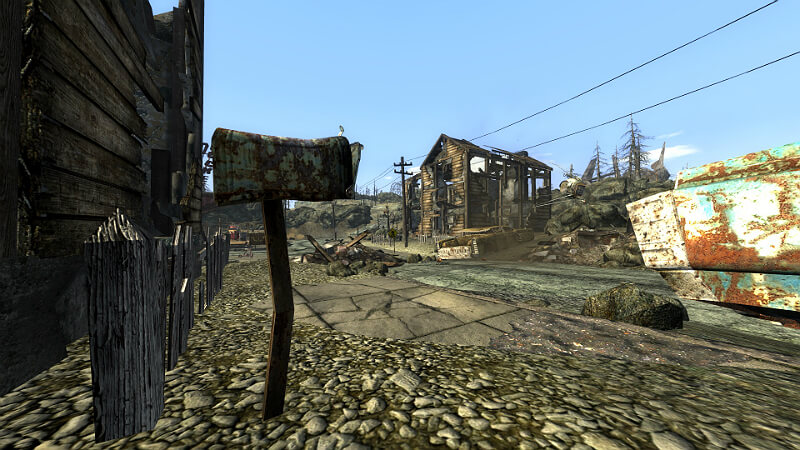
In front of the next house along is this mailbox. A copy of Pilgrim Illustrated, which will raise the Unarmed skill, will always spawn here. Put it with your copy of Grognak the Barbarian and save it for when you take Comprehension.
E – Safe
The house behind the mailbox you just looted will have a locked safe. Picking it open will give you some XP and inside will be a few chems, ammo and other valuable items.
F- Silver’s House
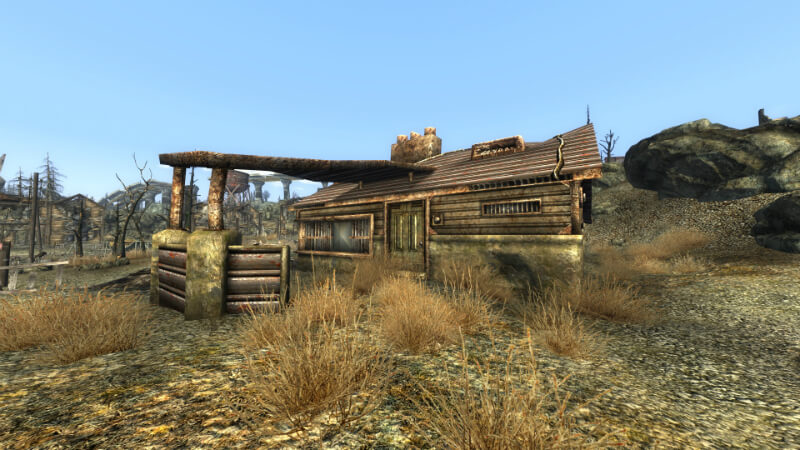
A short ways to the north of the safe is Silver’s house, a runaway junkie who used to work for Moriarty at his saloon in Megaton. Moriarty says Silver owes him some caps and she just so happens to be carrying them on her. When she talks to you, respond by saying:
You’d better calm down, before I put you down.
This will turn Silver hostile and let you kill her without losing Karma, so take her out and loot her for her 400 caps, various chems, and other items. In her house are some more valuables to loot. A bottle of purified water in a wooden crate in the kitchen and, on the other side of the room, a first aid kit and some scrap metal underneath it. The scrap metal will be useful once you get to Megaton.
In the other room there is a cabinet with some bobby pins, some ammo on the floor below as well as some Psycho, Jet and a carton of cigarettes near her bed. After you’ve ransacked Silver’s place, you can step outside and make your way to the school.
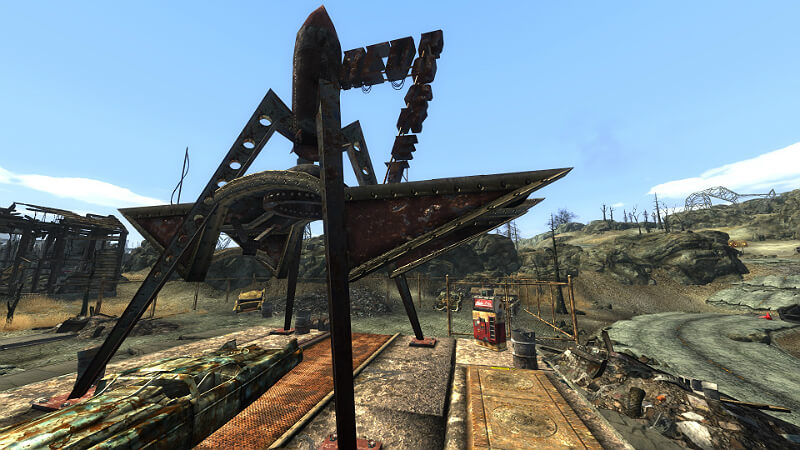
G – Springvale School
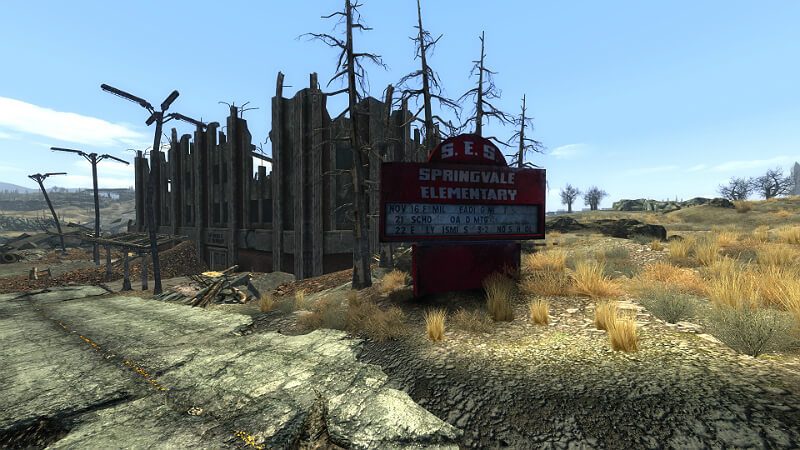
East-northeast of Silver’s is the Springvale School, overrun by raiders. All you want to do here is walk up to the big, red sign which will trigger the school’s location to discover, giving you a free 10 XP.
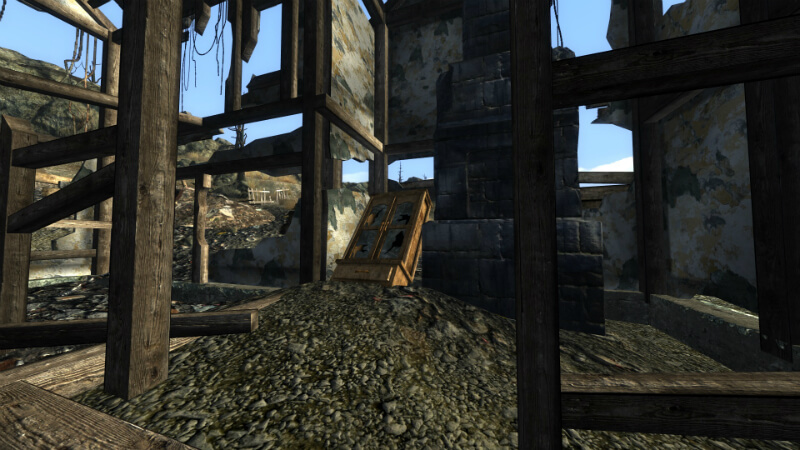
H – Cabinet
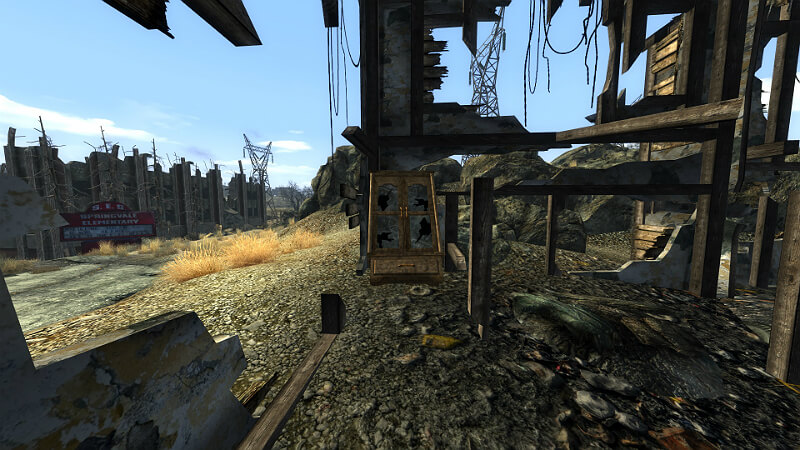
Turning around and looking back from the school’s sign, you will see a house to the south-southwest. Leaning against the back wall will be another locked cabinet to loot for more bobby pins, as well as the XP for unlocking it.
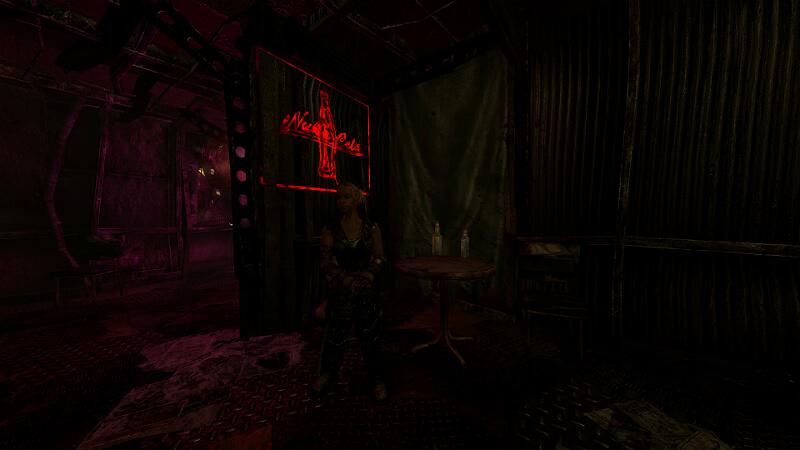
I – Vending Machine
Continuing through the broken house walls to the south will be a Red Rocket stop. Below the giant, red rocket will be a Nuka Cola vending machine with some Nuka Cola’s inside, useful for either selling or for the Nuka Cola Challenge quest later on in the game.
The fastest way to complete this is to go down the list from A-I. Here is a simple video showcasing this route and how you can run it quickly and efficiently:
With that, the Springvale loot run is complete and you never have to come back again, unless you want to take over the school from the raiders once you have better gear. Anyway, you’ll be able to see Megaton in the distance, directly south, so gather up your haul and head up the road towards it.
Megaton
Megaton will most likely be the first civilized town you come across in your journey through the Wastes. In this guide, it’s both the first and the last as there are several quests as well as trading to do in Megaton before this guide is finished.
This section covers:
- The Power of the Atom
- The Wasteland Survival Guide
- Trading
- Treatment
- Following in his Footsteps
- Blood Ties
- Hidden Stash
The Power of the Atom
Summary
- Burke kills Simms, you kill Burke
- Strength bobblehead
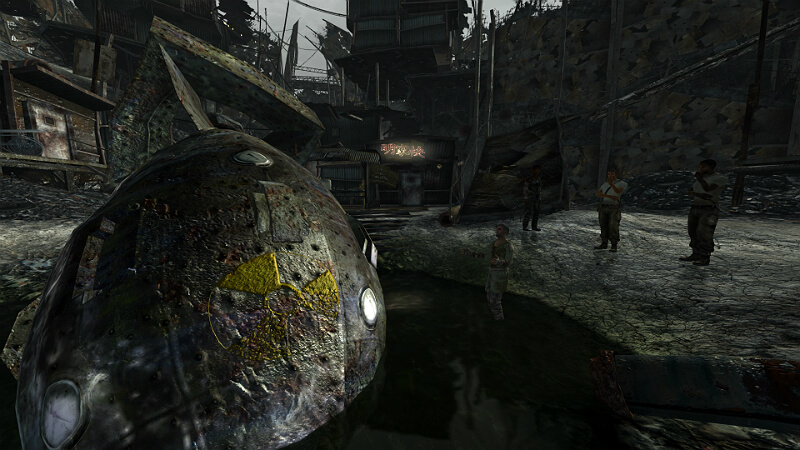
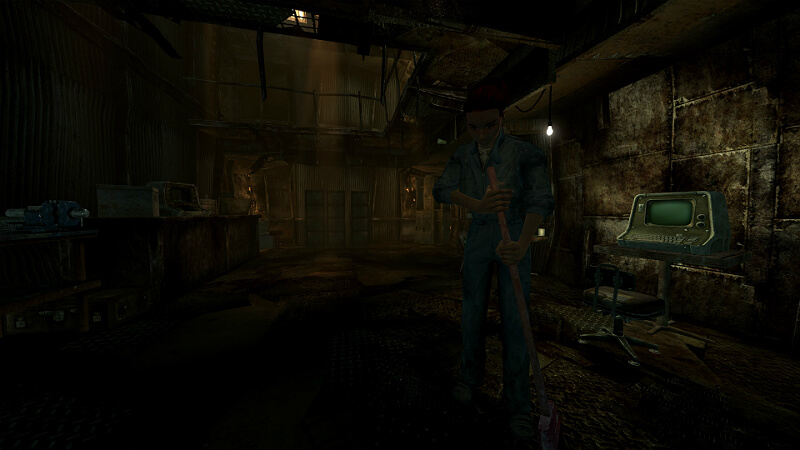
Upon entering through the jet-powered walls of Megaton, you will be greeted by Lucas Simms. The town sheriff and mayor too, when the need arises. Ask him about the giant atomic bomb in the middle of town, accept the bounty of 100 caps to disarm it and you will start the quest The Power of the Atom. If you’re in desperate need of dropping off items to be able to run again, you might want to skip to the trading section and then come back to this after.
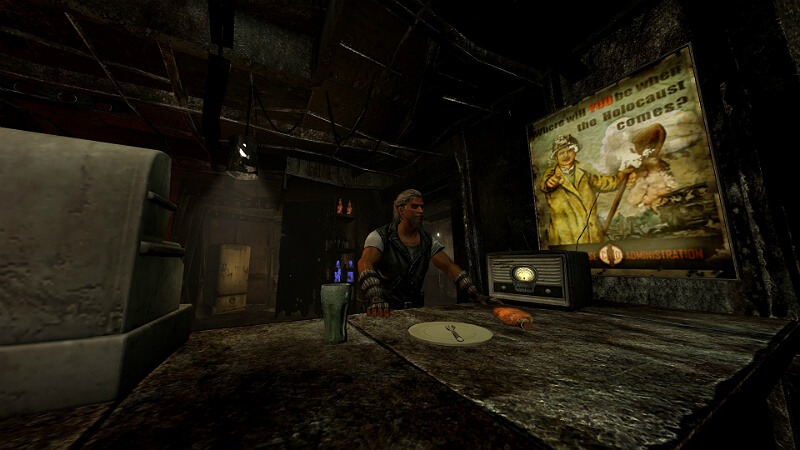
Instead of going to disarm the bomb right away, instead head up to Moriarty’s Saloon. As soon as you enter, look to the right and you will see a man in a grey suit beckoning you over. He will tell you about his plan to detonate the atomic bomb in the middle of town, wiping Megaton off the map. You will be paid 500 caps to rig the bomb to explode and an additional 500 with Black Widow.
While this might sound like a lot early-game, money is much easier to come by later on and blowing up Megaton will completely destroy everything, meaning no more quests, shops or anything else. Because of these two reasons it is best to disarm the bomb and accept the 100 caps from Simms. You could, however, do everything at Megaton and then blow it up, getting all the rewards from the quests as well as the 1,000 cap reward from Burke. Doing this will require you to at least finish the Blood Ties quest so for the sake of this guide, as the quest is fairly long, we will instead just decline Burke’s offer.
After doing so, head out back to Lucas Simms who will be wandering somewhere around the entrance to town. Tell him about Burke and his plan and he will tell you to follow him to watch some wasteland justice. Do so and enter Moriarty’s Saloon together where Simms will walk over to Burke to arrest him, who will eventually give in and follow him to jail. Before they can make it out the door, Burke will pull out his pistol and kill Simms. Wait for this to happen and then kill Burke, this way you can loot both bodies without consequences. The Sheriff will have a Chinese Assault Rifle for you to take, one of the best weapons early-mid game.
Now you’ll need to actually complete the quest so head outside, down to the atomic bomb and defuse it with your 25 Explosives skill. Since Lucas Simms was killed, you will need to find his son, Harden Simms, who will give you your reward, 100 caps as well as the key and deed to your own house in the city. Also, because the Sheriff died, his house will be unlocked, so head to the entrance of town and head inside the first house on the right. Up the stairs and through the door to the left will be the Strength bobblehead. Pick this up to permanently gain +1 point to your Strength stat.
Once the quest is complete, you should get enough XP to level up. Continuing to dump all the skill points into Small Guns or Medicine until they’re maxed is good early on. For the perk, take whichever perk you didn’t take at level 2. If you took Intense Training, take Black Widow and vice versa. If you’re playing a male character, take another point of Intense Training, adding +1 to the same stat you did at level 2.
Notable Loot
Summary
- Skill book
- Locked safe
- Armory
There is some extra notable loot in Megaton that can be found and used or sold, however, most require a certain Lockpick skill.
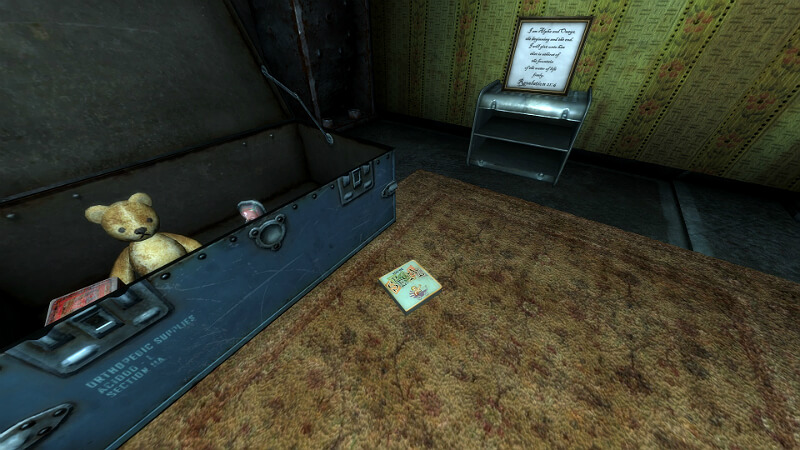
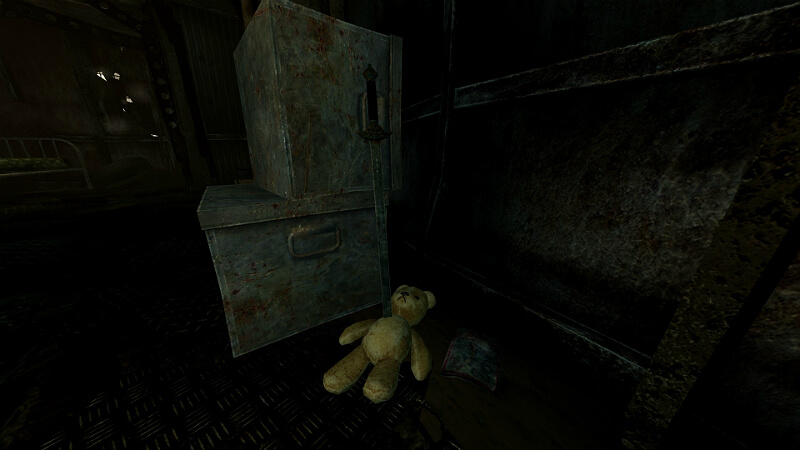
In Jericho’s house, just southeast of yours, is another copy of Grognak the Barbarian. It’s on the right as you enter, next to a teddy bear being stabbed by a Chinese officer’s sword.
Billy Creel’s house, just east of the Saloon, is locked requiring a skill of 25 to open. Inside and across from the entrance is a very hard locked floor safe, under a traffic cone and next to the fridge, which requires a skill of 100 to pick. There are also 4 Pre-War books, 3 to the right of the entrance and 1 upstairs. These will be useful to trade to the Brotherhood of Steel for 100 caps each, later in the game.
Directly below the Saloon is Megaton’s Armoury. With a Lockpick skill of 100, you can unlock the door and access the loot inside. Upon entering Deputy Steel, the Mister Gutsy guard, will become hostile and attack you. After taking him out, you can loot the abundance of guns on the table and around the room, as well as the rest of the loot.
The Wasteland Survival Guide
Summary
- Start quest
- Gain 600 rads
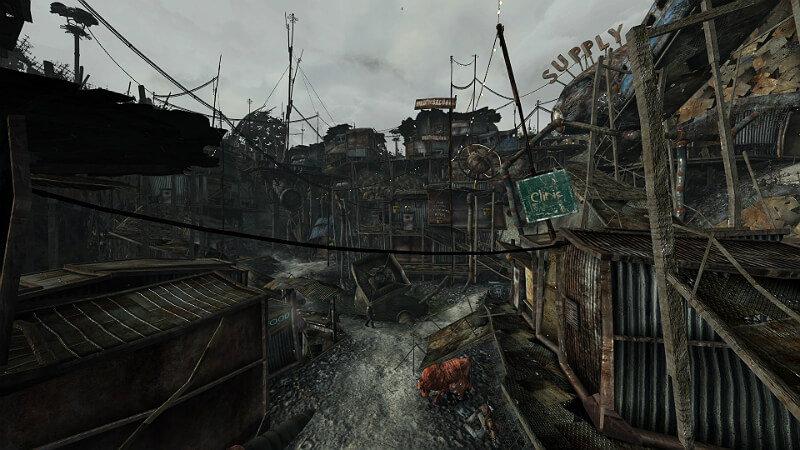
At the entrance of town, head straight down the steps and right, up the scaffolding just before the clinic sign. At the top is Craterside Supply, run by Moira Brown. Upon entering and talking to her, she will tell you about a book she’s been wanting to work on that you could help with. Agree to help after you’ve asked more about it and this will start The Wasteland Survival Guide, the longest quest in the game.
There are three chapters to Moira’s book, each chapter having three different tasks for you to work on. After being asked what task you want to do first, respond by saying;
What’s this about radiation?
This task can be done right here in Megaton, so head outside, down near the atom bomb. Stand in the irradiated water and drink it at the same time. This will get your rads up to 600 and complete the optional objective in no time. The optional objectives for this quest will give you more loot from Moira once turning them in, so make sure to do them.
After being diagnosed with critical radiation poisoning, run back to Moira who will conduct some tests before curing your sickness. For completing this task in the chapter, she will give you some RadAway and Rad-X and, for completing the optional objective, you will be granted the Rad Regeneration perk. With this perk, crippled limbs will regenerate when you have 400 rads or more.
Now that you’ve finished the first task of chapter one, Moira will ask you which one you want to work on next. Choose getting food at the Super Duper Mart as it’s closer than the task in Minefield.
Trading
Summary
- Sell useless items
- Buy useful items
- Store items in house
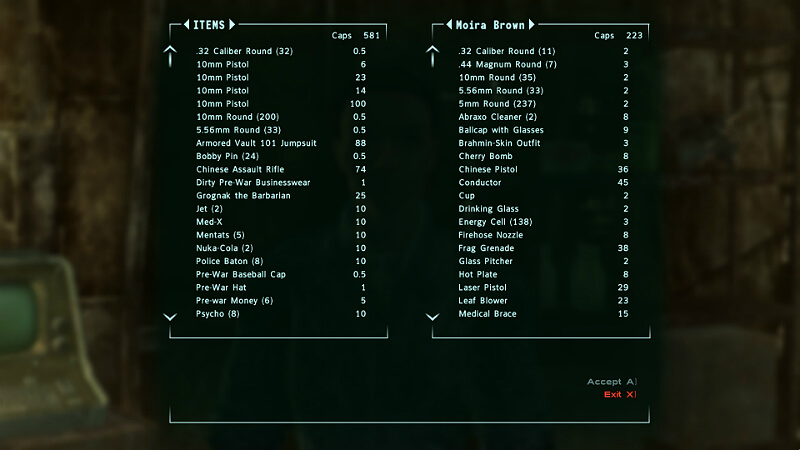
By now you should definitely be struggling to carry the abundance of loot you’ve acquired so far and, since Moira is also the town’s general trader, now is the time to sell everything you don’t need and buy things you do. After talking to Moira about The Wasteland Survival Guide, ask her if she has anything for sale. The barter menu will open and from here you can sell most of the items you have.
Items you will want to keep:
- Chinese assault rifle and 5.56 ammo
- 10mm pistol and ammo
- Bobby pins
- Stimpaks
- Nuka Colas and Nuka Cola Quantums
You can sell everything else that is useless, like Vault 101 security armour, chems, food, water, and other miscellaneous junk. Since chems weigh 0, have high value and are not necessary to playthrough the game, they make good selling items for extra caps. Also, since you never need food or water and they heal you for very little HP, you may as well sell any that you’ve picked up along the way.
Nuka Cola and Nuka Cola Quantum will become extremely useful once you get The Nuka Cola Challenge quest, requiring you to find 30 bottles of Nuka Cola Quantum. At level 22 and with a Science skill of 75, the perk Quantum Chemist will convert 10 bottles of regular Nuka Cola into one bottle of Quantum, making this quest a whole lot easier, so hoard any and all Nuka Colas you find, storing them in your house until you can turn in this quest.
Items you will want to buy:
- Leather armour
- 5.56 ammo
- 10mm ammo
- Bobby pins
- Scrap metal
- Stimpaks
- Nuka Colas and Nuka Cola Quantums
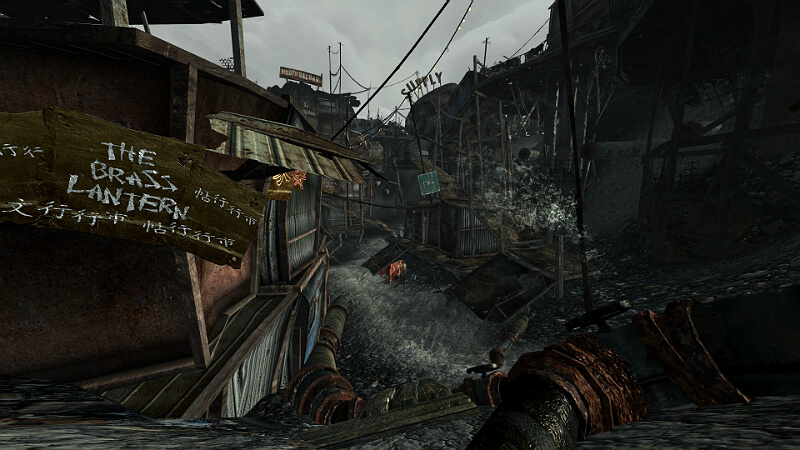
If you’ve bought everything useful that Moira sells and still have some money left over, you can go to the other 3 shops around town, The Brass Lantern, Moriarty’s Saloon or the clinic. They will have a bunch of Stimpaks for sale and, occasionally, some Nuka Cola.
Once you’ve done as much trading as you can in Megaton, head up to your house, to the left of the town entrance. After using the key, unlocking it for the first time and stepping inside, you will be greeted by Wadsworth, your very own Mr. Handy. When talking to him, you can ask him for something to drink. He will give you 5 purified water every day, restocking every 3 days.
Also while you’re in your house, activate the bobblehead stand and the Medicine and Strength bobbleheads will be displayed. In the fridge or another container, store all the Nuka Cola and Quantums, as well as any other items you don’t plan on using or selling, as these will only weigh you down since you won’t be needing them.
Treatment
Summary
- Repair the leaking pipes
- Trade scrap metal
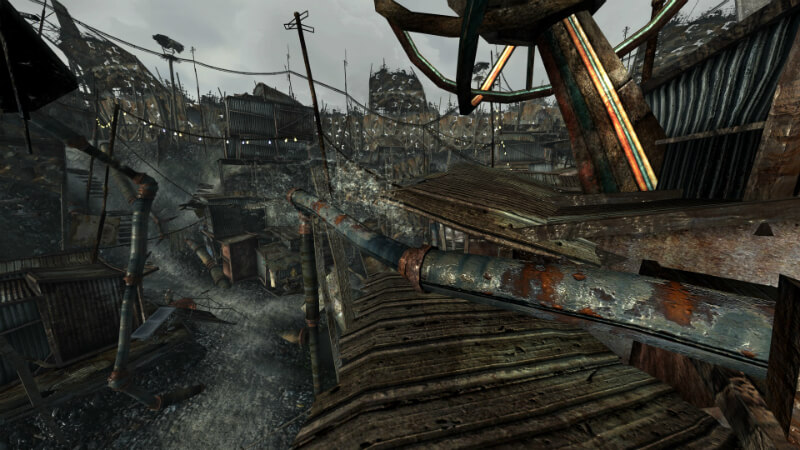
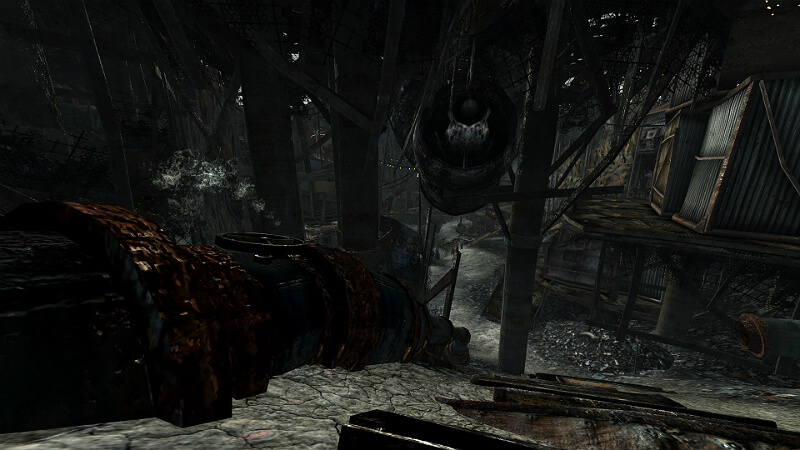
Now that you’ve finally emptied your inventory and stocked up on caps and useful equipment, head back towards Craterside Supply. When you get to the top of the ramp at the door, turn around and continue up towards the Water Processing Plant.
Either taking a break outside or busy working inside will be Walter, the operator of the water plant. Talk to him and ask what you can do to help around town. He will tell you there are three leaking pipes that need to be fixed, this is what the 30 Repair skill is needed for. Offer to repair them for him and refer to the map below for the locations of each pipe as well as the fastest route:
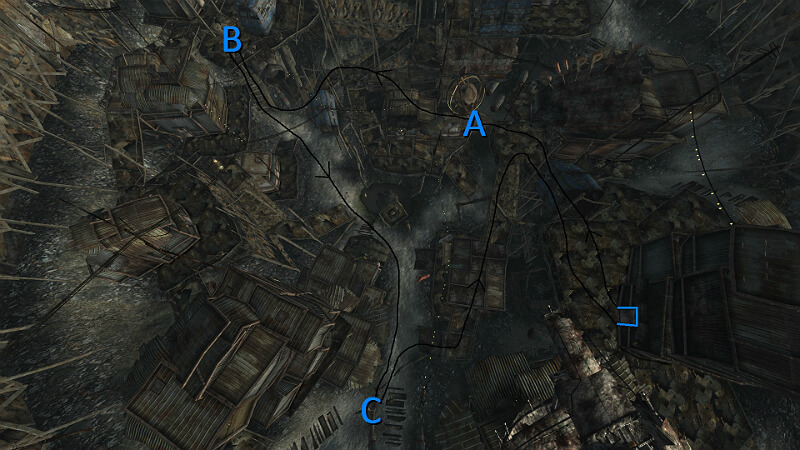
A – Back down the ramp, to the door to Craterside Supply and directly left, jumping over the railing and onto the rooves.
B – East-southeast across the rooves and halfway up the stairs to the common house.
C – Near the bottom of the stairs going up towards the town’s entrance, behind The Brass Lantern.
The fastest way to complete this is to go down the list from A to C. Here is a simple video showcasing this route and how you can run it quickly and efficiently:
After repairing all three pipes, run back to Walter who will give you some caps and XP for your work. Along with completing this unmarked quest, Walter will propose an offer to you. You bring him scrap metal and he pays you for it. Accept his offer and give him what scrap metal you have on you for more caps and XP. This is repeatable and from now on, any scrap metal you find and bring to Walter will net you 10 caps and 5 XP each.
The Replicated Man
Summary
- Start quest
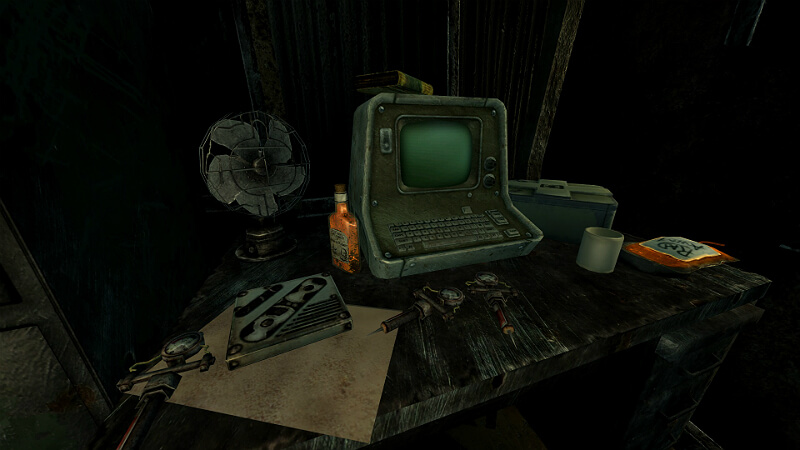
To start this quest you will need to find one of two holotapes in Megaton, either in Craterside Supply or the clinic. In Craterside Supply, the holotape is just to the right of the entrance, behind the counter on a stool with a pistol and a bottle of whiskey. In the clinic, the holotape is in the back room, next to the terminal and other medical supplies. Once you pick up one of the holotapes and listen to it, The Replicated Man will start.
Following in his Footsteps
Summary
- Steal terminal password from cabinet
- Find information about Dad on Moriarty’s terminal
Of course, we couldn’t come to Megaton and not at least complete the main quest’s next objective. For this you will want to head to Moriarty’s Saloon again. Behind the counter inside is a shelf full of alcohol. If you want some extra caps you can pick them up, take them to a secluded room and steal all of them, resulting in quite the profit. Be sure to take the two bottles of Nuka Cola Quantum and stash them with the rest at your house.
For the main quest, however, enter the room to the right of the shelf, closing the door behind you. Inside is a cabinet and a terminal. Moriarty has locked the terminal, needing a Science skill of 50 to hack into it. Moriarty also conveniently hides the password to his terminal in the locked cabinet right beside it. Pick the lock on the cabinet, steal the password and access the terminal. Go to Visitors > James (Vault 101) and read through the notes. Upon exiting, Following in his Footsteps will update, telling you to find Galaxy News Radio, marked on your map.
Blood Ties
Summary
- Start the quest
Lucy West should be sitting around the entrance to the bar during the day, or wandering around town or in her house at night. Find her and talk to her. She will ask you if you’re looking for work and, after agreeing, will ask you to deliver a letter for her, to her family in Arefu. This will start the Blood Ties quest.
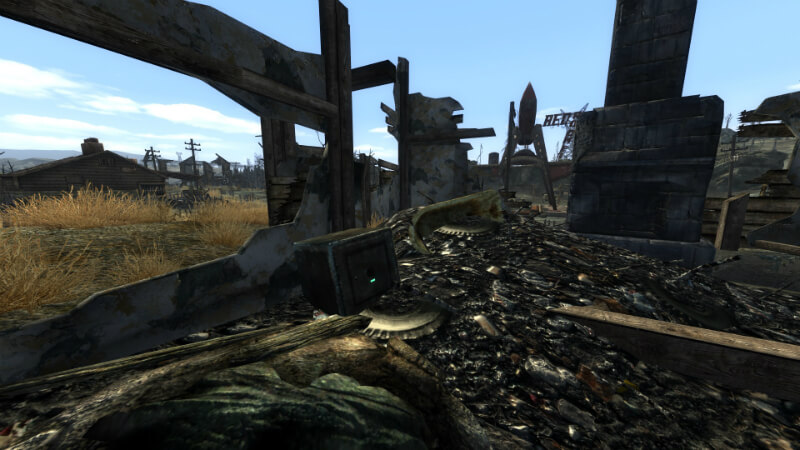
Hidden Stash
Summary
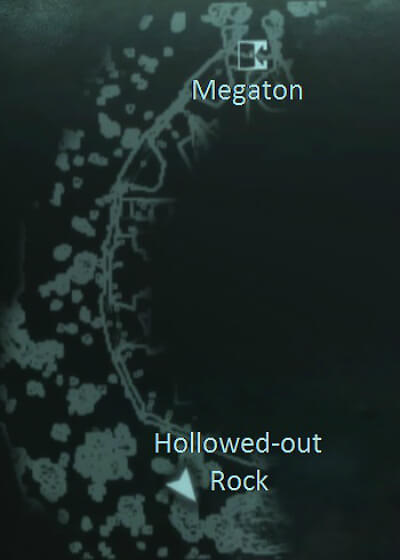
- Loot hollowed-out rock

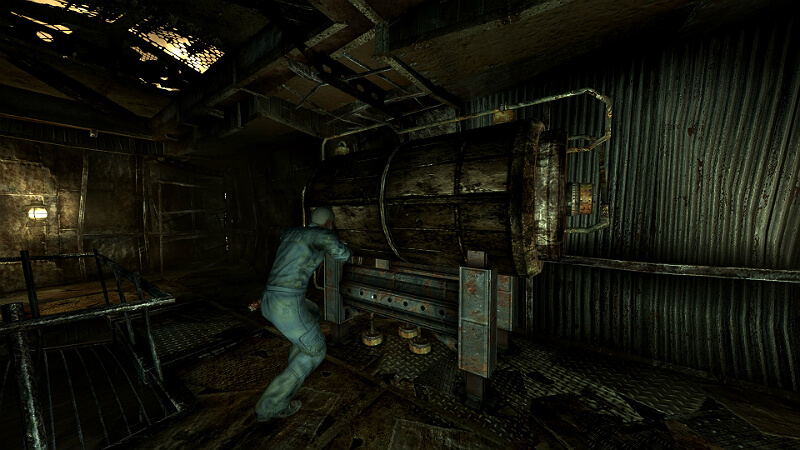
Finally, we come to the last thing to do in this guide. Finding and looting the hidden stash in the hollowed-out rock outside Megaton. Below is the location of the stash and the picture above is the hollowed-out rock itself with three tree trunks surrounding it.
When you’re traveling to the stash, some Molerats will chase and attack you. Leave them be without harming them as you will be able to use them for a later stage of The Wasteland Survival Guide.
When you find the rock, there will be a Sniper Rifle with some ammo, a Stealth Boy and some Stimpaks inside for you to either keep or sell. Either way, with the last task in Megaton completed, this guide is finished.
Closing
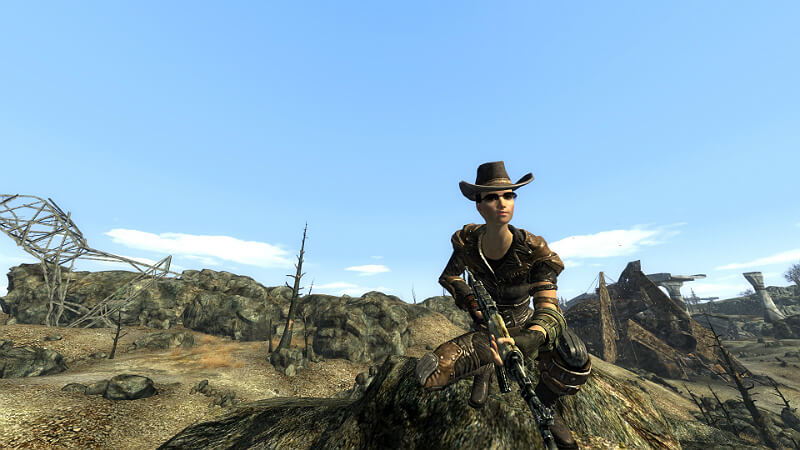
After learning about the superior gender to play, the best stats and skills to pick, what to loot during the vault escape, the trip to Springvale and almost everything to do in Megaton, you are finally ready to head out into The Capital Wasteland and choose your own story. Find your own adventure. Make your own choices. I have most likely missed at least one little thing but I think I have covered just about everything there is up until this point of the game.
Now you can use all the caps and loot you’ve acquired throughout this guide and do whatever you want to do with it. Continue the main quest? Go for the best gear in the game? Roleplay as a random citizen, going about their daily life? The Capital Wasteland is an open world where you can choose whatever you want to do and be whoever you want to be and, now that you’ve read this guide, you should have the (almost) perfect start to a new game.
Original Link – Continuation of discussion


Add comment