
Of course, to each his own. But I figured I’ll share my experience about efficient SeaBase building. It’s about practicality, ergonomics, having everything fast at hands, while being uncluttered and possibly eye pleasing. And being useful at most stage of the game, and in all biomes.
Note: I don’t know if those exist, but this Subnautica 1.0 build doesn’t use any mods, cheats, or whatever along these lines. Anyone can build anything in this post with the base game, in any game mode.
Of course, this is not a blueprint. One can and should adapt either big or small parts of this to his/her own tastes and needs.
Spoilers: this post spoil the very early game. If you haven’t played Subnautica for a few hours, it’s probably not for you. More advanced tips spoils a bit more, let’s say up to a third of the game (depending on how you play). I’ll add every warnings I can think of, use vague sentences as much as possible, and regroup tips by spoiler.
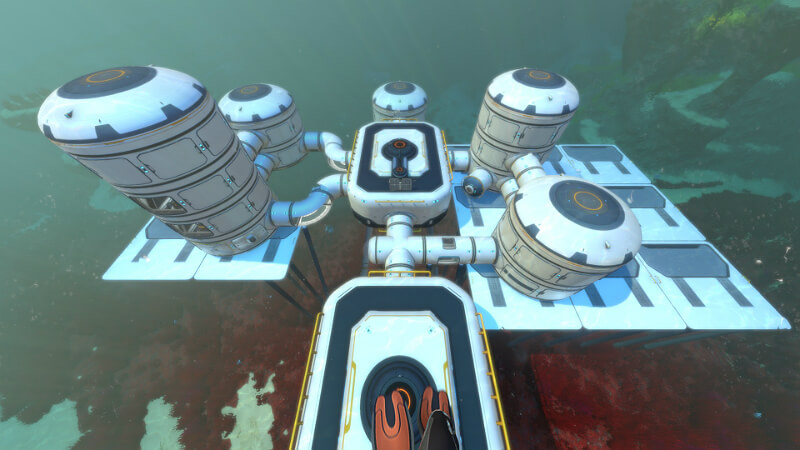
Overall SeaBase layout

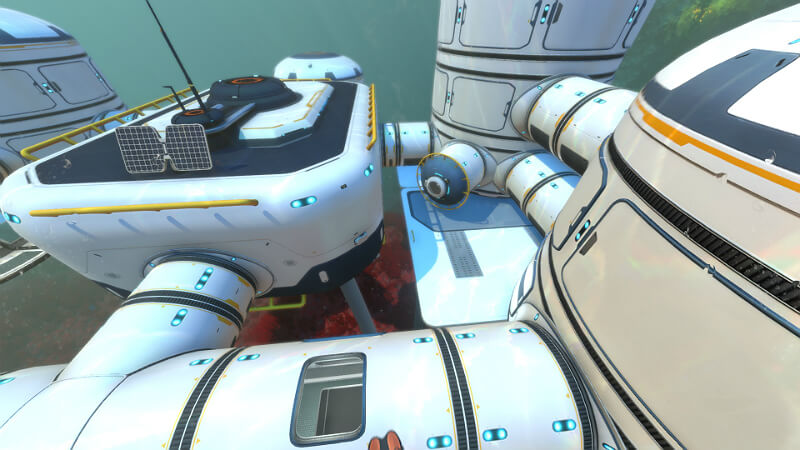
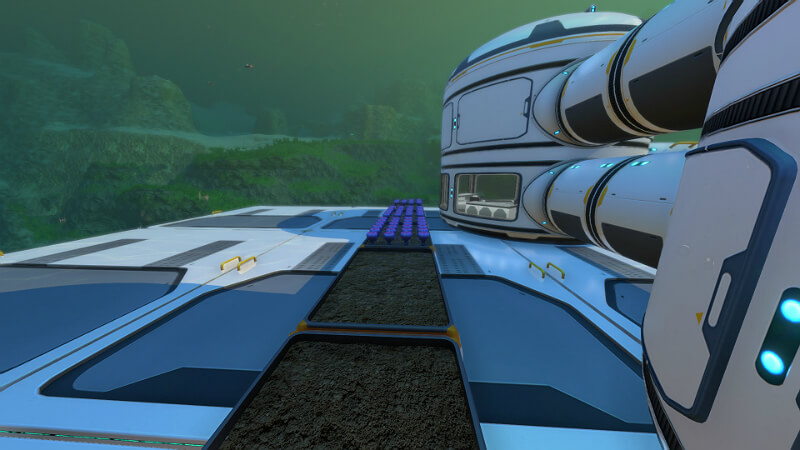
The main concept of this base is to use the Moonpool as a central hub, since it’s what you are going to use to enter the base a lot of the time. Everything is distributed around it, to limit as much as possible wasting either materials or time running back and forth and back and forth, with “wings” dedicated to a task : workshop and the storage for fabrication, production (of energy, food, water), secondary areas (like more Moonpools, a bedroom, and whatever you like), the research wing, the investigation wing. And a large flat building free zone, those who knows will understand what’s it for (on top of possible expansion of the base, and boosting the structural integrity of the base). In other words, it’s compact but not cluttered, logical, ergonomic, fast to use, and yet can have everything you need.
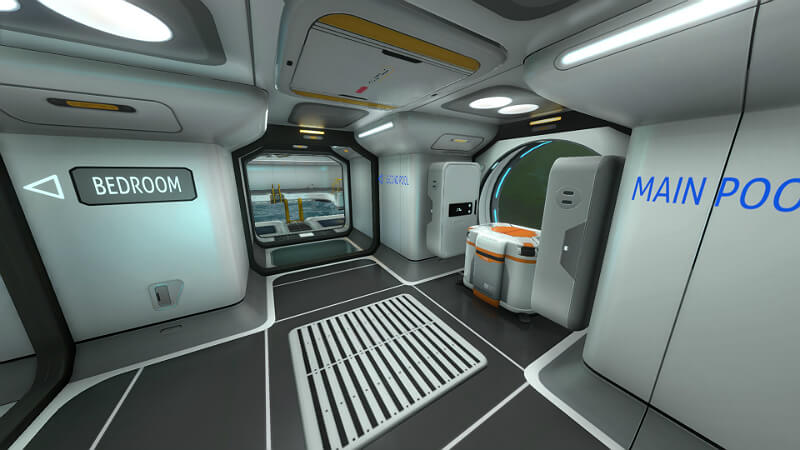
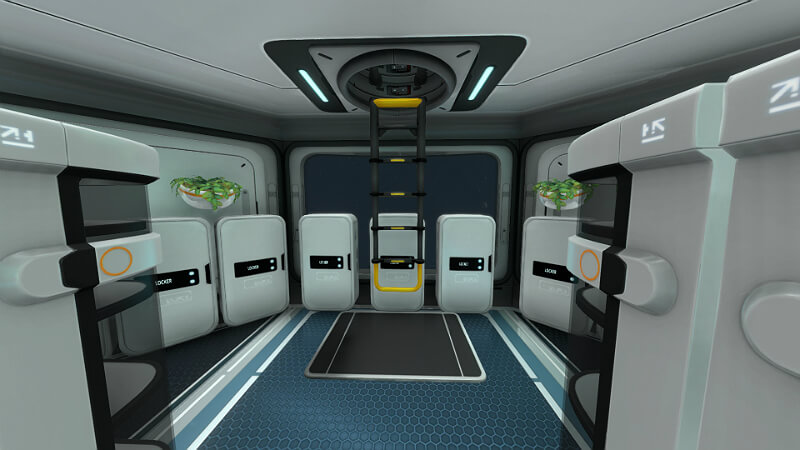
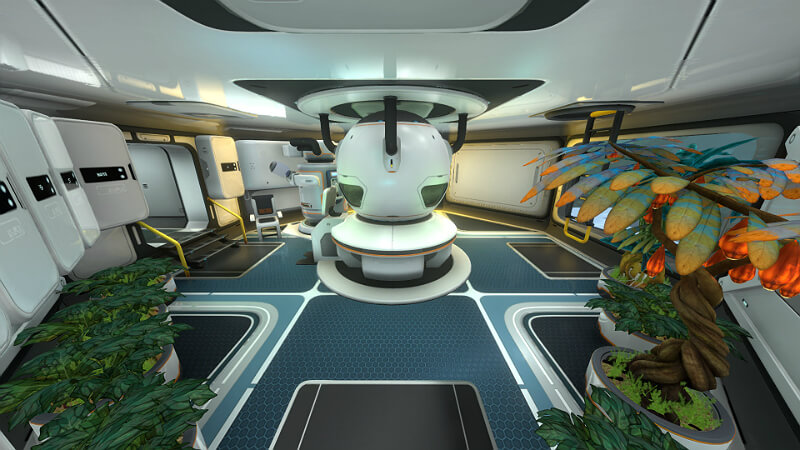
Entryway & Main hub
The Moonpool(s) is orientated in the overall layout to avoid pillars in the way. One, even in a vehicle, can enter either side of the line that goes through the Moonpools easily, and exit the same; whatever depth or terrain (as long as it’s reasonably flat). And the base is not right on the ground, but a bit above it, to allows vehicles to reach it but move under it easily.
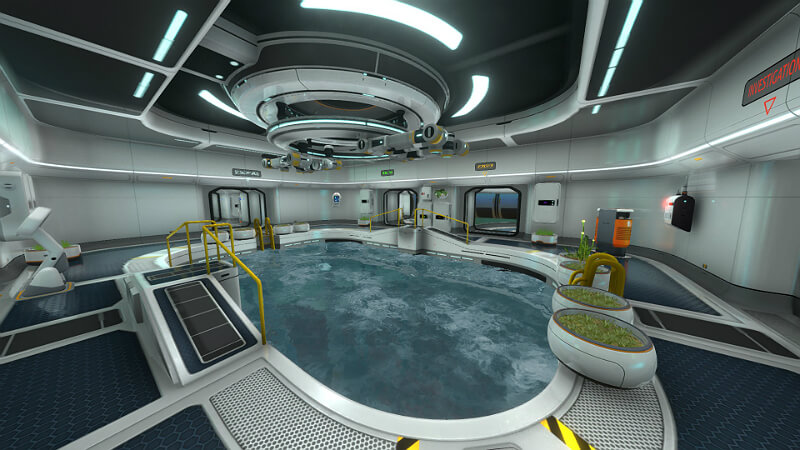
As a Moonpool, it’s used by both small vehicles, and diver. Furnished with as much as possible, without hindering running around at full speed. Directly in front of you when you disembark in the Moonpool, you have a few storage for long expeditions (like bottled water, cured food, diver tools). Around the pool there’s also a vehicle corner, with station and storage for Modules and such. The modification station is right around, slightly out of the way since it’s not used every five minutes. The radio is directly visible from disembarkment, for easy access. And there’s even more place to put a few special Lockers (for oddities not belonging in storage And yes even with all the things (and more) I added around the pool, one can use the Seaglide jump to avoid climbing in if one wants: just aim a bit more toward the middle of the long section of the pool.
Optionally, a lot of things are labeled properly, with color coding. If you have trouble spatially orientating yourself.
Each of the 6 doorways of that Moonpool is used. Counterclockwise from your disembark perspective you have:
- workshop: Fabrication station, and the main (and huge, see below) storage of materials and whatever you want.
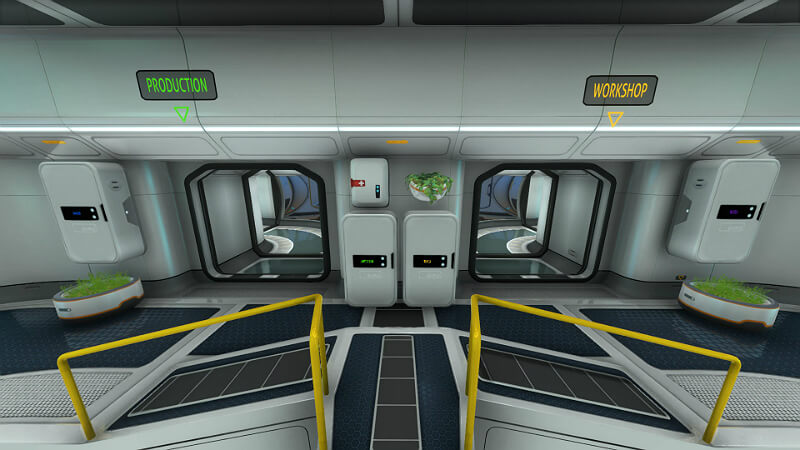
- production: where energy, and/or food, and/or water is produced or stored if you have the need or the ability. Both those wings use a “S” shaped corridor, because one must to use this layout: it allows for fast running without losing any time. And those two wings connect, so people can disembark, run toward either production or workshop, make or handle or store stuff where’s it’s supposed to be, run to the next wing, do the same, and still run to be where one started. It’s what most players will do most of the time, and there’s no or very little back and forth: disembark, just run in this circle once, and you can probably embark again.
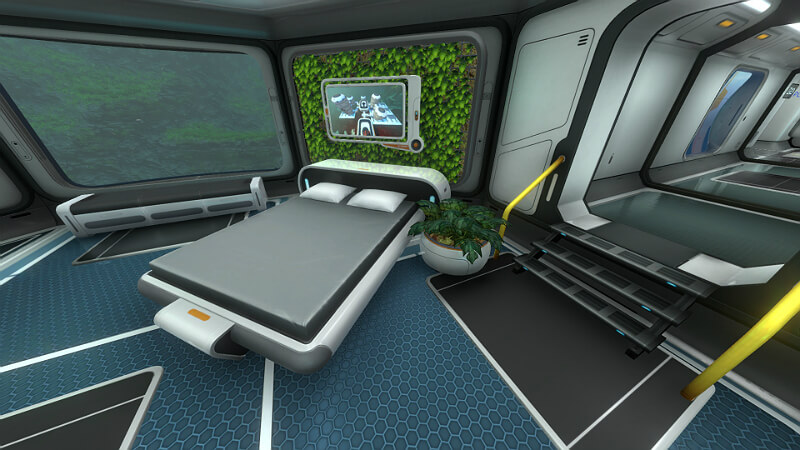
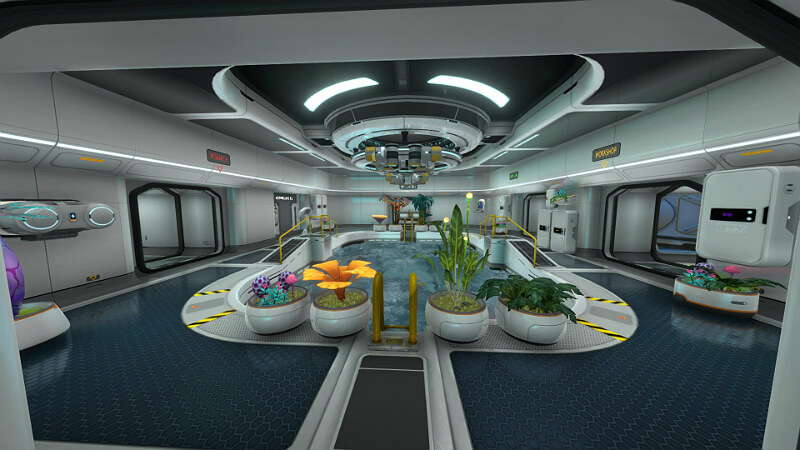
- secondary areas: it’s the “easy expansion” area. To connect more Moonpools if you want some, a bedroom (which isn’t purely decorative, your avatar can sleep did you know?), and as many more things as you like or need. To give more free space in the main Moonpool, the Modification station is also immediately here, but out of the way.
- vehicle station: where you do “stuff” to your vehicle. Please ask consent first.
- research: where you research stuffs. Those who knows will understand why one might want a 2, 3 or 4 stories high tower to research stuff.
- investigation: again those who knows will understand what room you will put there to “investigate” things, one that doesn’t need foundation or create pillars underneath it. It’s just on your right when you disembark, for those who needs it often.
Tips and Tricks
Tip: Foundations and Moonpool orientation
For those who don’t know, a vehicle disembarking a Moonpool will always face the short wall away from the antenna. And All Moonpool constructed on a base will have this direction in the same one as the dark gray side of the foundations. Think about it when you place your Foundations: vehicle will exit in the same direction as those dark gray marking.
You can turn around to place the first Foundation oriented the way you want (the other will automatically be the same), and/or use mouse wheel to rotate the thing being constructed.
Now we’ll see more details, and specific interior tips. Still light spoiler for early game.
Workshop and storage tips
The whole workshop is in a Multipurpose room. Wall lockers all around, all labeled with their content, placed low almost on the ground to allow wall space above it. Obviously the Fabrication station too. Big Lockers inside the room, for surplus and common material (like Titanium), but placed in a way that doesn’t stop line of sight too much, and allows you to run both around the room and through the room with ease.
A ladder connect to a second story organized the same way for extra storage of material more rarely used, and for overflow. If you’re a hoarder, you can add as many stories as you like. I would advise putting your ladder not on top of each other, the game doesn’t always register easily if you want to go up or down.
Tip: Wall lockers low, on the ground
By placing Wall lockers low, almost on the ground, one has space to put other things on top of them.
For those who knows: in another, more “mobile” setting, one can even place two Wall lockers on top of each other that way.
Now we’re entering the more advanced section, with a bit more spoilers. Be warned.
Farming spoilers
Spoiler: If you don’t know what farming (as in agriculture) is in Subnautica, don’t read this.
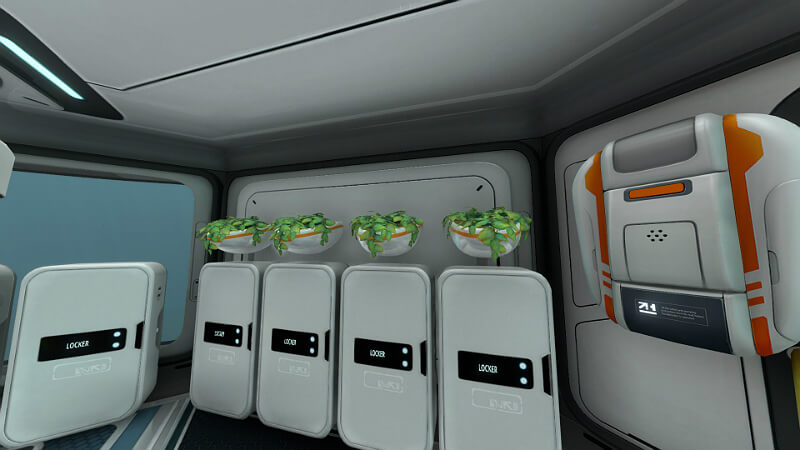
Tip: Plant pots over Growbeds
I would advise against the Interior growbeds, not very efficient and practical. I find the Plant pot much more efficient, you can place them in small place without hindering movement, and have as much or even more production that way.
Like here, with Plant pots in front of storage Wall lockers, or even slightly under Wall lockers placed high on the wall.
Especially since probably the best plant for feeding yourself (and more) is the Melon, which when cut produce 4 seeds. So stand in front of a Melon Plant pots, take one, two, three, cut the fourth, click on the pot: in the inventory opened, eat your 3 Melons for food and water supply, and place the 4 seeds in the 4 storage bits of the pot. Close inventory. Fast, efficient, doesn’t need to micromanage things. With 2 to 4 pots filled with Melons, one can top up both food and water without depleting the resources or having to micromanage things.
Tip: Plant shelf
Not as efficient as Plant pots, but can be placed in a lot of places, including above grounded Wall lockers. 4 of those will take the place of a Melon pot (for the 4 seeds) for example. Or can be used for decorative plants, moral is a thing you know.
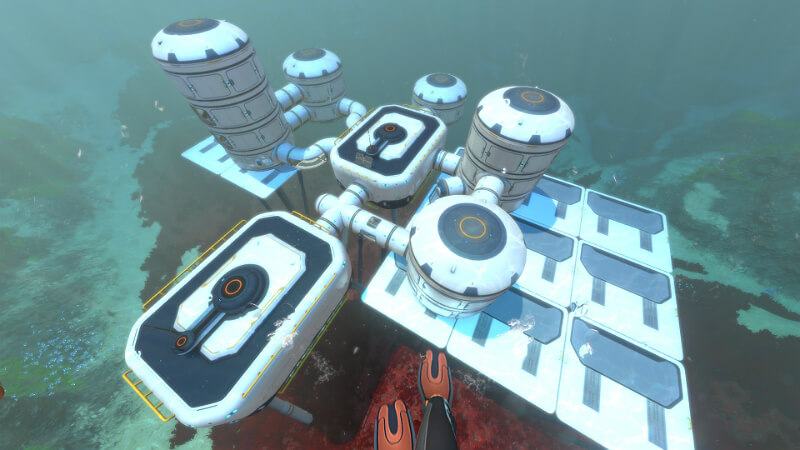
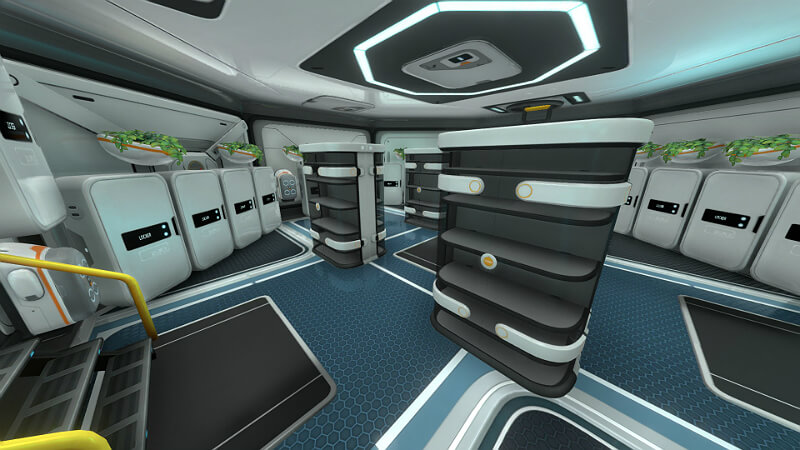
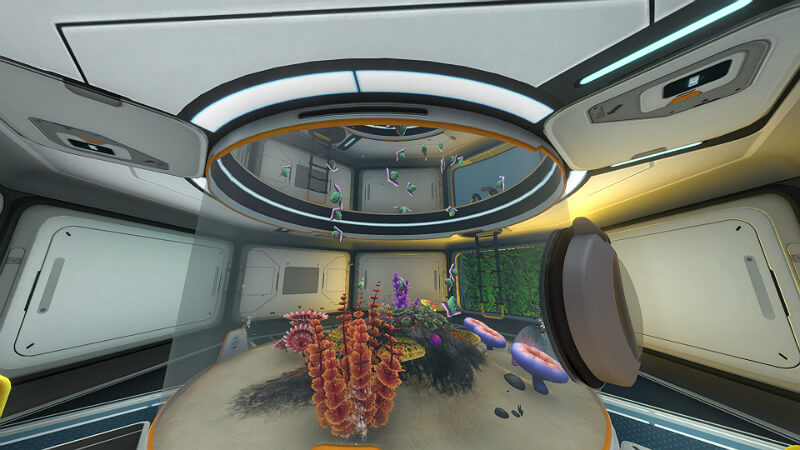
SeaBase layout, production wing
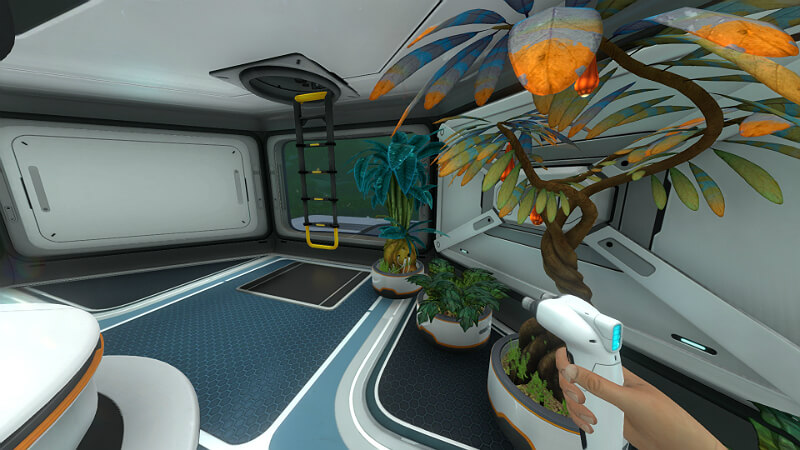
As stated this wing produce things, starting with food. Part of it is farming plants. A few Plant pots with Melons, maybe a Lantern tree and/or a Bulbo tree for variety, takes very little space and will feed you easily.
I like to put a chair in a small space in this room, out of the way but in view of the main Plant pots and whatever else is important in the room. It allows to pass the time without increasing your hunger or thirst, to read your Databank for example. Or, if something went terribly wrong and you have no food and are going to die soon, watch Melons grow safely.
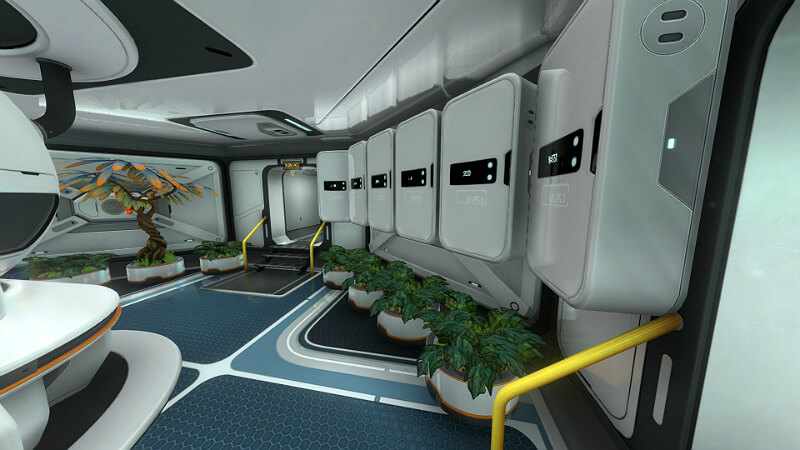
Tip: Exterior growbeds
Remember that “special” place in my layout? With all the empty foundations? Well, Exterior growbeds are why. Why deplete your environment when you can farm what you need, in whatever biome, and have easy and fast access to material like Creepvine seeds or Mushrooms and more.
One can also use those for decorative purpose, or personal research.
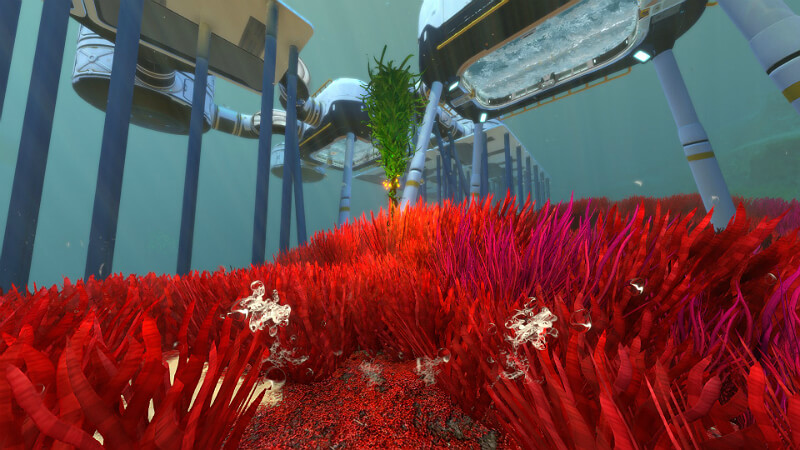
Tip: Rooftop farming
A little known place to put an Exterior growbed? On the roof of Multipurpose rooms, but also the roof of X Compartment and so on. But since the growbed doesn’t clip, aesthetics aren’t perfect. Use things like Solar panel around it to hide the ugly lower part.
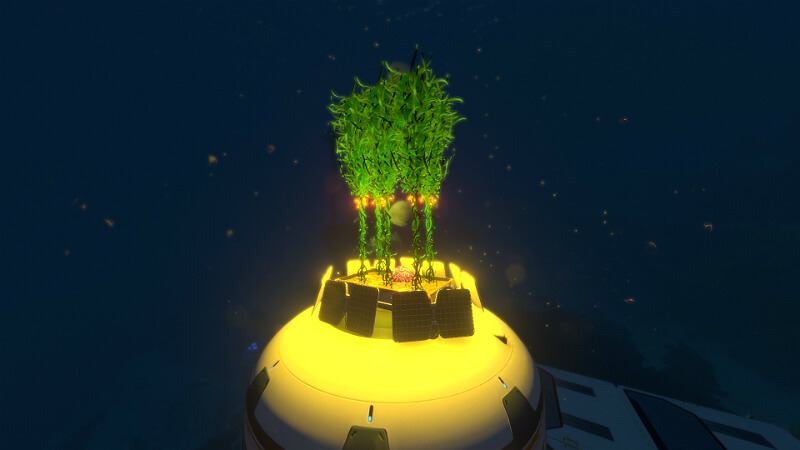
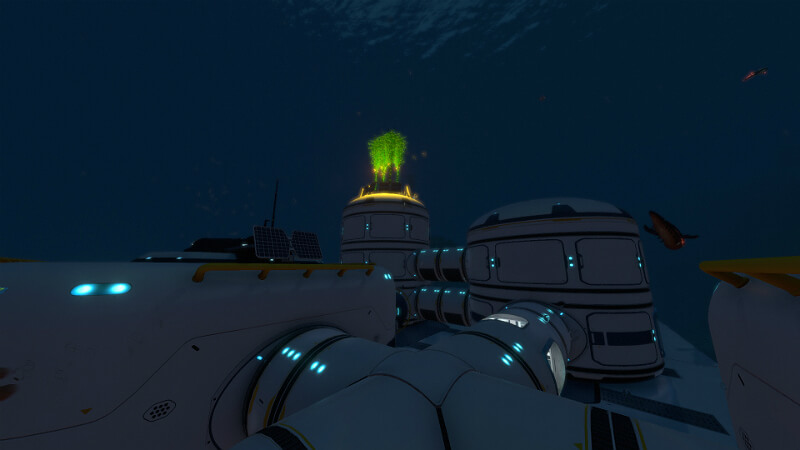
Useful when you can’t grow too much horizontally, for overall aesthetics, for practicality by placing Brain corals there to generate oxygen, or at night things like Creepvine will act as a light beacon to find your base or orient yourself.
Tip: Window dressing
Using verticality, and/or Foundations overhanging rooms, one can place Exterior growbeds with plants to show through carefully placed windows.
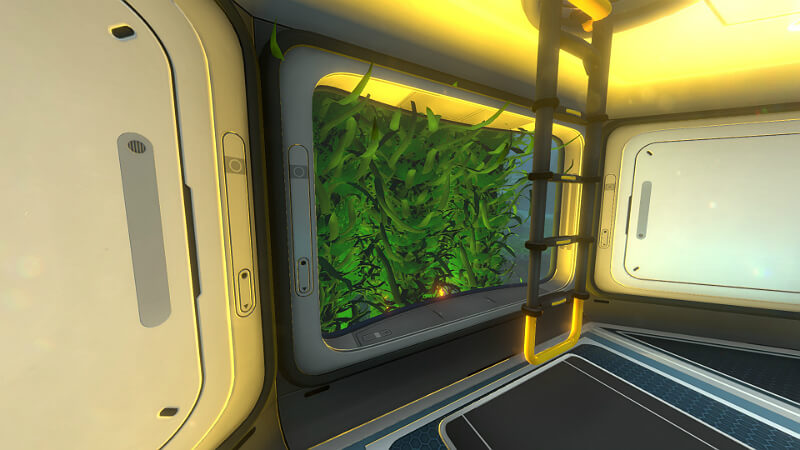
Tip: Algae is your aesthetic friend
This red algae is very useful to hide most or all of Exterior growbeds, and only show plants cultivated in it above that grown above the algae. Nice.
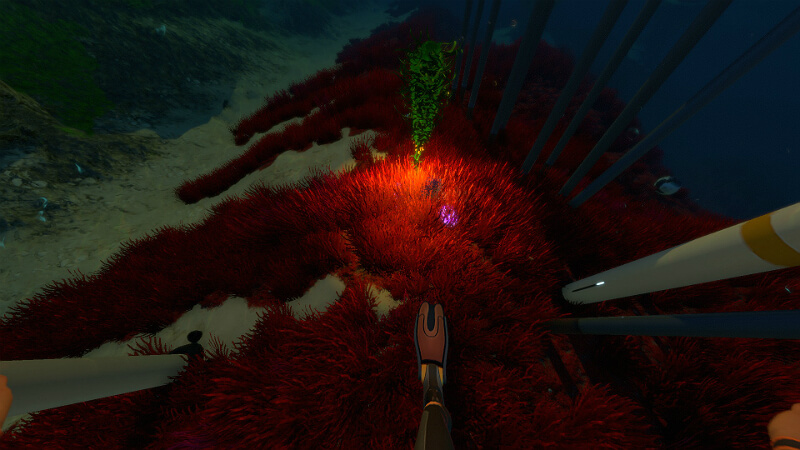
Tip: Exterior growbeds do not need a Seabase
You need Creepvine light, or Brain coral oxygen away from your base? Or underwated edible plant? Like around a Wreck, or in a cave, or wherever really? Just 2 Titanium for an Exterior growbed, and put them yourself in it. Everywhere you want, in any biome. Start terraforming now!
Tip: Plant pot everywhere (very light Miscellaneous builder spoilers)
As you can see here, don’t hesitate to put Plant pot in small corners and such. With decorative plants, or Melons (or other edible plant) to always have immediate and easy access to water and food. Just don’t put them in your main walking/running path, it’s not worth it in the long run to evade those hundreds and hundreds of time.
More spoilers below.
Reactors and Filtration spoilers
Above I said the production wings produce energy, and water. As you can see here, the first production floor is centered around a Reactor, here a Bioreactor. I like those because they supplement well a main energy production like Solar panel if your not too deep, or another Reactor. Since flooding doesn’t destroy anything, they can even be used for main power.
Why set it up this way? Well with several Melon plant pots (I would advise at the very very least 4, 6 is better, 8 is comfortable) you can feed both yourself in Melons and the Reactor in seeds (my math may be wrong, but I find Melon seeds to be one of the most efficient and certainly the easiest way to feed that thing). All done is the same place. With room for storage of biomatter and extra seeds and such.
Need more Reactors? Add more stories to your tower.
And as for water, there’s room here for a Water filtration system, or even two, maybe even three. And it gets you salt, which you can use to Cure fish to store for long expeditions away from you SeaBase for example.
Even more spoilers below.
Scanner room spoiler
Obviously those who knows about the Scanner room will have understood that my “investigation” Multipurpose room would in fact be a Scanner room. Direct and easy access from the main hub for when you mine or collect materials and need to adjust the settings or check on things.
If you need more than one Scanner room in a single seabase, I would put them around the second Moonpool, or connect them from the secondary area in my layout. If you really want them in the same place, I guess you could build a compartment towering with Vertical connectors to put Scanner rooms on top of each other.
And some more spoilers.
Seabase Containment and Breeding spoilers
And the last part of my so called production wing, is one or several stories with Alien containment to breed fish. Obviously Reginald, they have the more calories, best food both for you now, for you cured to take away, and if you want to for your Bioreactor.
On my screenshot my 4 stories production tower is, from ground flood to the highest one: Plant pot farming, bio storage in Wall lockers, Water Filtration; then a two stories Alien containment to breed Reginald; then another floor for another Reactor when Thermal and Solar aren’t an option (those who knows will understand).
And on my research wing, is a multiple stories Alien containment to hatch unknown eggs, studies the local fauna, and maybe breed special creatures. I tend to do that away from my production breeding, away from my “farm” if you will because it’s easier (and maybe safer) to keep the farm purely for fish to eat: just enter, click click click, done.
Hoping those will be useful for some… have a nice play!
Original Link – Continuation of discussion

Add comment