In this guide, I will explain how to easily kill the Moon Lord, the final boss of Terraria. The preparations for this strategy, however, can be quite difficult to complete. If you have a lot of time on your hands, and you are using melee techniques, then this is a sure way to beat the boss. Also, because this strategy is so efficient, you will be able to easily collect materials from the Moon Lord in no time!
Preparations

Welcome to my guide on how to easily defeat the Moon Lord in Terraria! In this guide, I will explain the “Box of Surprises” strategy. This strategy only works for melee players, and the preparations and instructions should be followed carefully. If done correctly, you will undoubtedly succeed.
Arena
The arena should be the easiest part to this strategy. You need to create a 4×4 or 6×6 square of solid blocks, hollow on the inside. This box should be floating in the air, and the only way in or out should be to mine the blocks. On the top, you should place a Campfire and a Sharpening Station (if you don’t have a Sharktooth Necklace). On the bottom, you should place a Heart lantern. On the inside, there should be 1-2 (preferably 2) Heart Statues connected to a 1-Second Timer and a Lever.
Once all of this is done, pouring a couple buckets of Honey inside for extra regeneration wouldn’t hurt. (Note: Some melee players use a couple magic weapons, guns/bows/repeaters, and minions. If you are one of these melee players, a Bewitching Table, an Ammo Box, and a Crystal Ball work well.)
Armor

If you are going to use this strategy, you must use Beetle Armor with the Shell, as it gives the most defense out of any armor set you have access to before defeating the Moon Lord for the first time.
Accessories
The accessories you should use for this boss fight should consist of a Celestial Stone/Celestial Shell (preferred), Master Ninja Gear, a Worm Scarf, Paladin’s Shield/Ankh Shield, Spore Sac, Destroyer Emblem, Star Veil, Shiny Stone, and a Charm of Myths. Obviously, there are not enough accessory slots to fit all of these accessories in, so you must pick your favorites. (Note: All accessories you use for this strategy should be reforged to Warding.)
Weapons

The weapon you should definitely use for this strategy is the Solar Eruption because it can go through blocks. Other weapons you can use include the Daybreak, the Terra Blade, the Flairon, the Golem Fist, the Scourge of the Corruptor, the North Pole, the Possessed Hatchet, and the Horseman’s Blade. Piercing weapons do very well in this strategy, such as the Nettle Burst.
Another weapon that would do quite well (and is optional) is the Nimbus Rod, and the Stardust Dragon Staff is extremely effective if you want to use it. However, be aware that you cannot damage what the Stardust Dragonis attacking until it is done, so this can make the battle last longer. The Meteor Staff can be quite damaging at times, but the Solar Eruption is a must. All weapons must be reforged to a very good (preferably the best) modifier for this strategy to work well.
Potions
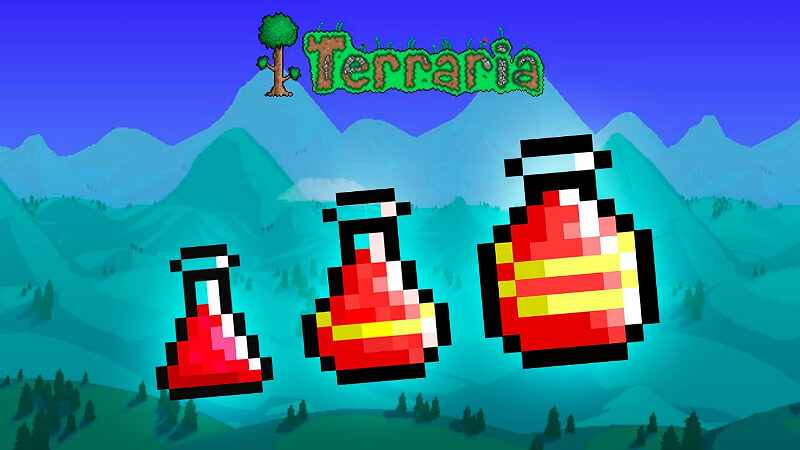
For this battle, you should only need 4 potions: the Ironskin Potion, the Regeneration Potion, the Endurance Potion, and the Lifeforce Potion. You’ll need to go fishing for the Endurance and the Lifeforce potions, as the Endurance Potion requires an Armored Cavefish and the Lifeforce Potion requires a Prismite. These are easily caught, however, so this shouldn’t take long.
The Battle
Once you defeat the four Celestial Towers or consume a Celestial Sigil, you have exactly one minute until the Moon Lord arrives. This means that you need to be in position, with your weapons ready, and you need to use the time limit on your potions wisely. Using this strategy, (and assuming you haven’t defeated the Moon Lord yet) the entire battle should last somewhere between 4-5 minutes. About 30 seconds until the Moon Lord arrives is when you should consume your potions and activate the other arena features.
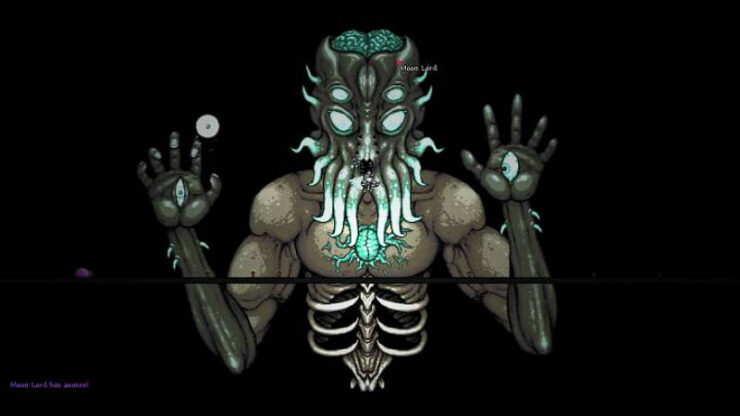
Once the Moon Lord arrives, constantly use your Solar Eruption and jab at whatever is open. The Stardust Dragon will constantly be doing damage to the Moon Lord’s hands, head, and eventually, core. The Nimbus Clouds you can use will do the same. Of course, as stated earlier in the guide, the Stardust Dragon and Nimbus Rod are optional, but very useful.
It is best to concentrate on one part of the Moon Lord until it is defeated, otherwise the fight might take longer than it needs to. (Note: You have to defeat both hands and the head before you can damage the core. Once you defeat the core, the Moon Lord is defeated.)
Drops

The Moon Lord can drop multiple items once defeated. You will always get a Portal Gun, 70-90 Luminite Ore (90-110 in Expert Mode), 5-15 Greater Healing Potions, and, in Expert Mode, a Moon Lord Treasure Bag. The Moon Lord also has a 14.29% chance to drop the Moon Lord Mask, a 10% chance to drop the Moon Lord Trophy, and an 11.11% chance to drop the Meowmere, the Terrarian, the Star Wrath, the S.D.M.G., the Celebration, the Last Prism, the Lunar Flare, the Rainbow Crystal Staff, and the Lunar Portal Staff. Of the items that have an 11.11% chance to drop, you will only get 1 each time you defeat the Moon Lord.
Luminite

Obtaining
Luminite Ore is dropped in great quantities by the Moon Lord each time you defeat him. To make everything you can make out of Luminite, you need 1,088 Luminite, requiring you to defeat the Moon Lord at least 16 times in Normal Mode and at least 13 times in Expert Mode.
Usage
If you combine 4 Luminite at an Ancient Manipulator (which you get by defeating the Lunatic Cultist), you will get a Luminite Bar. To craft everything you can craft out of Luminite Bars, you will need 317 Luminite Bars, or 1,268 Luminite. This means you need to defeat the Moon Lord 15-19 times in Normal Mode and 12-15 times in Expert Mode.
Luminite Bar Usage
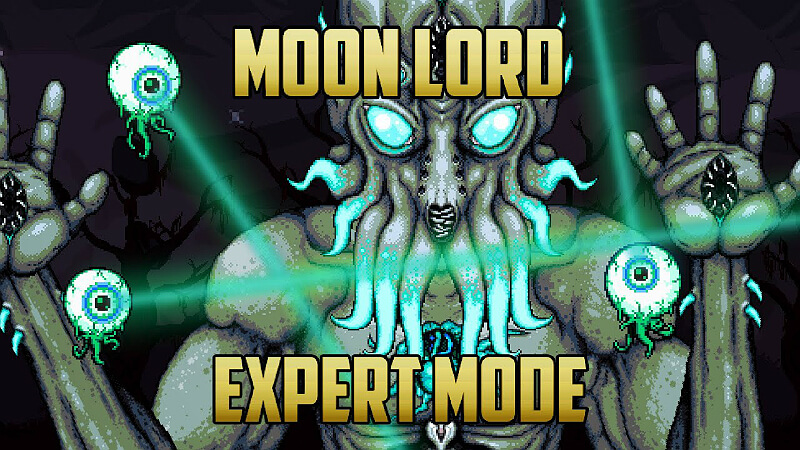
Luminite Bars are used to craft a variety of items. Using a single Luminite Bar at an Ancient Manipulator, you can craft 333 Luminite Bullets or 333 Luminite Arrows. Using Luminite Bars and Solar Fragments at an Ancient Manipulator, you can craft full Solar Flare armor (the best when it comes to defense), a Solar Flare Pickaxe, a Solar Flare Hamaxe, and Solar Wings. Using Luminite Bars and Vortex Fragments at an Ancient Manipulator, you can craft full Vortex armor, a Vortex Pickaxe, a Vortex Hamaxe, and a Vortex Booster.
Using Luminite Bars and Nebula Fragments at an Ancient Manipulator, you can craft full Nebula Armor, a Nebula Pickaxe, a Nebula Hamaxe, and a Nebula Mantle. Using Luminite Bars and Stardust Fragments at an Ancient Manipulator, you can craft full Stardust Armor, a Stardust Pickaxe, a Stardust Hamaxe, and Stardust Wings.
Using 40 Luminite Bars, 40 Chlorophyte Bars, 40 Shroomite Bars, 40 Spectre Bars, 40 Hellstone Bars, and 40 Meteorite Bars at a Mythril or Orichalcum Anvil, you can craft the Drill Containment Unit. And finally, by combining 5 Luminite Bars and 1 Bottled Water at a Dye Vat, you can craft Void Dye.
Original Link – Continuation of discussion




Add comment