This sturdy guidebook contains a wealth of knowledge for any aspirant wasteland wanderer.
Preface
This guide is meant to provide Vault Dwellers with a basic understanding of the beginning stages of surviving the Wasteland aboveground. The most important parts of this guide cover things such as fine-tuning your S.P.E.C.I.A.L. stats, honing your skills, obtaining strong weapons early on, and obtaining an Intelligence Bobblehead from Rivet City.
Experienced Wastelanders will likely find little use of the information provided within this manual so a Smiley Face has also been provided to help ease the resulting unending loneliness which occurs after leaving your designated, safe, and loving vault.
So… You’re Thinking About Going Aboveground
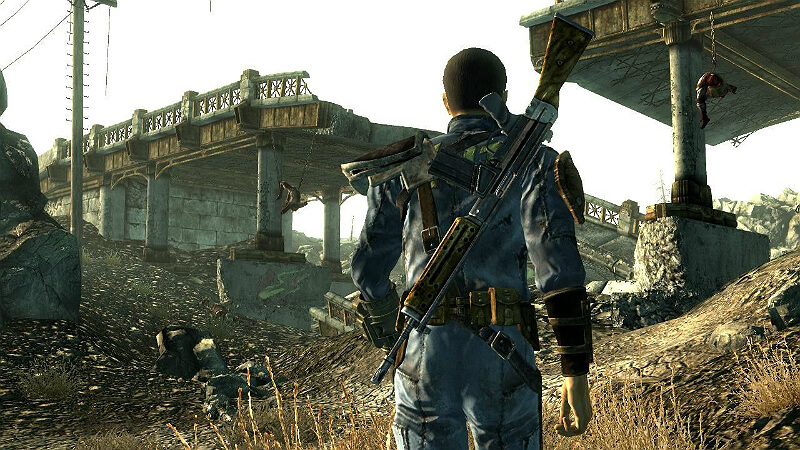
As responsible American citizens, we implore you to remain underground in the safety of your vault until the all-clear signal is given. There’s no need to be impatient. The authorities will contact your Overseer the moment it is safe to return to the surface.
On the other hand – and this is the important part – should you leave the vault, there is a slim chance of survival. Beyond one half-mile away from the vault, only one in ten will survive. The others will die a frightening, unspeakable death. If you still feel it necessary to venture out of the cocoon of safety provided to you by Vault-Tec, make sure you have completely read the following material. After several readings, we are confident you will understand why staying underground is the best option.
Genetic Manipulation
Do you have a fond appreciation for Eugenics yet lack any knowledge of the subject whatsoever? Perhaps you’ve come across a time-machine which has presented you with an opportunity to genetically manipulate your own DNA yet you lack the knowledge of which human genetic traits would suit you best? Have no fear! Your trusty Survival Guide is here to offer you a plethora of information on how best to make you a better you.
S.P.E.C.I.A.L. Stats

A general tip when re-creating yourself is to never invest more than 9 points into any stat due to the existence of bobbleheads throughout the Wasteland which give a permanent point to each of your stats.
Originally posted by a Vault-Tec employee to provide extra information:
Note: Because each stat maxes out at ten, raising a stat to ten and then obtaining a bobblehead is essentially a waste of useful stat points!
There are also many items which raise your stats by either being equipped or held within your inventory; so to best maximize your initial S.P.E.C.I.A.L. stats, it’s probably a good idea to not raise any stats above eight (besides Intelligence).
Note: For example quite a few pre-war hats will add a bonus point to your Perception, and the quest “Those!” will grant you a bonus point in either Strength or Perception.
Most importantly we at Vault-Tec would recommend keeping both Luck, Strength, and Perception at or below eight points due to the lucky 8-ball, ant-might/ant-sight, and the corresponding bobbleheads which will give you the maxed ten points to each attribute.
The reason that Intelligence can be raised to nine is because it’s very advantageous to have the Intelligence stat maxed at the early stages of your survival. Intelligence is extremely useful because it gives you additional skill points to utilize when leveling u[error error error]. Not only is Intelligence good for being a jack of all trades, but every point of intelligence increases your Repair, Medicine, and Science skill by two points for every one point invested into intelligence.
Note: The increased skill points given by a maxed out Intelligence early on are what justify detracting points from Charisma to invest in other stats.
Although Charisma is potentially useful for non-violent survivalists, dialogue is based more specifically on the Speech skill and only receives a secondary and inferior S.P.E.C.I.A.L. scoring from Charisma (Charisma doesn’t affect the success percent of Speech, only the Speech skill itself), so it is best to start out with a lower Charisma and raise Speech normally via the skill points derived from Intelligence.
The table below provides a basic guide and generalized investment into each S.P.E.C.I.A.L. stat which makes introductory quests, stat checks, and survivability much easier.
- Strength / 5 / for the Strongback perk;
- Perception / 6 / for the Critical and Sniper perk;
- Endurance / 6 / for the Life Giver perk;
- Charisma / 2-5 / I recommend low Charisma due to its lack of merit;
- Intelligence / 9 / Skill Points!;
- Agility / 6 / for the Action Boy perk;
- Luck / 6 / for the Finesse and Critical perk.
Tag Skills
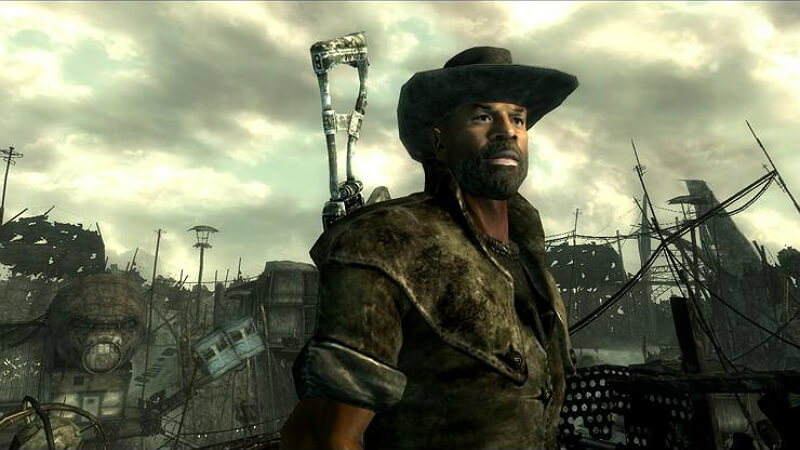
- Explosives – 32;
- Lockpick – 32;
- Speech – 24.
We here at Vault-Tec recommend tagging/emphasizing skills which contribute to early game quests/objectives (which will help snowball your experience-gain). Things like Science, Lockpick, and Speech are all great things to tag as they tend to be heavily utilized in the early stages of your survival-period.
Note: As you can see in the images Vault-Tec employees always tag Explosives so that they can quickly start The Power of the Atom questline while also investing into Speech and Lockpick to best suit our preferred style of survival. We tag speech so that we’re not forced to constantly reload quicksav[error error error].
Tagging skills really has no effect after the early stages of survival (“stages” two through five) due to its one time boost, so tagging skills which don’t necessarily need to be scaled later on allows you to focus your advancements on more important late-game skills.
Adapting to the Outside World
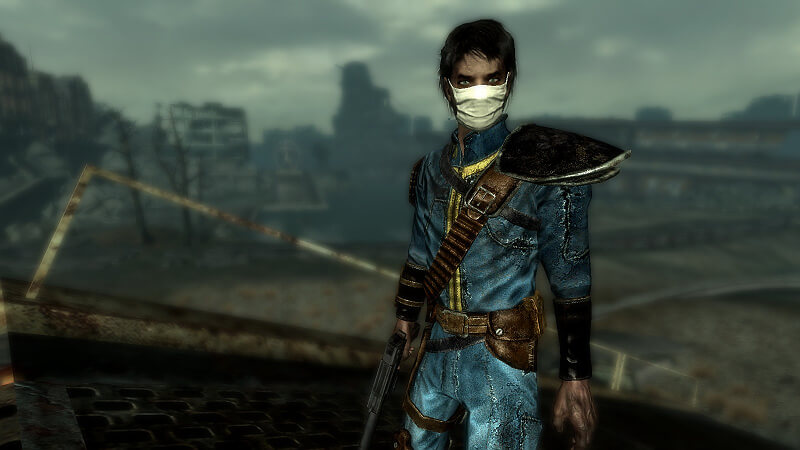
You’ve left the safety and comfort of the vault. What now? The moment you exit the vault, you will notice a piercing bright light. Like a creature of the night, your eyes are not accustomed to the bare sun. Make sure to shield the retinas with tinted goggles.
If protective eyewear is unavailable, press your index fingers and thumbs together and place your hands over your eyebrows in an open and horizontal fashion, thus shielding yourself from the most harmful rays.
Don’t Learn the Hard Way
Once you are able to see this harsh and violent world without attachment and anxiety, you will have the opportunity to fine-tune your skills. To best do this it is highly recommended that you make your way to Rivet City to obtain your own Intelligence Bobblehead.
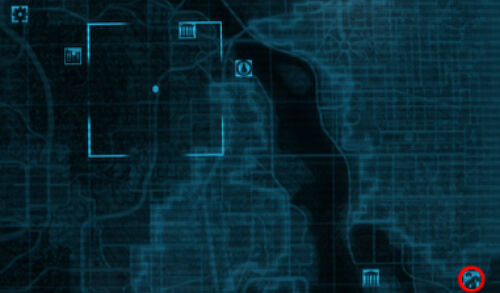
The Intelligence Bobblehead:
After exiting Vault 101 and succeeding at your infant life the best thing to do is get the Intelligence Bobblehead to max out your Intelligence early on (thus increasing the number of skill points you receive at each leve[error error error]!) Some individuals may find it challenging to obtain the Intelligence Bobblehead at such an early stage of their survival-period so we at Vault-Tec have provided a detailed explanation below of how best to make the journey to Rivet City to obtain this item.
Note: Make sure to pick up these items specifically before exiting Vault 101
[Can be found on the desk of the Vault 101 Clinic after conversing with your father in the “Future Imperfect” questline.]
- Bobblehead – Medicine;
[Can be obtained during the “Escape!” questline upon encountering Butch.]
- Tunnel Snake Outfit;
Megaton:
After discovering your newfound capability your next destination is the outskirts of Megaton to drop off all the loot you picked up from Vault 101. It’s also beneficial to visit Megaton because it adds a commonly used location to your map (contributing to your ability to easily fast travel) and also provides the opportunity to obtain a sniper rifle very early on in the game, which is great for scouting out any potential super-mutants you may encounter on your way to the Intelligence Bobblehead.
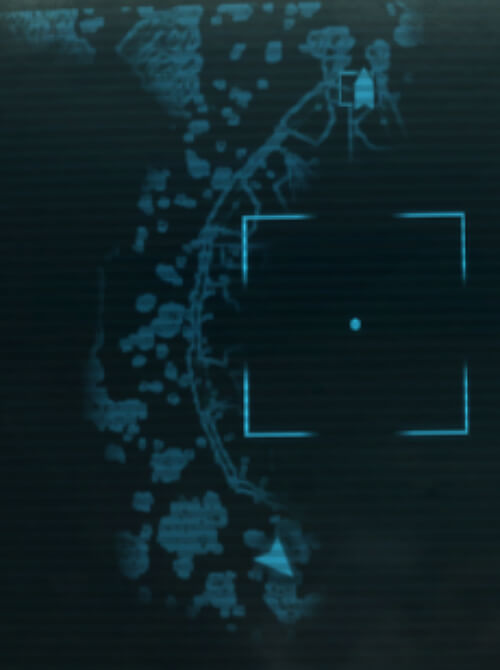
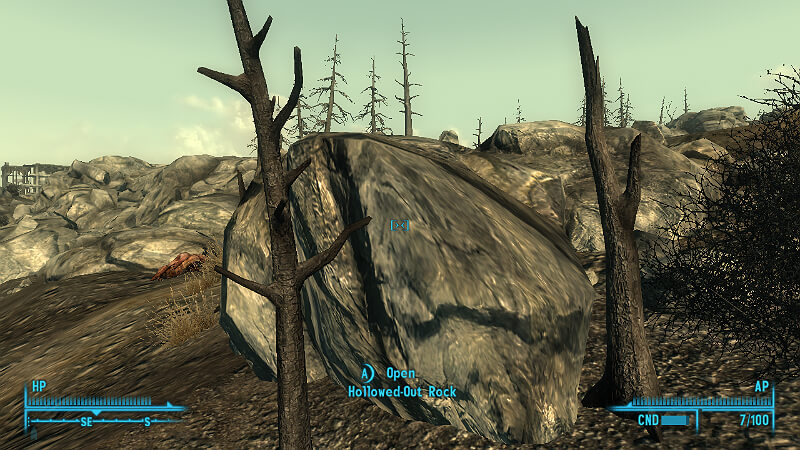
Note: To find the sniper rifle head from the entrance of Megaton while hugging the walls to the back of the city where you will encounter roughly two to four mole-rats, there will be a hollowed-out rock surrounded by saplings which contains a sniper rifle within.
(When first exiting Megaton, the rock is nearer when walking the left side walls of the city.)
While in Megaton, consider grabbing the Strength Bobblehead from Lucas Simms’ house. Lucas Simms’ house has an average lock, which requires a skill of 50 in Lockpicking to open, this skill requirement can easily be reached at level two if nearly all skill points are invested into Lockpicking.
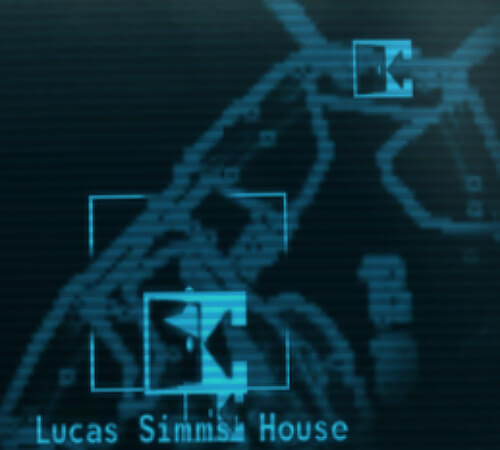
Note: Make sure to break into Lucas Simms’ house at night, if you attempt to do so in the day you are more likely to alert Lucas Simms to your ill-deeds and invoke the mighty wrath of the entire town.
Super-Duper Mart:
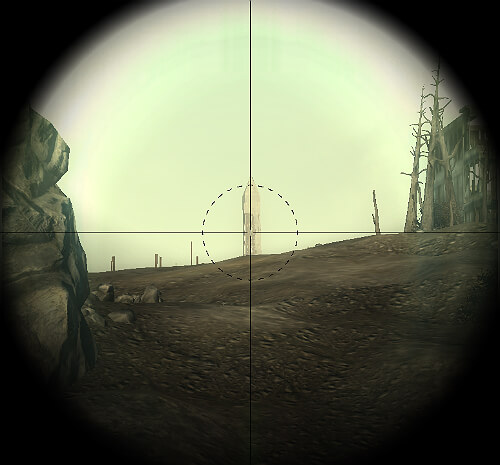
After obtaining the rifle and conversing with the locals your next stop is the Super-Duper Mart, another valuable location to add to the World Map for future quests. An easy way to plot your destination is by landmarks such as the Washington Monument, which if you walk towards will quickly bring you into sight of the Super-Duper Mart.
Wilhelm’s Wharf:
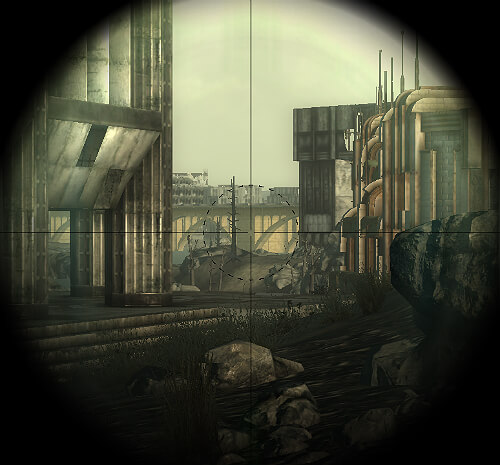
From the end of the Super-Duper Mart’s parking lot you should join up to a road into the city which will lead you to Wilhelm’s Wharf, the bridge which can be seen from the Super-Duper Mart is a good landmark as it is also a future destination point. After marking Wilhelm’s Wharf into your Pip-Boy continue on down the same road.
Jefferson Memorial:
Before encountering Jefferson Memorial you’ll come across an intersection in the road with a mine laden bridge leading to the Anchorage War Memorial. Do not turn left but continue on towards the second bridge in the distance. Once you arrive closer to this location you may want to stealth so as to not alert the bandits hiding out underneath the bridge (if you have the sniper equipped you can simply use VATS to insta-target the locations of any nearby bandits so as to better avoid them). It’s easiest to simply walk along the shoreline and head underneath the bridge. Staying near the water also allows you to spot your next destination earlier on and more easily (Jefferson Memorial).
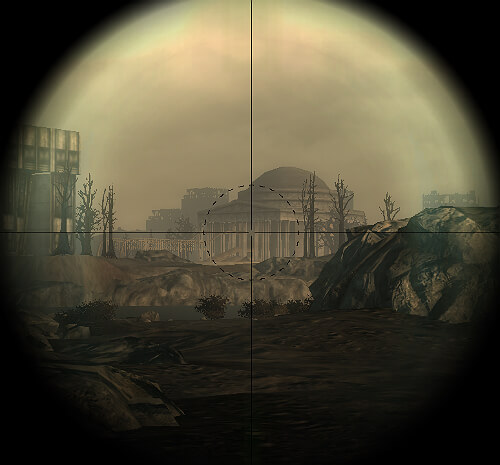
Once you have Jefferson Memorial in sight, consider swimming to the adjacent shoreline without actually embarking on land. Super Mutants inhabit this area which makes walking somewhat dangerous, and swimming can also prove beneficial if you’ve spoken with Moira Brown beforehand and are attempting to contract radiation sickness for her Wasteland Survival Guide (due to the radiation that you’ll encounter while swimming to Rivet City). At this point all you have to do is continue swimming the leftmost shoreline (closest to Jefferson Memorial) until you encounter the beached aircraft carrier which houses Rivet City.
Rivet City:
The Intelligence Bobblehead can be found in Rivet City’s science lab on the rightmost table. The science lab is fairly easy to locate, simply follow the signs throughout Rivet City and you should find your way easily enough. Congratulations! You’re looking smarter already.
Use the Right Tool for the Job

Some situations might call for a laser rifle, while others just a simple metal pipe, the options are endless, and the decision is ultimately yours, but we here at Vault-Tec have some recommendations for those of you newcomers with more specified tastes. If you desire strong guns very quickly, look no further!
Energy Weapons: A laser rifle is a good choice for those interested in Energy Weapons.
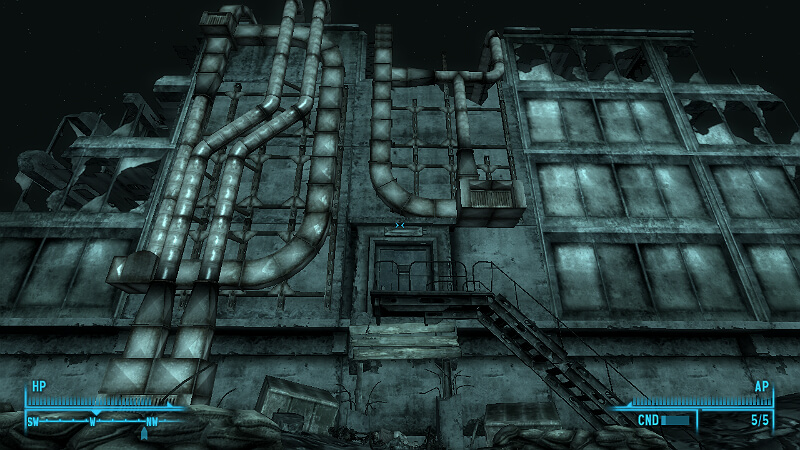
A laser rifle can be obtained at the Talon Company camp near Megaton. The building is distinguishable by the many vents and pipes running up its walls. There are three hostile Talon Company mercs in the building but the Megaton sniper rifle and any pistol should take care of them. The laser rifle is located in a cabinet placed on the left-hand wall of the common room.
Note: This is a very beneficial place to locate as it offers very valuable loot at early stages of your survival-period. This helps you more easily secure your place in Wasteland society!
If you find yourself scared of modern laser-technology and prefer a more classic style, you may consider traveling onwards across the bridge adjacent to the Talon Company camp which leads to the town of Grayditch.
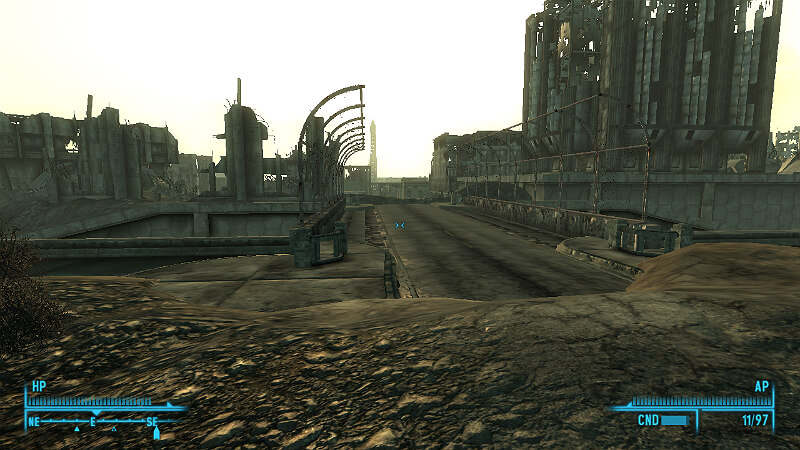
Small Guns: A Chinese assault rifle is a good choice for those interested in Small Guns.
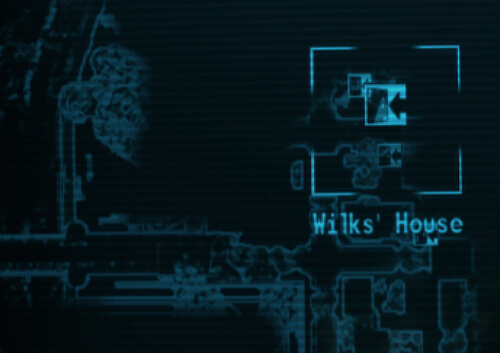
These rifles can be obtained by pick-pocketing armed mines into the inventory of a Megaton guard or simply by allowing Burke to kill Lucass Simms during the Power of the Atom questline. There is also a Chinese assault rifle in the Wilk family’s house in Grayditch. The assault rifle is located on the bookshelf of the deceased family’s main room.
Final Words
Congratulations! You are now ready to venture out into the Wasteland and experience your own untimely demise.
As a final parting reminder, we at Vault-Tec would have you remember that Vault-Tec Industries is indisputably the most important corporation in your small insignificant life and something to which you owe everything you have, including your aforementioned small and insignificant life.
Good luck, and happy hunting!
VDSG PRE VTB-003-101 Pocket Reference Edition
Washington, DC © 2077 Vault-Tec Industries
Issued by Vault-Tec Documentation Department
All visual representations and projections have been developed through the use of Science.
Original Link – Continuation of discussion


Add comment