This guide will introduce you to creating mods for Fallout 4. This guide will cover simple item editing and later on will cover texturing, importing models, quest editing and all kinds of things.
Introduction
This guide will cover the basics of modding for Fallout 4 and will soon cover more advanced things like scripting and texturing. Right now modding is limited because of the lack of the creation kit and other tools. Once the Creation Kit is released I will be covering that as well.
Be warned that modding can break your game if not done right.
Installing FO4Edit
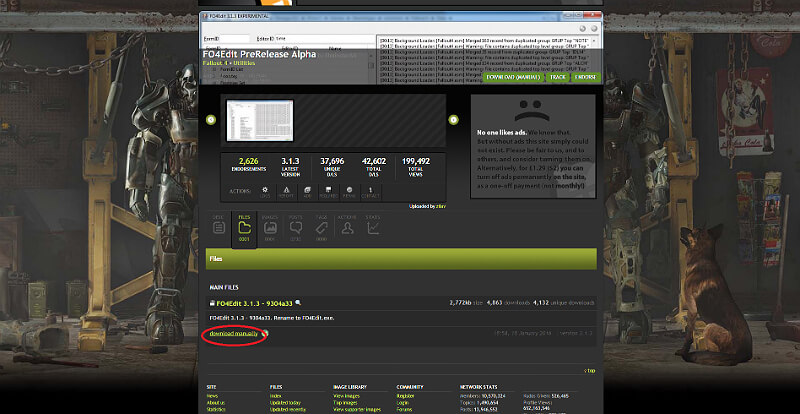
FO4Edit is currently what you need to use if you want to make mods, you can download it here: Link
Once on the site, click on where it says “Files” and choose to download FO4Edit manually.
While it is downloading make a folder somewhere and name it FO4Edit.
Once it has finished downloading, open the file with WinRar or equivalent and extract the files(Select and drag) into the folder you made.
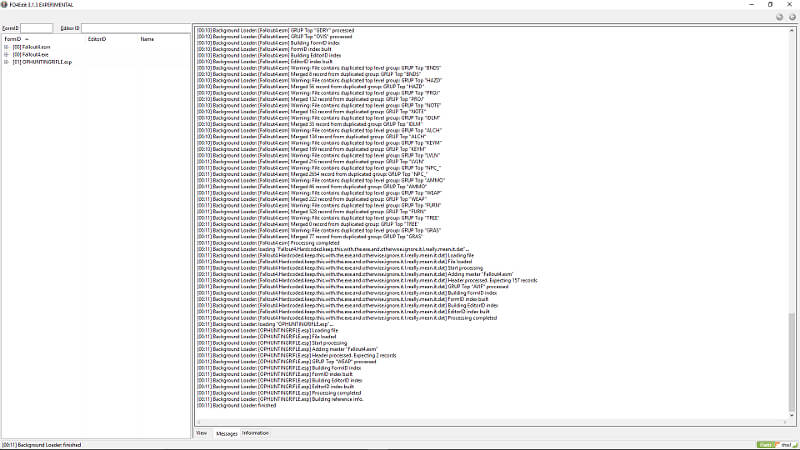
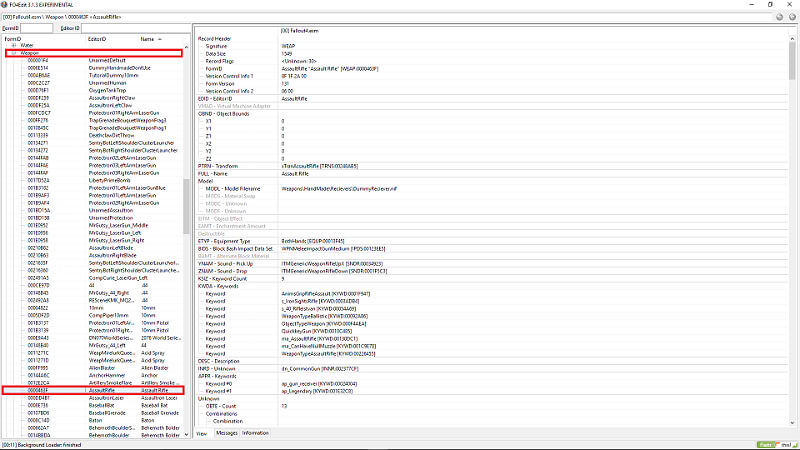
Once they have extracted you should have a file called “TES5Edit.exe”, rename this to “FO4Edit.exe”. Then run it. You should be greeted by this:

Just ignore the file in that picture called “OPHUNTINGRIFLE.ESP”, what’s important is that you should have “Fallout4.esm” checked.
Then click OK and allow it to load all your files. Once everything has loaded, you should have two things on the left side, called “Fallout4.esm” and “Fallout4.esp”. If you can see these it means everything should have worked.
Editing item properties
Now that FO4Edit has been installed and loaded successfully, click on the little + icon next to Fallout4.esm, this should expand the list of almost everything in Fallout 4. Scroll down that list and look for the “Weapon” tab, this will list all the weapons in the game. Scroll down until you find “AssaultRifle” and select it, this will open the properties of the Assault Rifle weapon.
You can either edit the Assault Rifle’s properties directly or create a seperate .esp to edit it. I recommend creating an .esp, you can do this by right clicking on the AssaultRifle tab on the left and selecting “Copy as overwrite into…” You should then be greeted with a warning popup, just select “Yes I’m absolutely sure” to continue. You should then be greeted by this:
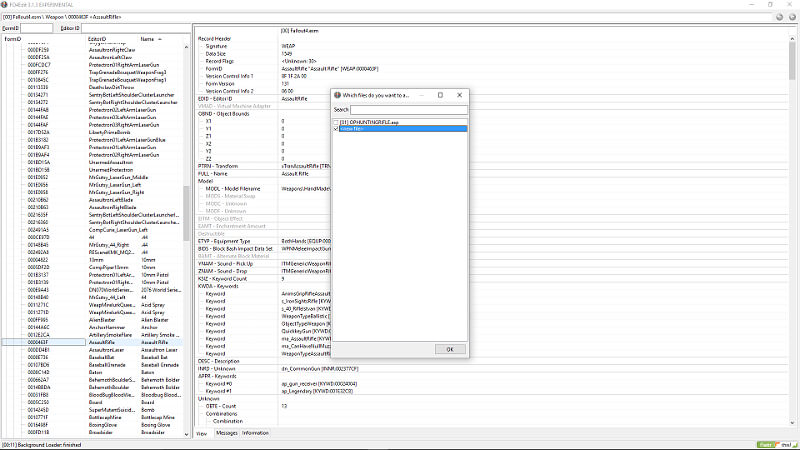
Make sure “New File” is selected and press Ok and name it whatever you want, I’m going to call mine “NewAssaultRifle”, press ok after naming it and press Yes to the pop up after that.
You should now have a new section in the Assault Rifle properties, this is where you will edit whatever values you want and create your mod.
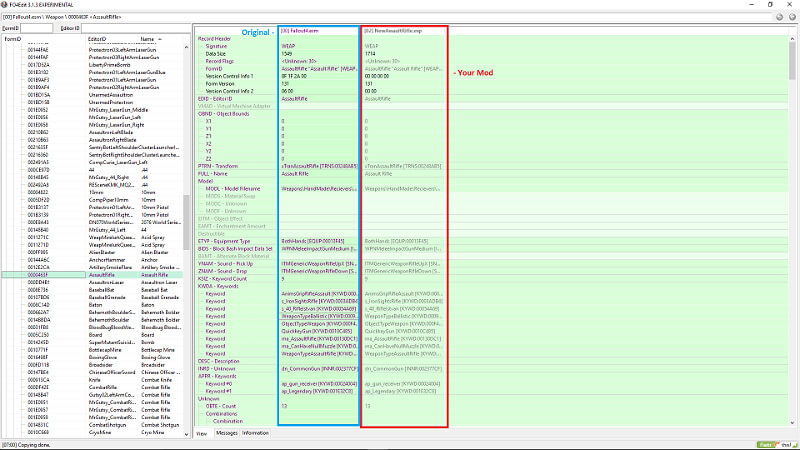
The Red highlighted section is your new esp’s values are, and the blue section is the original.
Now scroll down until you find “Damage” and make sure you edit the value in your esp’s section, not the original.
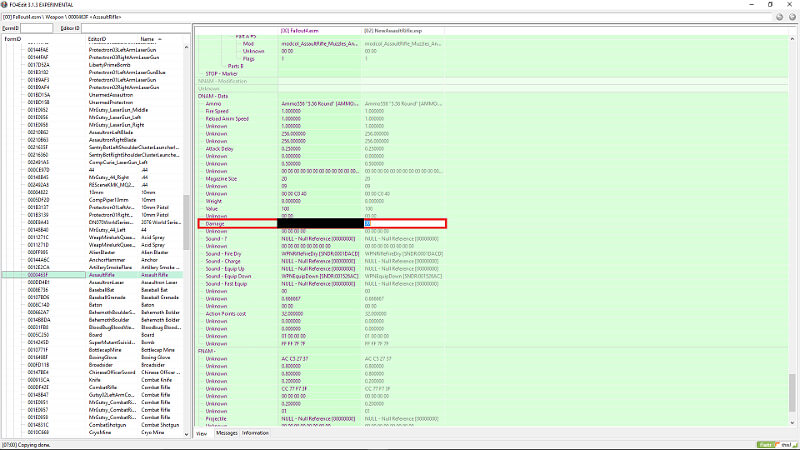
You can change the value to whatever you want, I will change mine to 100. Then hit enter. Now press Ctrl+S to save it.
Congratulations! You have just made your first mod, but now we need to get it into the actual game.
Installing your mod
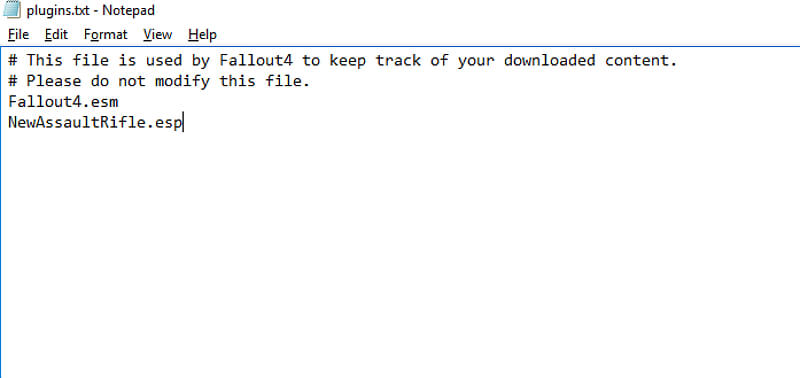
To install your mod you need to navigate to your plugins.txt file. On my computer this is C:/Users/Sean/AppData/Local/Fallout4 once you have opened, underneath where it says Fallout4.esm type “NewAssaultRifle.esp” and save it as Read Only.
Now just run the game and get an assault rifle, it should now have 100 damage.
The code for our weapon is 0000463f, so just go ahead and type player.additem 0000463f 1
And there you go!
Original Link – Continuation of discussion


Add comment