Guide to defeating the Hollow Knight Boss: The Radiance. (Story Spoiler Free).
Charm Build and Introduction
To reflect repeated play-throughs where there was no sequence breaking in the boss phases. At this point, I’m going to call my previous experiences of dealing “enough” damage to cause a sequence break a bug or perhaps it was patched out. Either way, I’ve tweaked the guide to more accurately reflect the strategy under normal conditions in the boss phases. Thanks for the input guys!
This guide is dedicated to defeating The Radiance. This is a spoiler free guide. It will not include any relevant story information, just a strategy to defeat The Radiance. If you don’t know how to get to The Radiance, I won’t ruin it. The Radiance is an interesting fight and a good secret in the game. I highly encourage you to do a bit of detective work and use the story to figure it out.
There are likely many ways to defeat The Radiance but the strategy detailed below gives a sure fire way to get through the fight. There are certain charms/spells/etc. required to perform this strategy. By clicking the links below, it will take you to the relevant wiki page which should help you find those charms/spell if you don’t already have them. Important note: I recommend having all of the Soul Vessels (nine fragments / three vessels) in order to get the most spell uses in. Having more spell uses will significantly shorten the fight.
You will also need all of the Notch Slots in order to use the Charm loadout detailed below. You can probably live without the Lifeblood Core if you don’t feel like getting all the notches but having it will give you some extra breathing room if you’re having a tough time. If you do not have either of these maxed out, click the links above to head over to the relevant wiki page which should get you on track to find those items.
Equipped Charms:
- Lifeblood Core
- Shaman Stone
- Joni’s Blessing
The following spell is required for this strategy:
- Abyss Shriek
General Strategy
I was having a lot of difficulty trying to use my nail to hit The Radiance while avoiding taking serious damage. The Radiance hits for two masks with each attack, which makes this one of the toughest boss fights in the game for trading damage. I decided to adopt a spell focused/life blood build which will allow me to generally avoid using the nail and focus on dodging. I found that the key to this strategy is to spam Abyss Shriek and dodge The Radiance’s attacks. This combination will make quick work of the boss battle. By using life blood, you’ll have a ton of health during this fight. That should buy you enough time to finish off the boss. Using both Joni’s Blessing and Lifeblood Core will increase your health by eight masks. I had 15 or 16 masks during the fight (including the added Lifeblood). That was plenty of health to get the job done. On a side note: It doesn’t matter how much health you have when you get to the “Challenge” interaction before the fight begins because once you accept and start the fight, your health will be restored to full. So, don’t worry if you’re starting this fight at half health, it’ll automatically bump you up to full.
Now since your health is lifeblood, you’ll be unable to heal, but that won’t make a difference because you’re not going to be in this fight long enough for your health to get that low. This is not a fight of attrition and with a little practice (and patience), you shouldn’t be taking too much damage or trading hits with The Radiance. The spell Abyss Shriek deals up to four strikes at 16 times base nail damage (it hits four times in quick succession at 20 damage per hit, with 40 Shaman Stone bonus damage totaling 120). That is an incredible amount of damage and it won’t take long to progress through The Radiance fight. (FYI: the Pure Nail only does 21 damage).
Your goal is to spend your time in between your spell attacks dodging The Radiance’s various attacks. When it’s safe, use Abyss Shriek to deal damage to the Radiance. I’d recommend starting the fight with full soul but when you’ve exhausted that (or if you have none) you will need to get some quick hits in to stock up on soul.
The Radiance has 1700 HP according to the Wiki. Since Abyss Shriek deals 120 damage with the Shaman stone, and factoring that you’ll be getting a few nails hits in, you should only need to hit The Radiance a max of 14 times.
Each spell use consumes 33% of your soul meter, which with all the soul vessels will allow you to use the spell six times at full soul. This means that starting with full soul, you’ll need to refill about 1 and 1/3 additional times. All that said, avoid spending too much time focusing on nail hits, it is very risky and difficult to find consistent openings. The Radiance is a tough boss and its attacks can be difficult to dodge while also trying to find a window to get a nail hit in. It is far easier to go for Abyss Shriek attacks and they do significantly more damage. If you need soul and must recharge, it’s ok to trade some blows with The Radiance as the valuable soul you’re building up will allow you to spam Abyss Shriek and get the fight over with.
Boss Phases
The Radiance’s Attacks:
- Firing homing orbs (3 total) (like the Soul Masters)
- Various flying swords (some from the sky, borders of the arena, or from The Radiance itself in a circular pattern)
- A sweeping light beam which moves from one side of the arena to another (you will need to use Shadow Dash to dodge this otherwise you WILL TAKE DAMAGE)
- Shooting lasers from its’ eyes in a spread pattern. It will do this three times and shift position of the lasers each time.
Note: I originally had noted that it was possible to deal enough damage to “skip” or sequence break the phases. It has been reported that this behavior may not be possible anymore. In the absence of this, simply try to deal damage quickly via abyss shriek and this fight won’t last very long.
This fight has 5 total phases. Even without any sequence breaking silliness, abyss shriek deals an awful lot of damage. So, if you’re able to get the hits in (especially in phases 1,2, and 4) this fight shouldn’t be too tough. It took me some practice, but it was a far easier method than relying on the nail alone.
One final note: Just remember, 14 abyss shriek attacks and you should be finished. For recharge purposes that’s 1 full soul charge(which you should have going into the fight), a full refill, and then 2/3 of a soul vessel.
Phase 1
In Phase 1, The Radiance will use all the attacks mentioned above while occasionally teleporting around the arena. With these attacks in mind, phase one will essentially consist of you dodging these (which isn’t too tough once you know what you’re looking at, there aren’t any cheap shots in this phase). When you get a break in the attacks, use Abyss Shriek as many times as you can.
Phase 2
In Phase 2, The Radiance will continue this pattern but will also make spikes appear which cover half of the arena. These spikes are telegraphed with white orbs on the ground that appear a few seconds before the spikes pop up. It’s just one more thing to avoid while you’re spamming Abyss Shriek. You may need to get a few nail hits in to charge your soul vessels at this point but otherwise, it’s just a bit more annoying. Focus on getting Abyss Shriek hits in and you won’t be in this phase for long.
Phase 3
In Phase 3, Spikes will appear at the far edges of the arena while The Radiance continuously rains swords from above. There will be breaks in these sword walls and they’re essentially easy to dodge. Try to get a few hits in with abyss shriek and then I’d recommend focusing on nail hits for two reasons. First, to charge you soul vessels (because in the next phase it is far more difficult to do this). Second, it is easier in this phase to land nail hits, so make use of this.
Phase 4
Phase 4 adds to the difficulty of continuing phase 1’s attack pattern while on floating platforms. This can make the fight a lot tougher and I would emphasize getting those Abyss Shriek hits in and moving through this phase as quick as possible. If you followed my advice above, you should start this phase will full or near full soul. Try to unload all your abyss shrieks. It shouldn’t require too many before this phase is concluded. The Radiance’s health should be quite far depleted by this point. If you have surplus health at this point, you can try to go in for some trades with your nail, after you’ve used all your abyss shrieks. So, if you can afford to lose some health then make the trade.
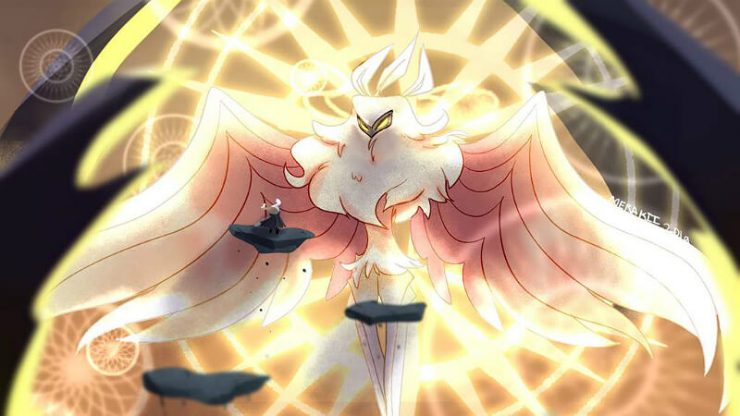
Final Phase
You’ll know the final phase has begun when The Radiance appears to escape upwards. Start jumping up the platforms (which will already be on screen if you made it to phase 4 or will appear when the final phase starts). You’ll begin climbing a long series of platforms. The only attack you need to worry about is a downward (and likely angled) laser attack similar to the ones you may of seen while in the Crystal Peak. You’ll get a small telegraph before they appear. Just keep double jumping out of the way and move up. Eventually you’ll encounter The Radiance. Go in for a good nail hit (it just takes one) and enjoy the game’s secret ending. Good Job, Skeleton!
Original Link – Continuation of discussion

Add comment