Follow this simple step-by-step guide on installing custom skins for War Thunder.
NOTE: This guide is intended to be as simple/basic as possible. Some things appear very VERY obvious as you may notice.
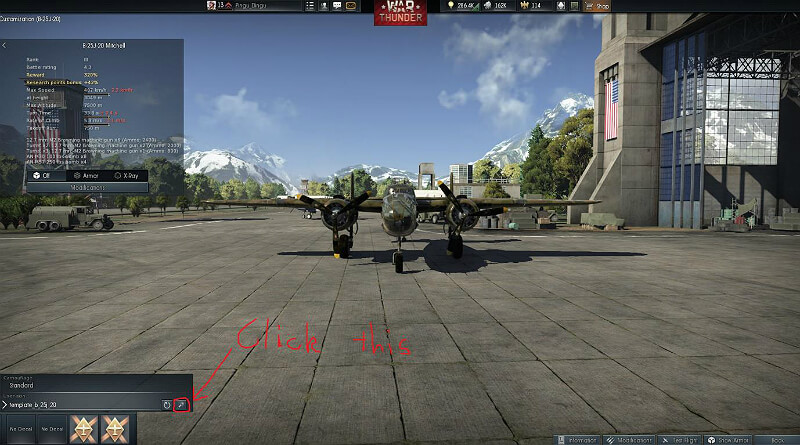
STEP 1
Go to your aircraft that you want to put a skin on and go to customisation. Click on the magic wand thingy located on the bottom left of the screen.
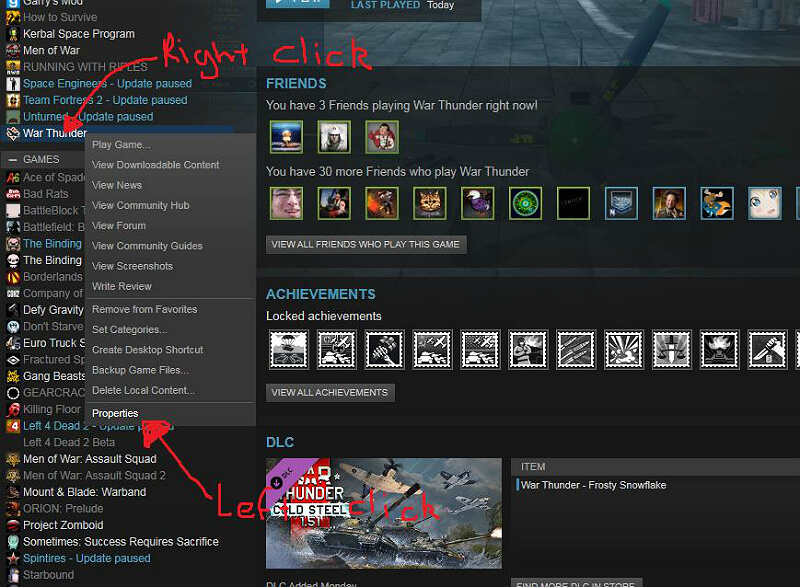
STEP 2
Go to your desktop (you can leave the game open) and go to your steam library. Right click on War Thunder and click on properties. When the properties menu shows up, click on the ‘local files’ tab.
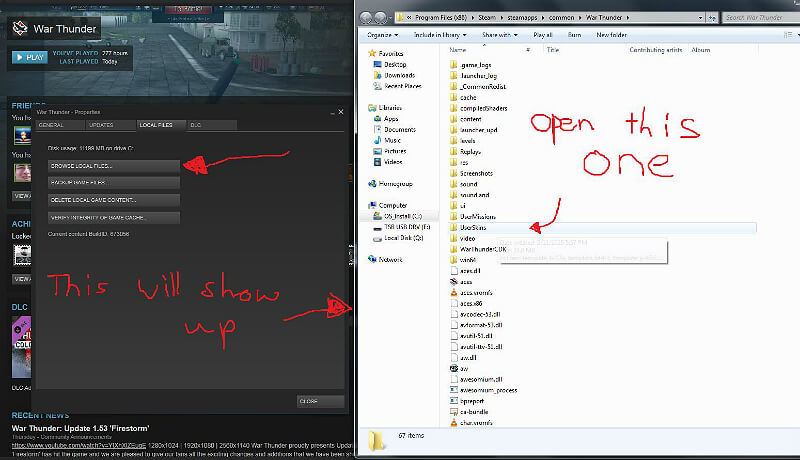
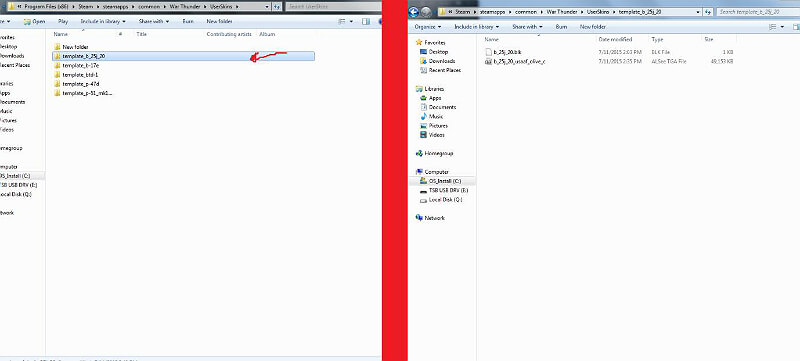
STEP 3
Click on ‘BROWSE LOCAL FILES’. This window will show up. In this window, open the ‘UserSkins’ file.
STEP 4
Click on the file with the name of your aircraft/tracked vehicle which you will be adding a skin to. In this instance we will use the B-25.
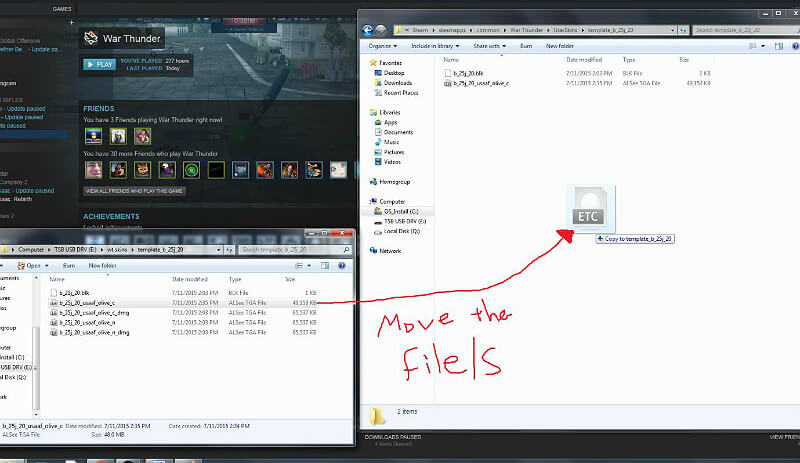
STEP 5
Open the file where the skin that you downloaded is. Drag the contents of the downloaded file into the aircraft userskin file. If a window appears, saying “there is already a file with the same name in this location” click on move and replace.
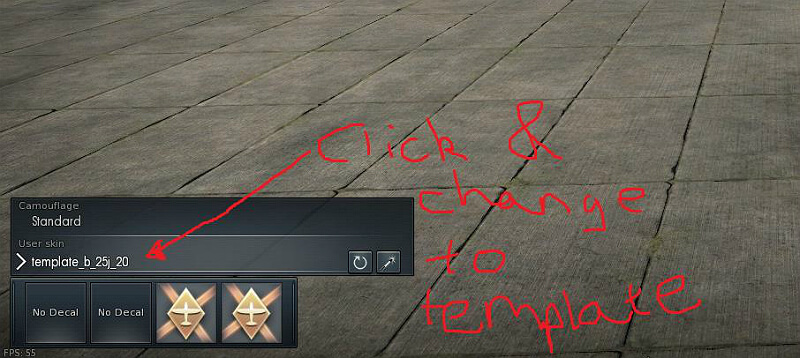
STEP 6
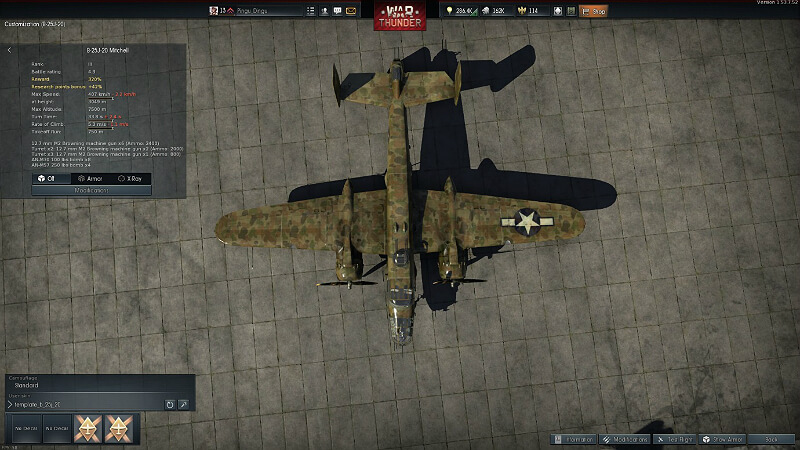
Go back to War Thunder and back to customisation of your aircraft again. Click on the ‘User Skins’ tab and select the template.
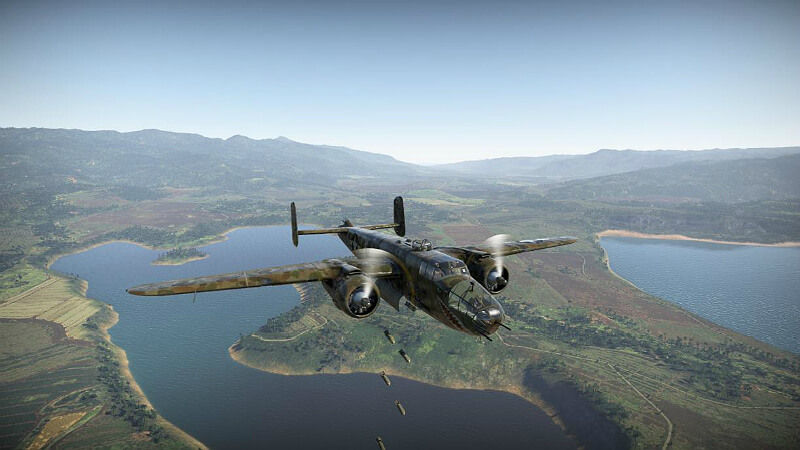
Gallery
You’re done!
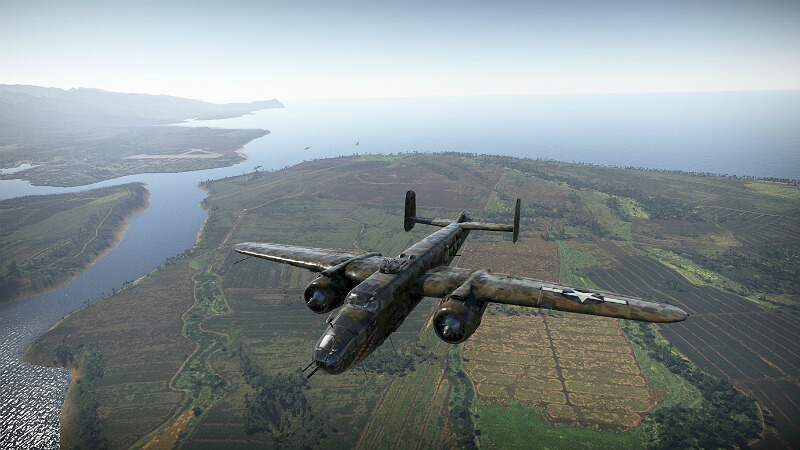
Sorry for this ugly B-25 skin I made. Tried to do an auscam pattern but looked like a flying turd in the end.
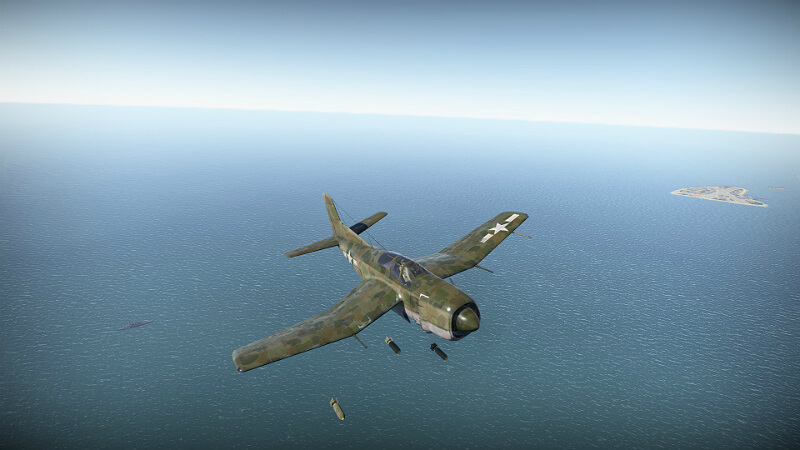
Flying turd 2.0
Having issues or want to correct me on something? Feel free to ask in the comments section below.
Original Link – Continuation of discussion


Add comment