
Hi!
This is an absolutely basic mod, very simple asset replacement, just to get new modders into Fallout 4 modding, using the latest version of the Garden of Eden Creation Kit.
No prior knowledge of modding or the geck is necessary to complete this tutorial.
In this mod we are going to replace the main bridge in Sanctuary Hills with the one before the war.
Sorry for the bad English.
Pre-requisites

- Fallout 4 with patch 1.5, you don’t need to own any of the DLCs, just the F4 game. Mine is from Steam.
- The geck consumes an ungodly amount of memory, 8GB+ recommended, it might work with 4GB.
- To get the geck you’ll have to create or have an existing Bethesda.net free account.
TUTORIAL
- Go to this page (Link) and click on the link to download the “Bethesda.net Launcher”.
- Run the launcher.
- Create new account or login with existing credentials.
- After login, install the Creation Kit from the Launcher.
After install, your launcher should look like this
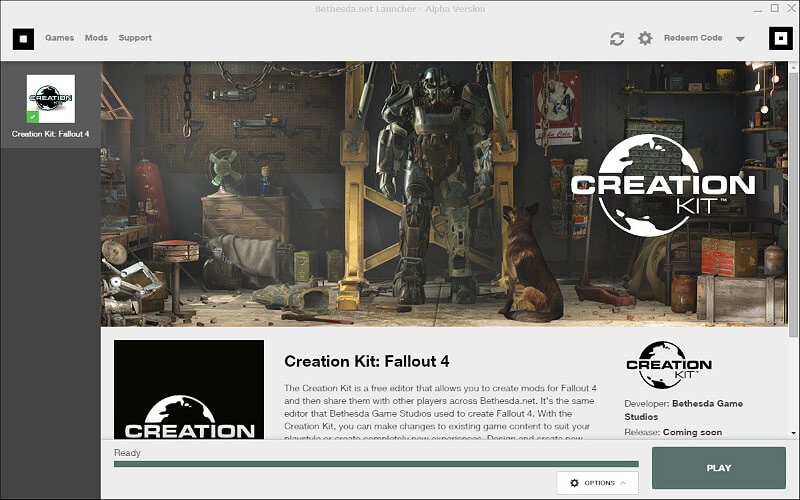
- Click the PLAY button on the bottom right.
It may take quite a bit to get ready, more so during the first run. Be patient.
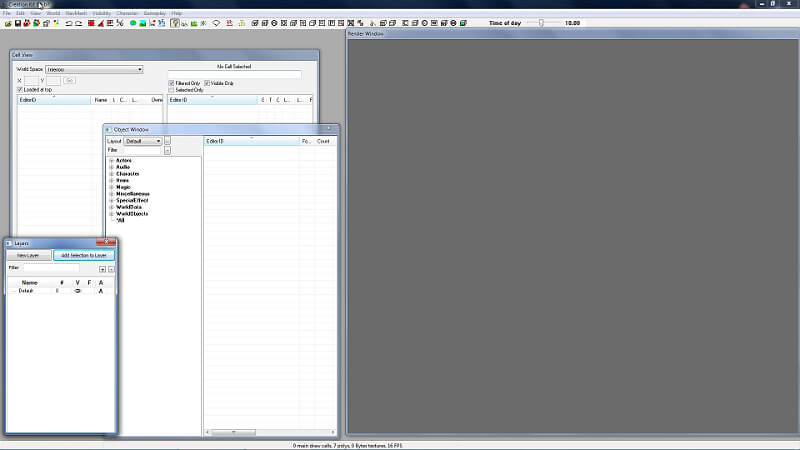
Throughout this tutorial, and your own modding work, the creation kit may stop responding, go white and/or display not responding in the bar.
Just wait, it will eventually sort itself out. (or crash, that can happen too, yes) - When it finishes loading, arrange the windows more or less like this
- Go to the File menu and choose “Data…”. A new window opens
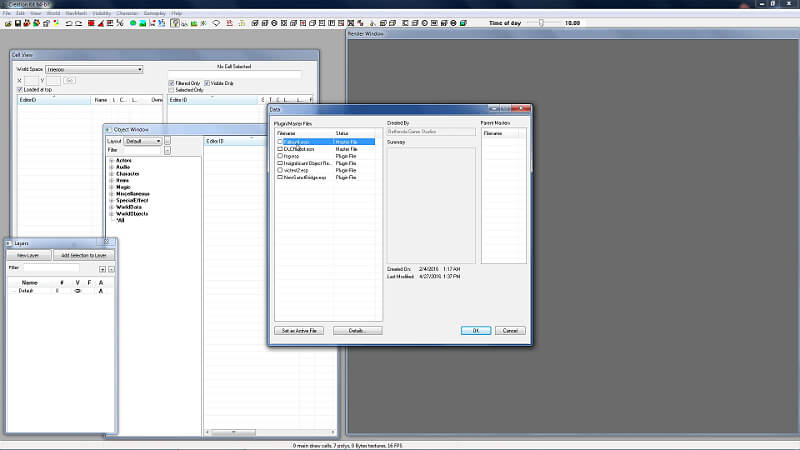
- Double click “Fallout4.esm”.
The check box should now be selected.
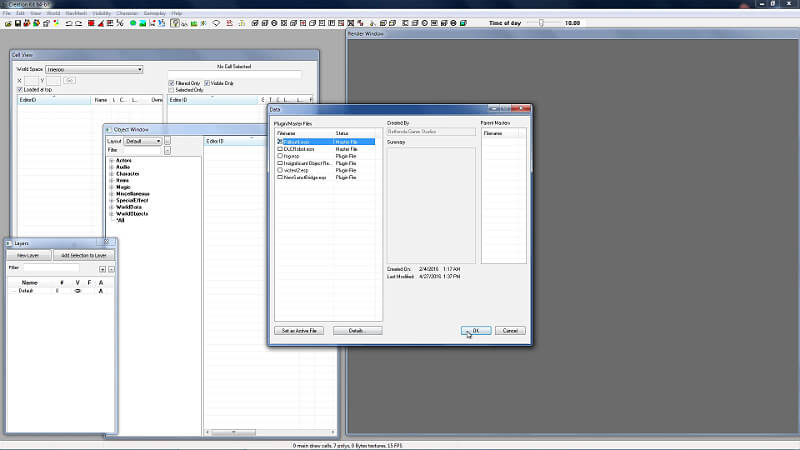
- Click Ok.
The creation kit will now load a large amount of data from your Fallout 4 game. It will take a lot of time, several minutes at least, to load it all. You can watch the progress in the bottom status bar. - After it loads, it should display a Warnings window.
You can safely click the clear button. - Find the window named “Cell View”.
- From the “World Space” drop down menu select “SanctuaryHillsWorld” –
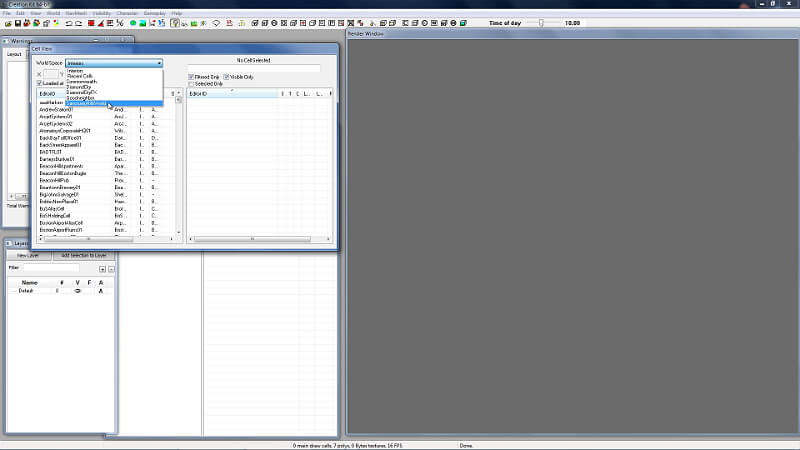

After a moment it will load all the assets for this world. - On the left table, find the map with the EditorID “PrewarSanctuaryExt01”. Double click it.
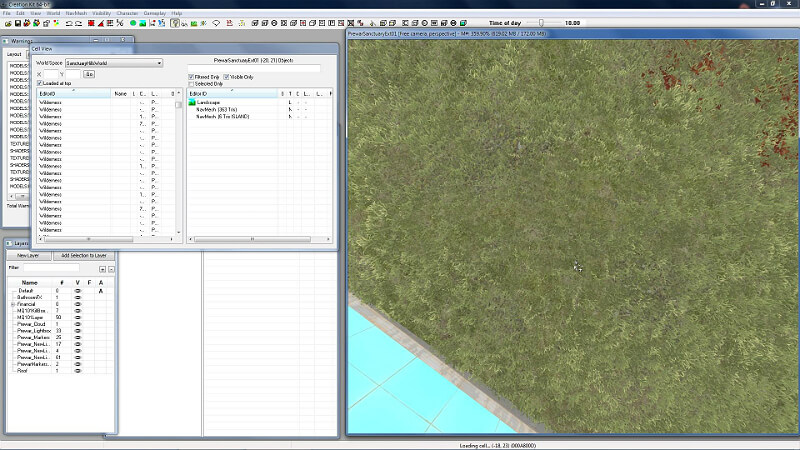
It will now load this map cell, taking quite some time.
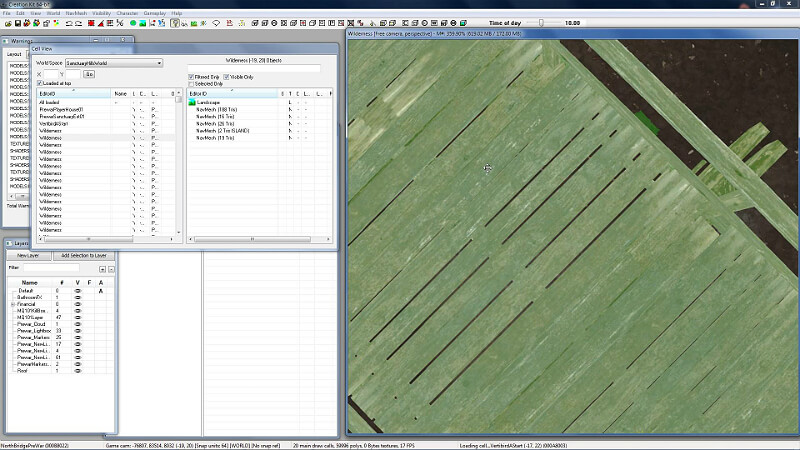
The status bar at the bottom shows the progress. - After load, you should be able to see the grass from sanctuary hills pre war map in the render window.
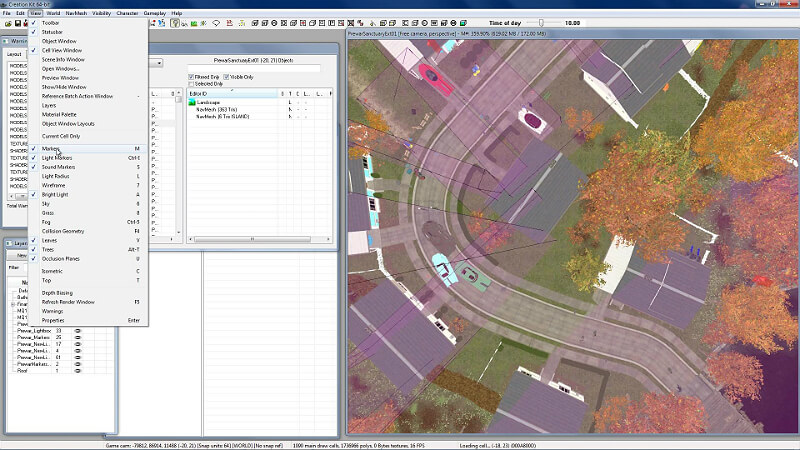
- For speed and clarity, please turn off all the Markers.
Go to the “View” menu and deselect “Markers”
- To move around, first select the render window, then
- hold space bar and move mouse inside window to Pan
- hold Shift and move mouse inside window to Spin
- use the mouse wheel to zoom in and out
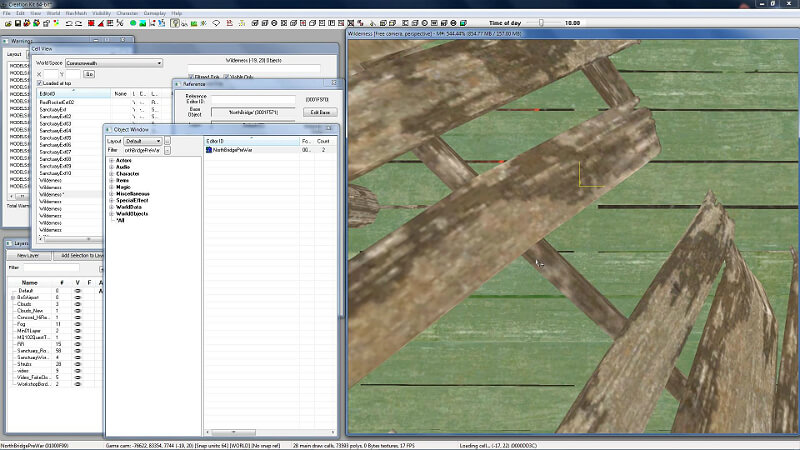
- Locate the bridge
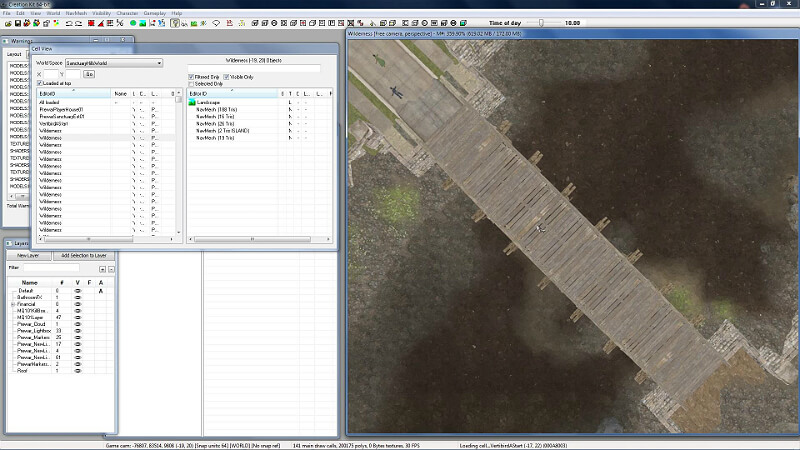
- Click to select the object. When selected, the object goes green.
To be able to select you may have to zoom in very close to the bridge, otherwise you’ll be selecting other invisible volumes, fog, dust effects etc.
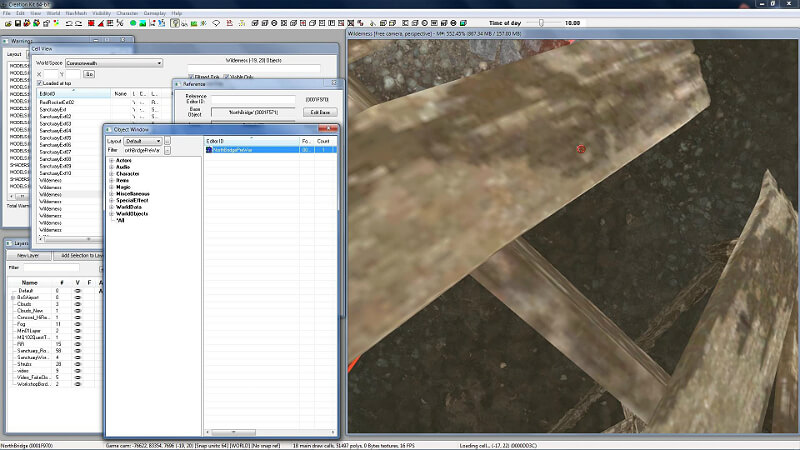
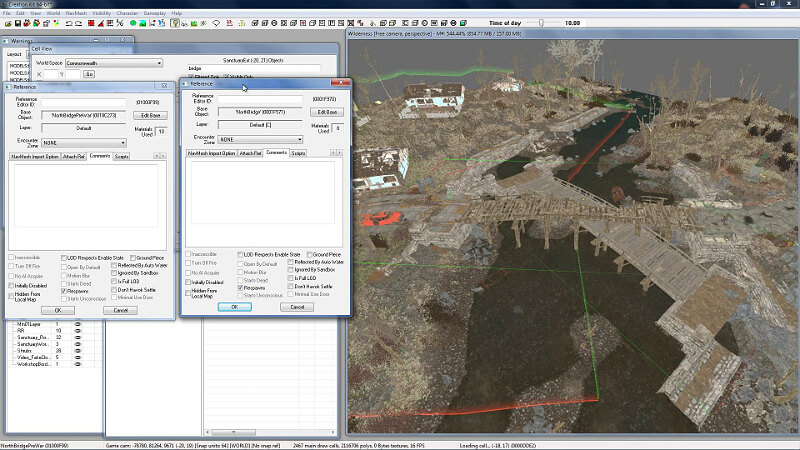
- Double click the bridge.
A new “Reference” window should open.
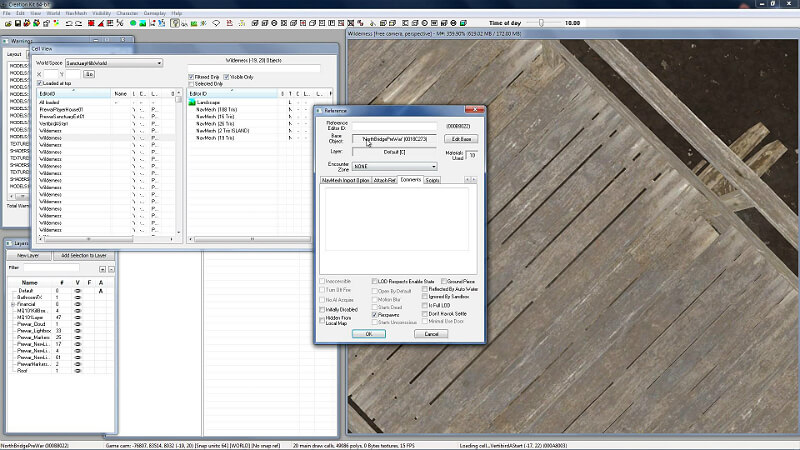
- Please take note of the name of the base object, in this case it is “NorthBridgePreWar”.
- Click Cancel on the Reference window.
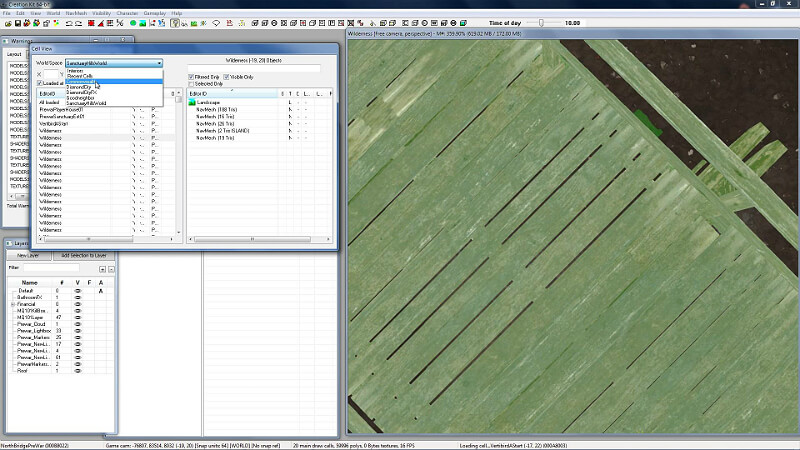
- Find the Cell View window.
From the drop down, select Commonwealth
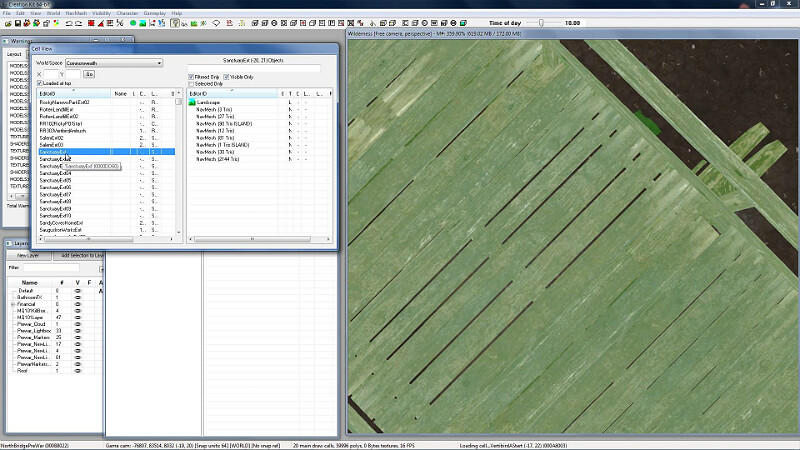
- On the left table, scroll down till you find the “SanctuaryExt” map.
Double click to load
- After loading, move around and find the broken bridge.

- Find the “Object Window” window.
On the “filter” text box on the top right, please enter “NorthBridgePreWar”, the asset identified in steps 19 and 20. - It should find just one object in the right table.

- Click and drag the NorthBridgePreWar object from the right table into the render window.
- Release the mouse button when the mouse is on top of the render window.
- The new bridge should appear on the map.
It will be on the wrong place, we’ll fix it in the next steps.
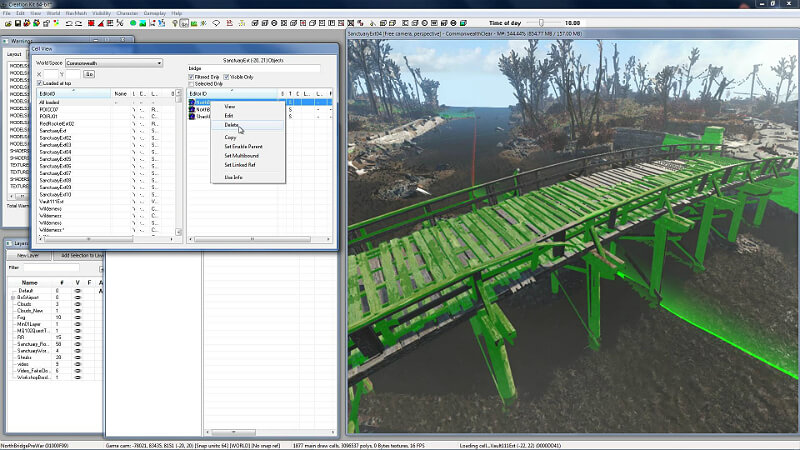
- Go to the Cell View window, make sure that Commonwealth is still selected as World Space, select the “Loaded at top” box and click “All loaded” in the left table.
- On the right side of the window enter “bridge” into the top search box.
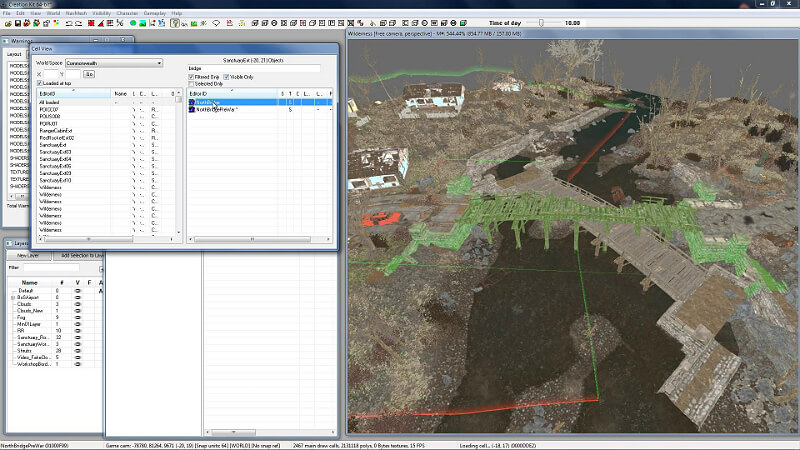 There should only be two objects, NorthBridge and NorthBridgePreWar.
 - Right click on NorthBridge and select “Edit” from the menu.
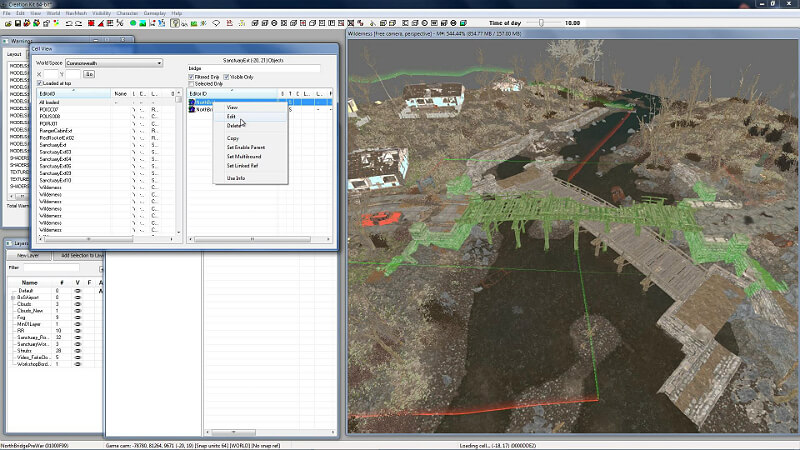 Do the same for NorthBridgePreWar.
You should now have two “Reference” windows open.
- On both Reference windows, navigate to the “3D Data” tab.
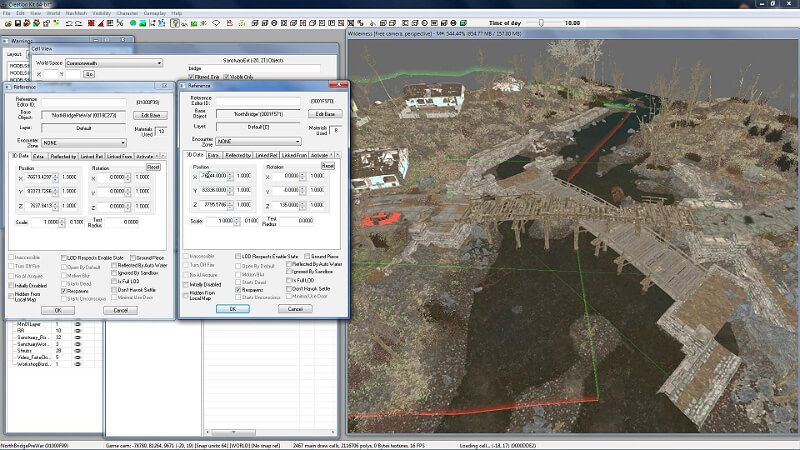
- Carefully copy the values for Position XYZ and Rotation XYZ from NorthBridge (existing) to NorthBridgePreWar (new).
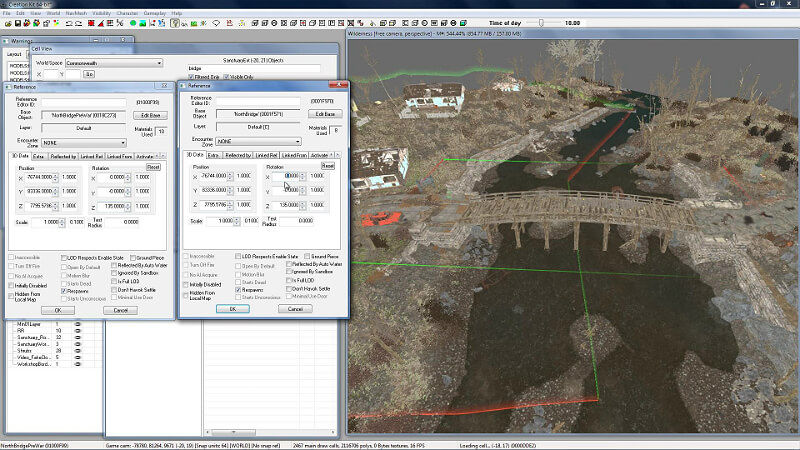 After the last copy-paste you have to click away from the field for the bridge position to update.
You should now have both bridges overlapping in the correct position. - Click OK on both Reference windows.
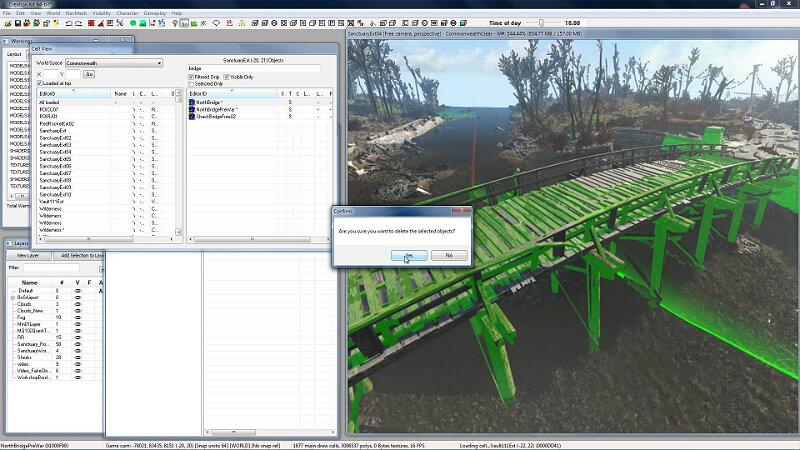
- On the Cell View Window right click on the NorthBridge object and select “Delete” from the menu.
- A delete confirmation window shows up. Choose Yes.
- Go to the File menu and choose “Save and Push Plugin to PC”.
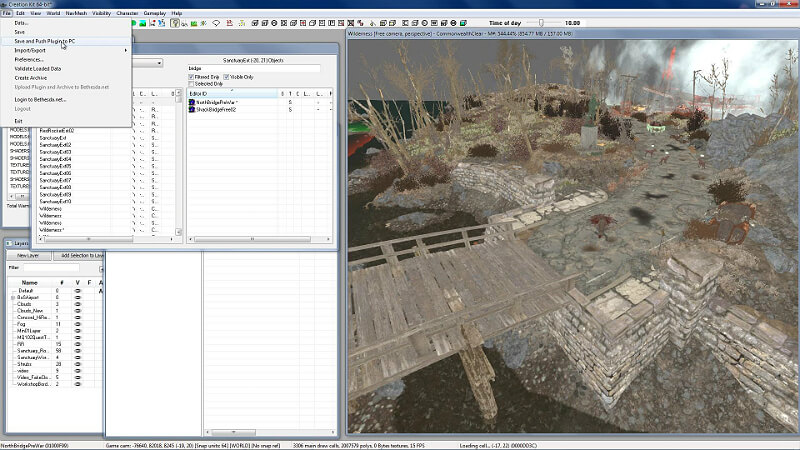
- Give the mod the name “NewSanctBridge.esp” and click Save.
The mod dir for Fallout 4 on Steam is for me: “C:\Program Files (x86)\Steam\steamapps\common\Fallout 4\Data” - Close the creation kit. It will take time to close.
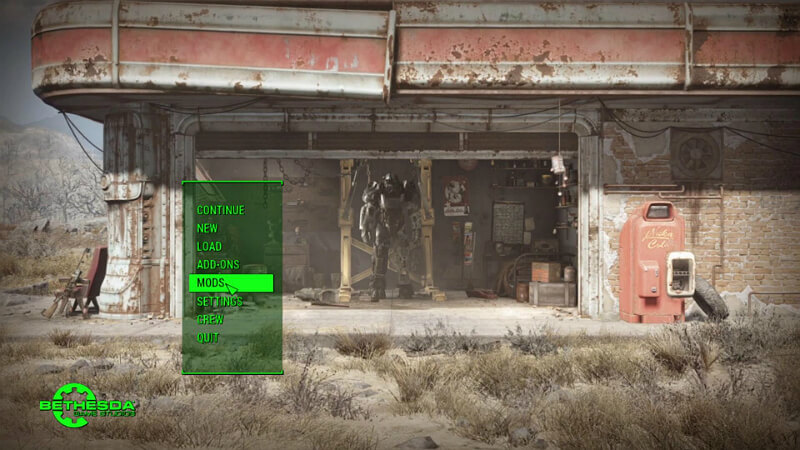
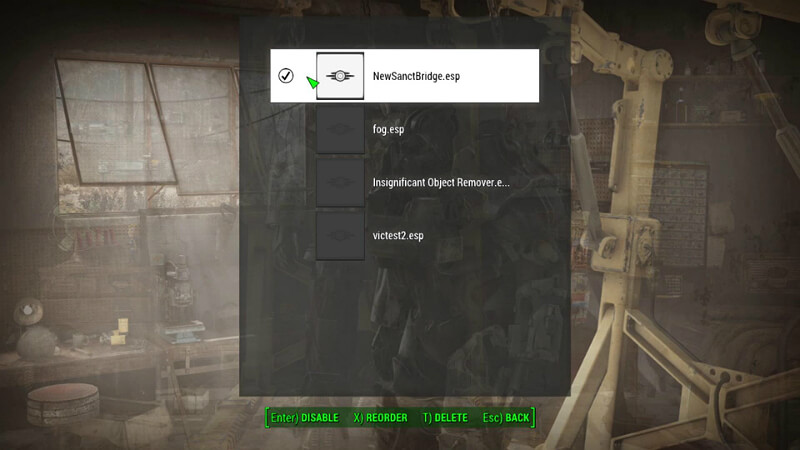
- Open Fallout 4. On the main menu choose “MODS”
 After login press “T” for load order.
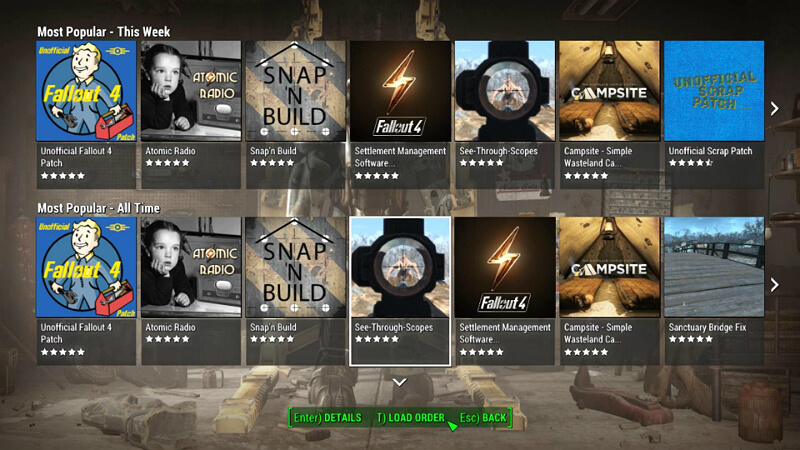
- From the list choose and enable the “NewSanctBridge.esp” saved in steps 37/38
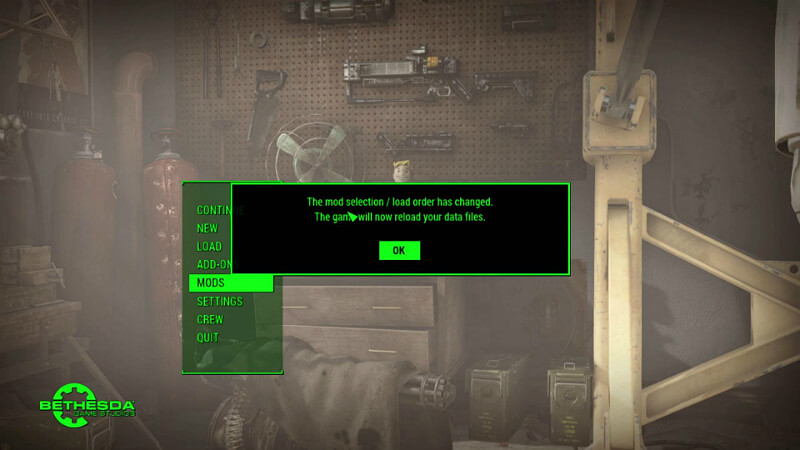
 Esc two times to go back to the main menu.
The game will prompt to reload data files. Choose OK.
- All Done! Load a game and enjoy your new bridge.
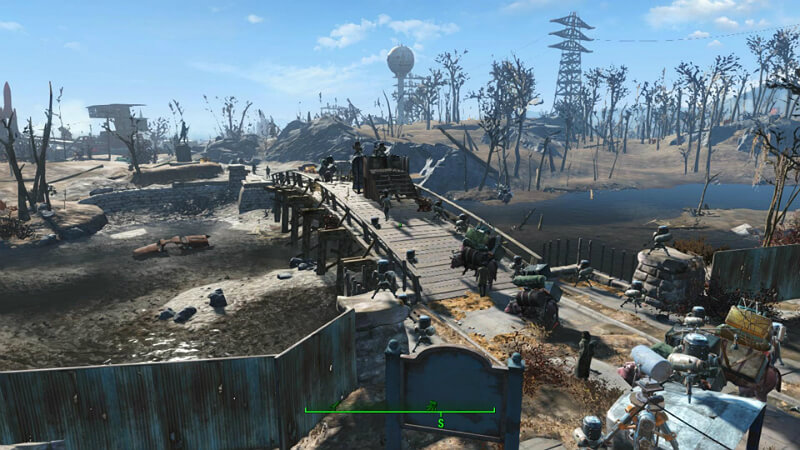
Yes, I like turrets, many, many turrets.
Download only
Mod download link – here
Download the mod from the link above, put it in the F4 data folder (C:\Program Files (x86)\Steam\steamapps\common\Fallout 4\Data), and then follow steps 40, 41, and 42.
To remove the mod just disable it from the mod menu and delete the file from Fallout 4 data directory.
Any troubles following the tutorial please post below and I’ll try to help.
Video of the whole process:
Original Link – Continuation of discussion


Add comment