
This guide is meant for users who know how to use Steam fairly well. In other words you need to be able to buy, download, and play a game through Steam. This guide is built for new or veteran modders. This guide is about modding the game, not making the mods. Finally, feel free to skip to whatever section you like. Any steps that require another step will tell you.
Installing 7zip

- This step is necessary so you can open any and all mod files later on. All files are compressed into a zip file, either .7z or .rar. This tool becomes super helpful if you want to manually install something.
- First head to this download page: link
- You want to grab this one
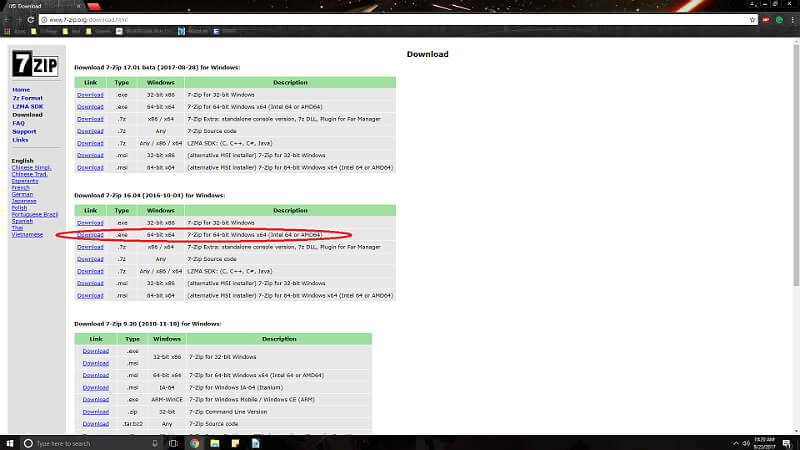
- Install it like any other piece of software
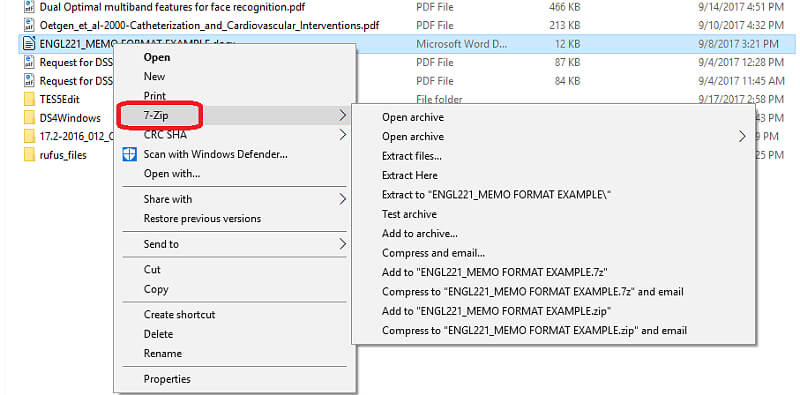
- Now if it is done correctly you should see a 7-Zip option in your right-click menu
Verifying Steam’s Folder Location
- Modding any game becomes a lot harder if Steam is hiding in your program files. This is because these files want permission to modify them.
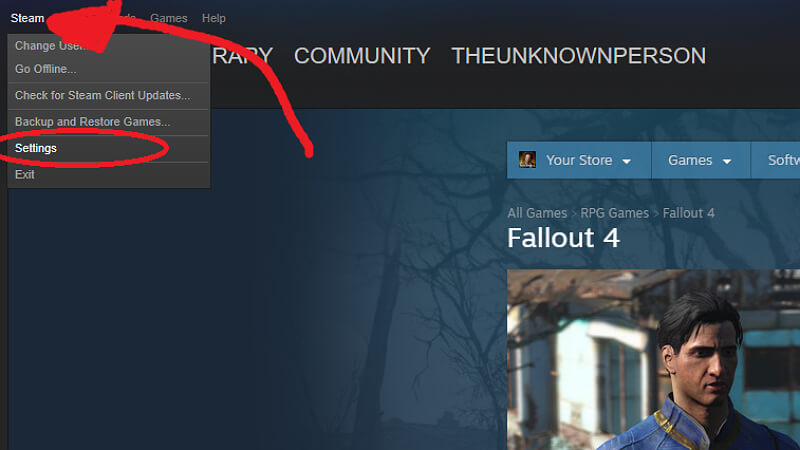
- First open the Steam client and look at the top left corner. Click on Steam and then hit settings
- You should get a nice popup menu then head to Downloads
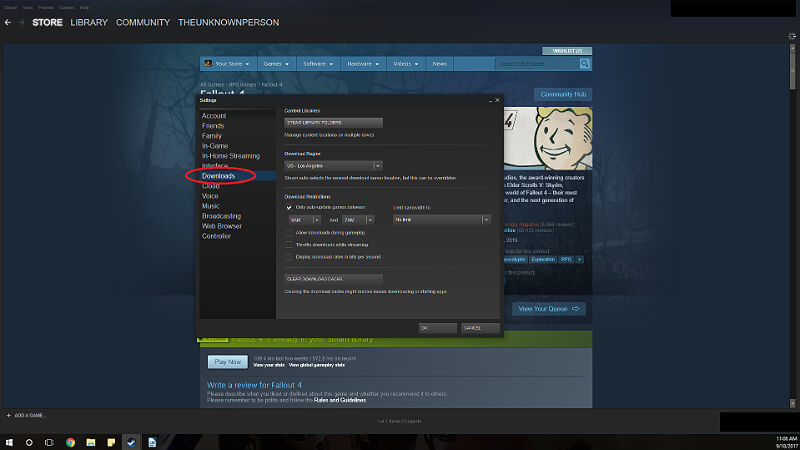
- Click on the button labeled STEAM LIBRARY FOLDERS which will open up another popup menu which looks like this:
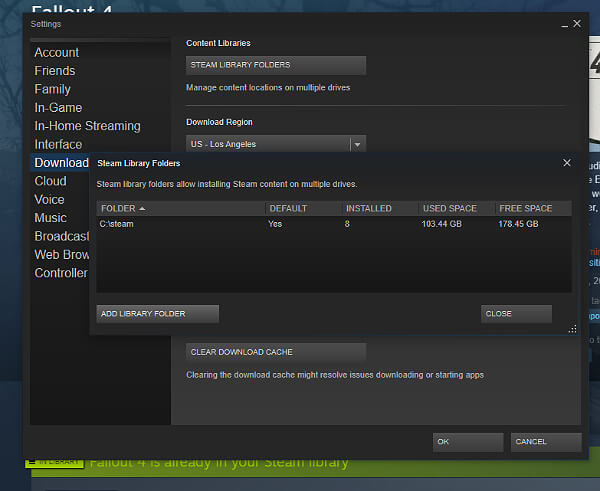
- This new menu tells you were your Steam folder is located. If your Steam folder location is in C:\Program Files (x86)\steam, then it is best to not skip step 6 as you will need to move Fallout 4’s folder. In order to make modding easier.
Verifying Steam’s Auto Update Schedule
- This helps prevent your Steam from messing with your game. Essentially what happens is if you have a mod that requires Fallout 4 Script Extender (F4SE) the new updates break this mod stopping your current play-through.
- Following from were we left off on step 2, close the Steam Library Folders menu
- On the settings menu there is a section known as download restrictions. Check mark the “Only auto-update games between” box
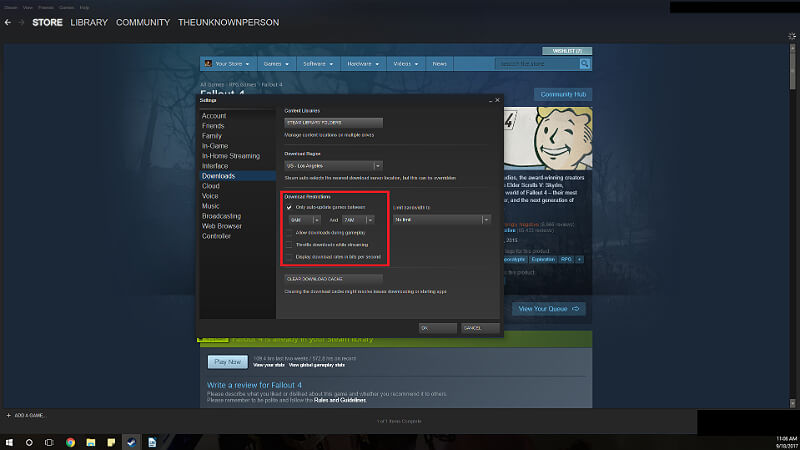
- Then change the times to an hour where you never have your computer on. It must be off or your Steam must be off, for example between 6 AM and 7 AM.
Install the Game

- Install the game if you have not already done so.
Launching Fallout 4
- Step 4 is required before this step can be completed.
- You need to launch the game to the main menu once in order to get all the required .ini files.
- Close any menus and head to LIBRARY and start Fallout 4.
- You will get a launcher like this
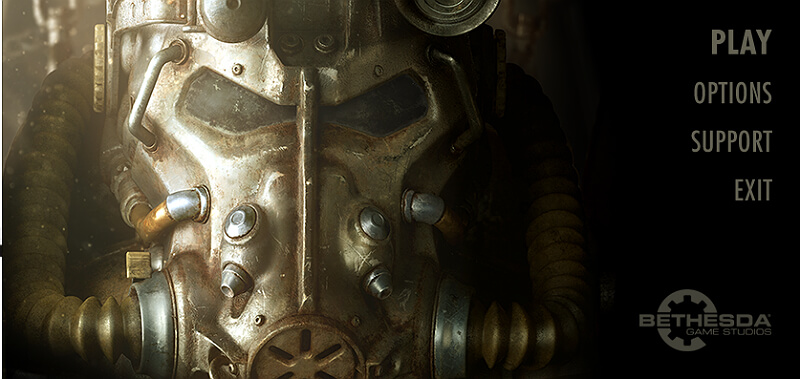
- It will have a couple white error box like messages scanning your computer to generate your settings files.
- At this point you can head to OPTIONS and manually change the settings to what you like.
- After that hit play.
Creation Club
- Step 5 is required before this step can be completed.
- Alright once you hit the main menu for the game hit the Creation Club

- Once inside you can get as many of these paid mods as you like.
- Once you are done with that it is time to navigate to your Fallout 4 installation folder. So close out of the game.
- Open up windows explorer or equivalent and find your game folder. An example location will be C:\Program Files (x86)\steam\steamapps\common\Fallout 4
- Once there double click on the data folder. Now scroll to find a set of files like these if you collected some of the mods:

Moving Fallout 4 to the Appropriate Folder
- Steps 4 and 5 must be completed before this step or Steam will try to re-download your game.
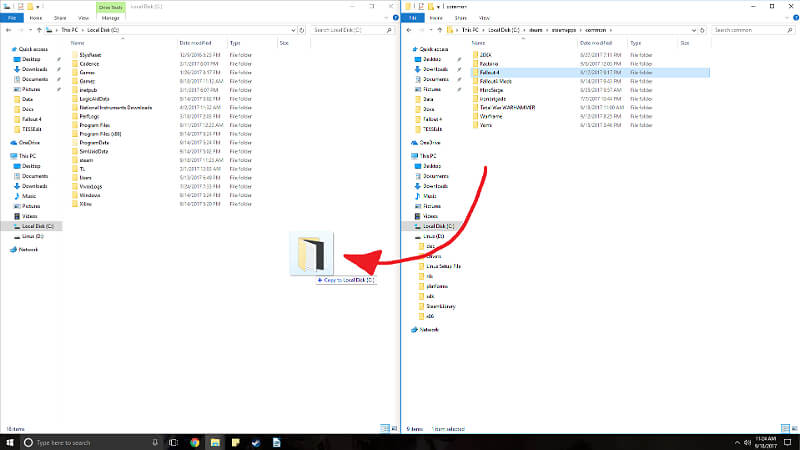
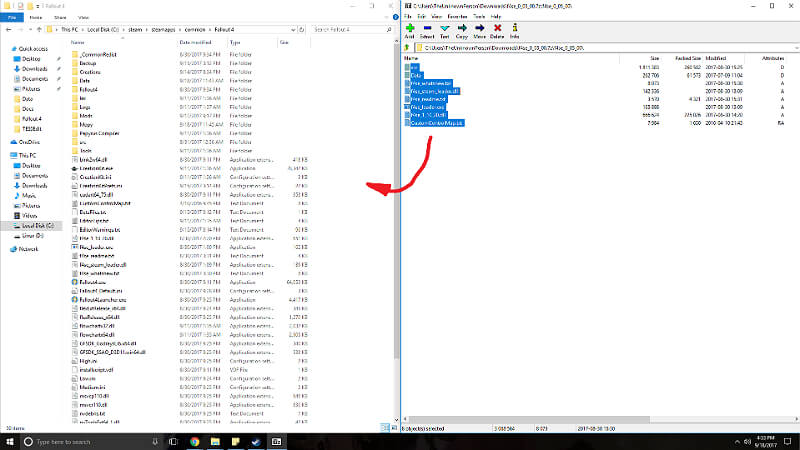
- Alright back up two file folders until you see Fallout 4 as a file.
- Now just drag it to another location like your desktop, documents folder, or the main part of the drive as I am doing in the picture:
Modifying .ini Files to Work with Mods
- Steps 4 and 5 are required before this step can be completed.
- This step enables mods to work in-game.
- Navigate to your Documents then to My Games then to Fallout 4.
- Once inside look for these three .ini files

- You need the Fallout4Custom.ini file. If it is not there you can create it by right clicking and selecting new then text document.
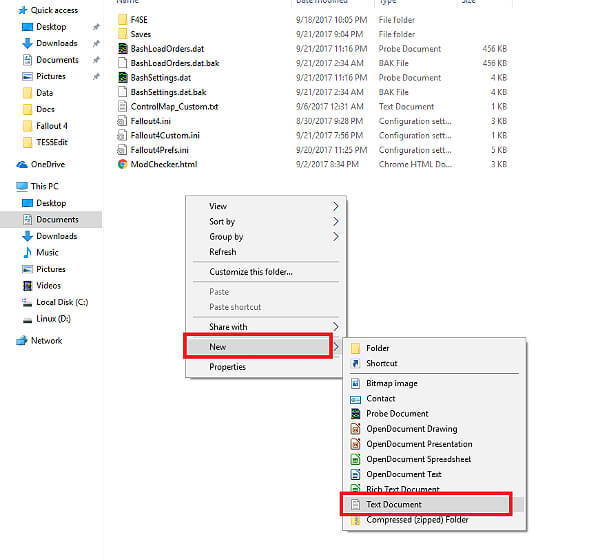
- Once you have this new text document rename the file by deleting the extension .txt and type in Fallout4Custom.ini
- Once done open it up and add these three lines to it then save:
[Archive]
bInvalidateOlderFiles=1
sResourceDataDirsFinal=
Fallout 4 Scrip Extender (F4SE)
- Steps 1 and 4 are required before this step can be completed.
- This is a pretty major modding tool, so a lot of other mods require these files and if you had to do step 6 it is doubly important to download this.
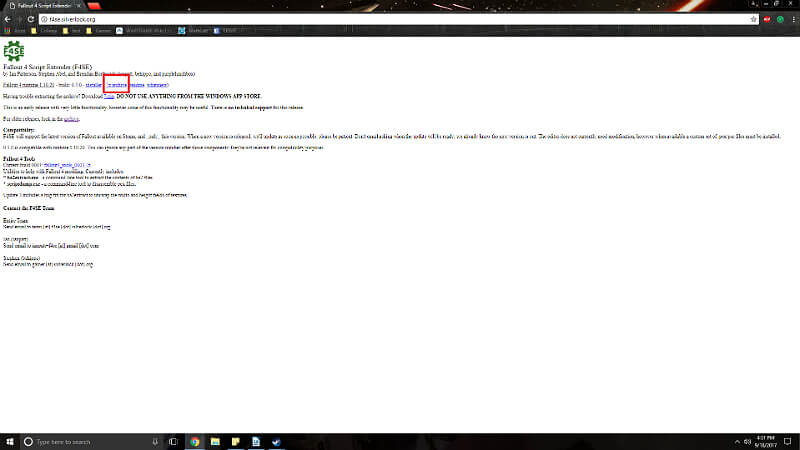
- Download – Link
- Now you want to download this file
- Navigate to where your Fallout 4 installation folder is. Once there you want to be in the folder with the .exe file in it.
- Open up the .7z file for f4se and copy it contents into the folder that you just opened.
Nexus Account Creation
- This is the major modding site and its mod manager tool is currently the best one out there.
- Nexus – Link
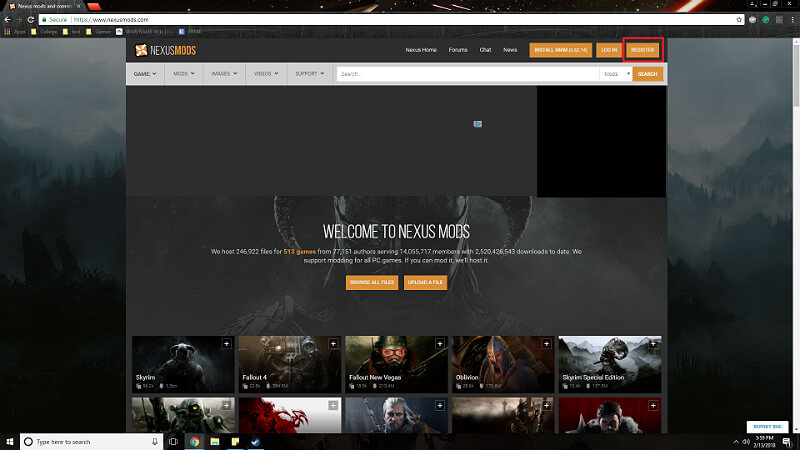
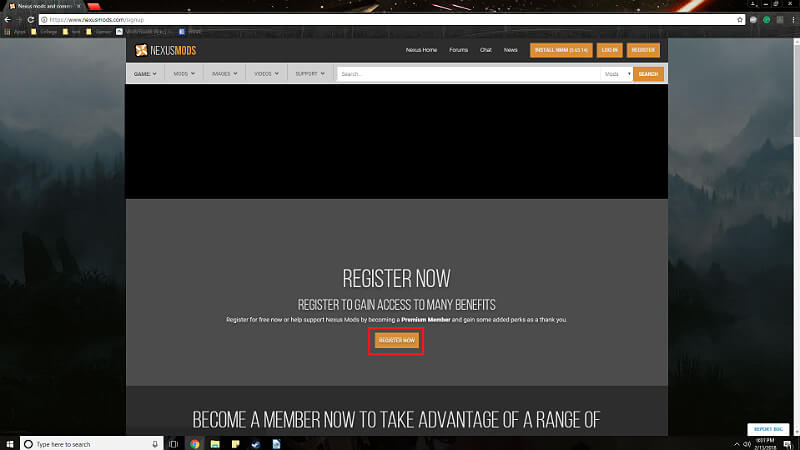
- Click on Register to create an account.
- After clicking on Register you will be brought to a new page click on Register Now button.
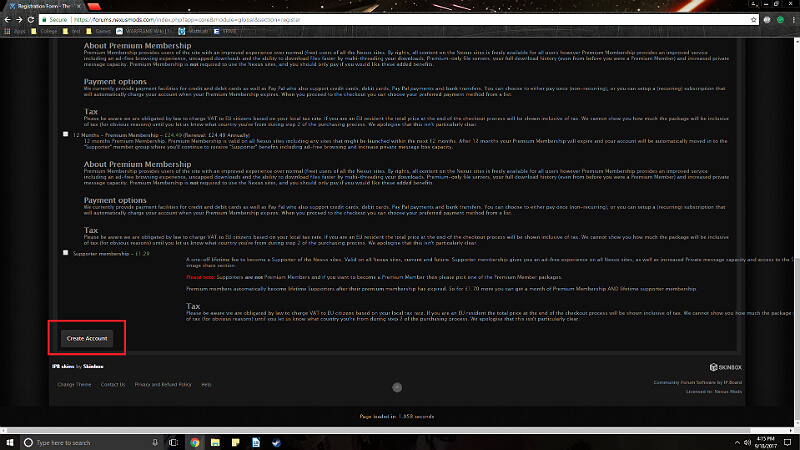
- Now scroll to the bottom; however, if you want to support the site you could select one of the options that you are scrolling by. Once you chosen an option or not hit Create Account.
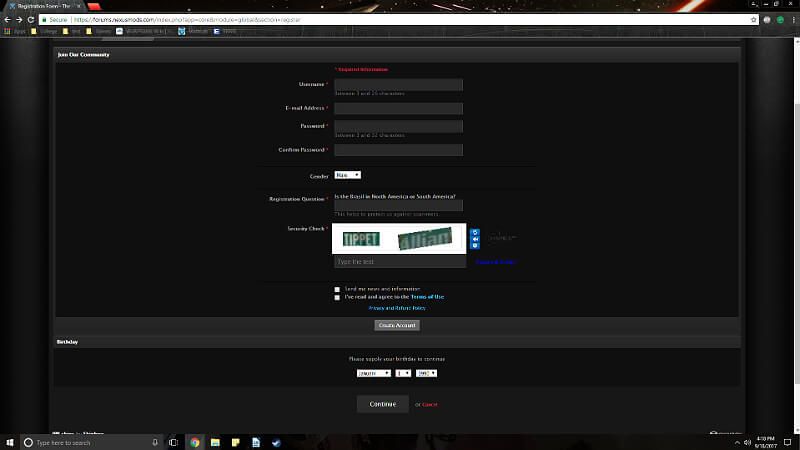
- Fill this page out and finish the account creation process.
Nexus Mod Manager
- Step 4, 5, 8, and 10 are required before this step can be completed.
- Now for the tool we made an account for “Link” Click on DOWNLOAD (VISTA, WIN 7, 8, 10) button.
- Now run the .exe file when it is done downloading don’t change any of these options once you get to them:
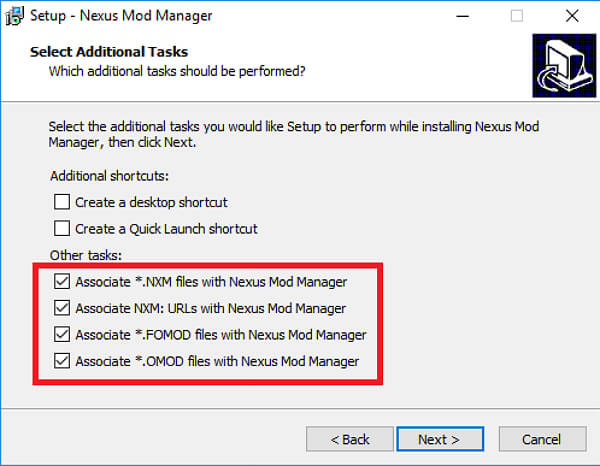
These are useful things for the mod manager do automatically.
- After it is done it will ask you to scan games, click the check mark for Fallout 4 then hit ok.
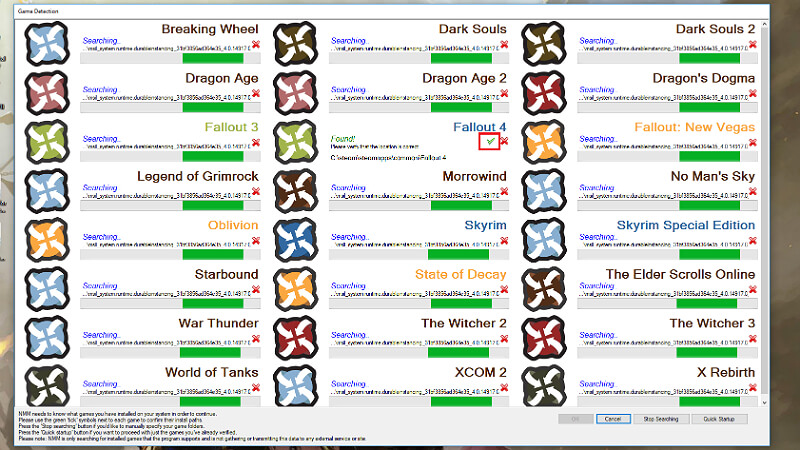
- You will get this menu hit OK.

Now you can start downloading mods freely.
How to Get a Mod Through Nexus
- Step 10 is required before this step can be completed.
- Link
- Login. Then to the left of your user name click on search then on search again.
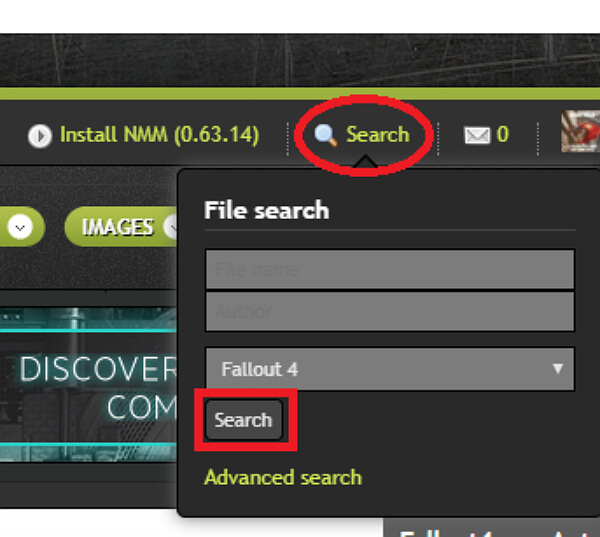
- Scroll down a bit until you see these options.
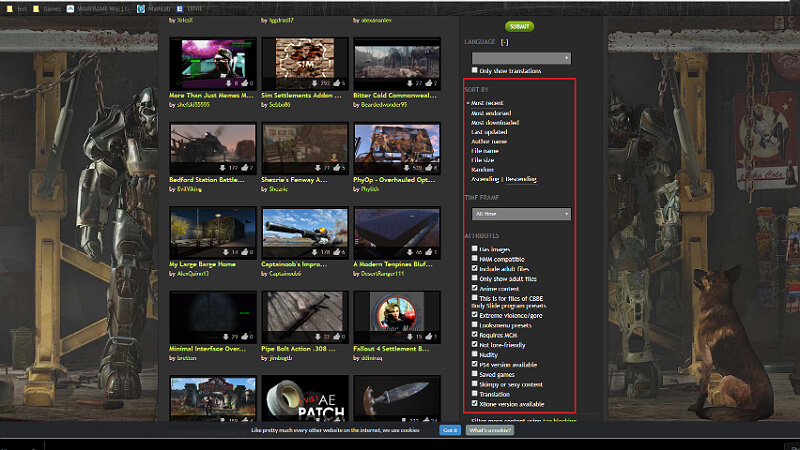
- These are the various filters available to you. Attributes section allows you to select what files are viewable. Time Frame allows you to search from when the mod was released. Then Sort By shows you what was Most Downloaded, Most Endorsed, and Most Recent from your search query. Above Sort By are various search boxes the very top one is for title name. So if you type in “power armor” it finds all the files with power armor in the name.
- Today; however, you are going to use Sort By Most Endorsed and the Time Frame of All Time as the search categories.
- Once that is done your greeted by a page like this:
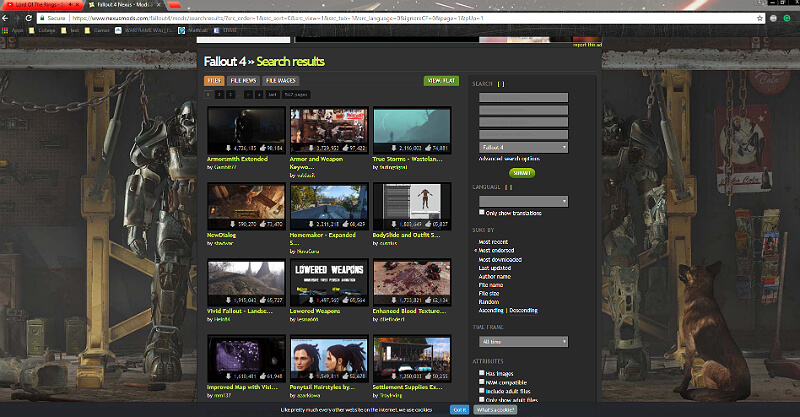
- Find the mod named NewDialog it should be in the first 10 files on the page.
- Once Found click on the yellow text NewDialog and you will be greeted by this page.
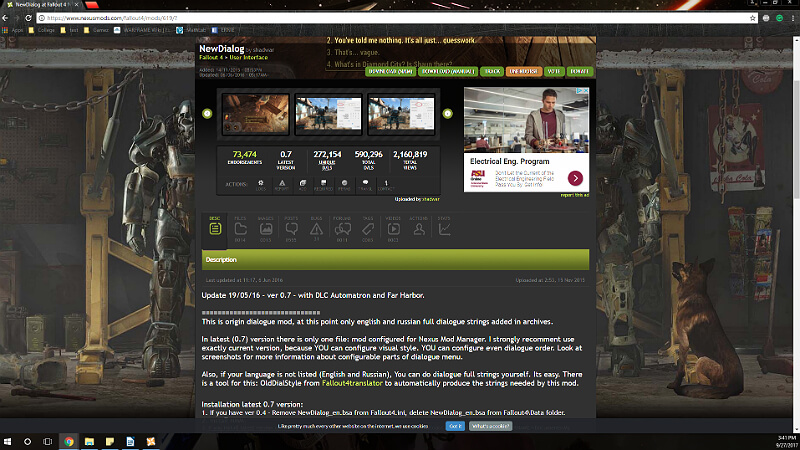
- All pages are split into categories the DESC or Description gives you installation tips as well as a description of the mod. FILES is were you will get the files for the mods. POSTS are comments by other users. These are major three you need to know about.
- Click on FILES button you will get something like this:
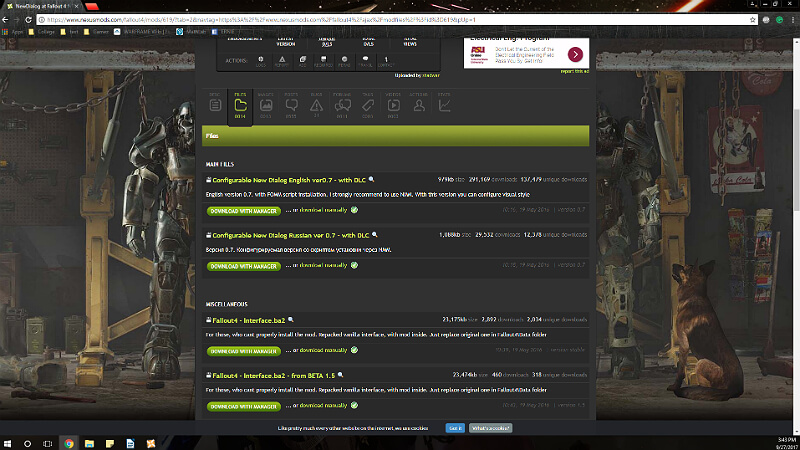
- Grab this file.
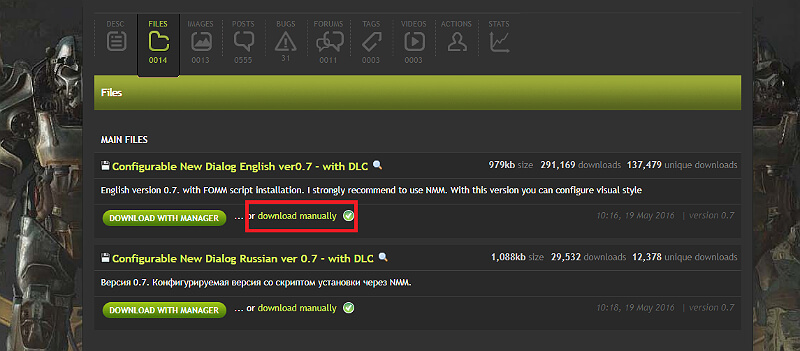
- A popup will appear click the green button that says CONTINUE WITH MY DOWNLOAD
- You should have a new download which is your new mod.
How To Install a Mod Through Nexus Mod Manager
- Steps 4, 5, 8, 10, and 11 must be completed before this step. Part 12 is not required to be completed for this step; however, it is recommended.
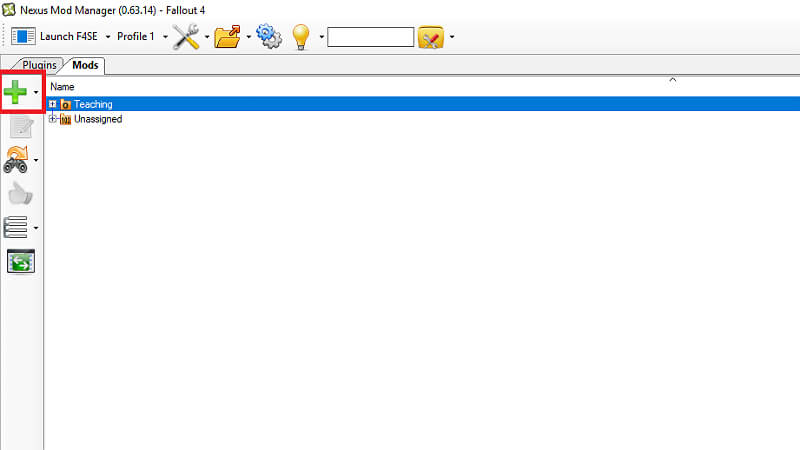
- Now that you have a mod. You can open up Nexus Mod Manager.
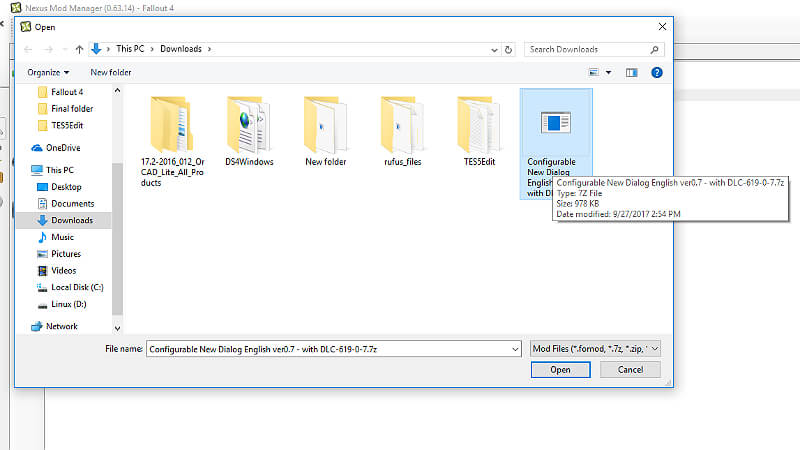
- The tool is pretty straightforward. To add a mod hit the Green Plus.
- A menu will open up, click on the mod file then hit open. For example:
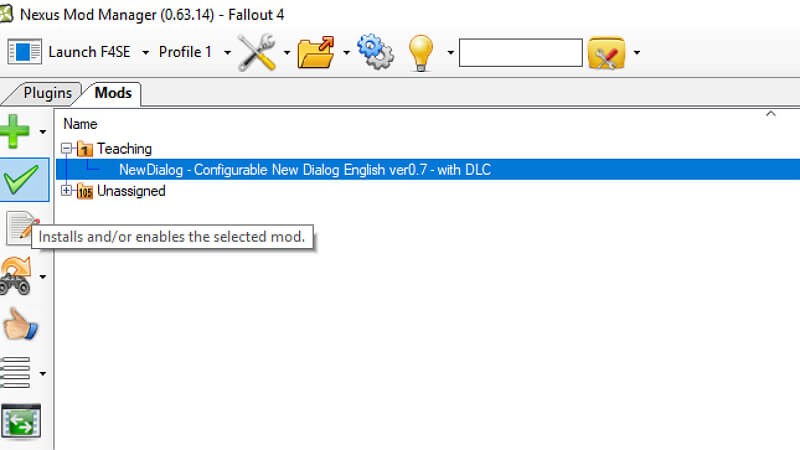
- Select the new entry so it highlights in blue, then hit the green check mark. For example:
- Some mods will have a wizard that will activate an example:

- These options will effect how the dialog box will look in game so pick what you think looks best.
- After choosing your options click install to get this.
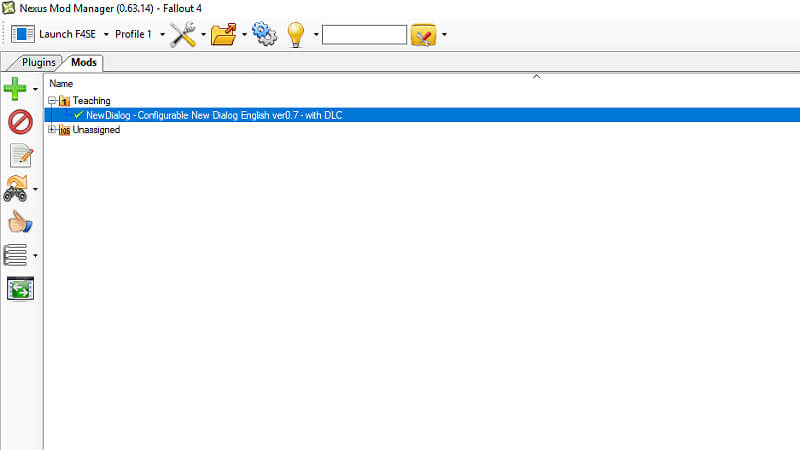
- You now have installed a mod.
Conclusion

This is my first guide. I will try to keep tabs on this guide and update it as I see fit.
Original Link – Continuation of discussion


Add comment