A bunch of tips and tricks for playing 7 Days to Die. They’re by no means exhaustive, but are discoveries that made me go “I didn’t know that!”, so I thought I’d share with you. Some of these are culled from personal experience, many others are from the wiki, the official forums, via people I play with on multiplayer and watching YT videos.
Things you may not know playing 7 Days to Die
1. Zombies start running at 22:00 and stop running at 4:00 in this update. Stinger music now play during those times to indicate changes in zombie run-state.
2. Fat zombies have a high chance to drop canned food now. Target them if you are starving.
3. Clay can only be found in isolated patches, camouflaged by vegetation, within every biome. They appear as dark patches on your map.
4. Desert caves contain only coal ore, plains caves – iron & lead ores, snow biome caves – iron & coal ores and maple & pine forest caves – coal, iron, lead & potassium nitrate ores.
5. Harvest tires on the ground for a 30% chance to have them drop as the minibike wheel component.
6. The handlebars component (for the minibike and auger) now exists both as a loot item as well as a craftable item if you have learned the handlebars schematic.
7. Gun safes and wall safes need to be broken down to their unlocked states before they can be looted.
8. Only the repair tool (wrench) can be used to upgrade reinforced concrete to steel walls.
9. Beware of dog hordes on Day 6 of every seven-day cycle. They act like a wandering horde and can be avoided. They have a default 20-second chase timer after which they should abandon chase.
10. Bears are also on a default 20-second chase timer. Bear growls act as cues for new players to give them a wide berth.
11. Wood log spikes can be upgraded 4 times now – wood x1, metal x3, requiring 2 iron ingots (or 12 scrap metal) to fully upgrade each. They become damaged while dealing damage.
SURVIVAL TIPS
1. You can use toilets as a water source.
2. A destroyed toilet will always yield 1 iron pipe. Air-conditioning units can also contain pipes.
3. Grain alcohol gives you 20 mins of stamina boost, way more than what coffee or beer gives.
4. Can’t drink beer because you’re not thirsty? Pop a painkiller to lower your thirst bar.
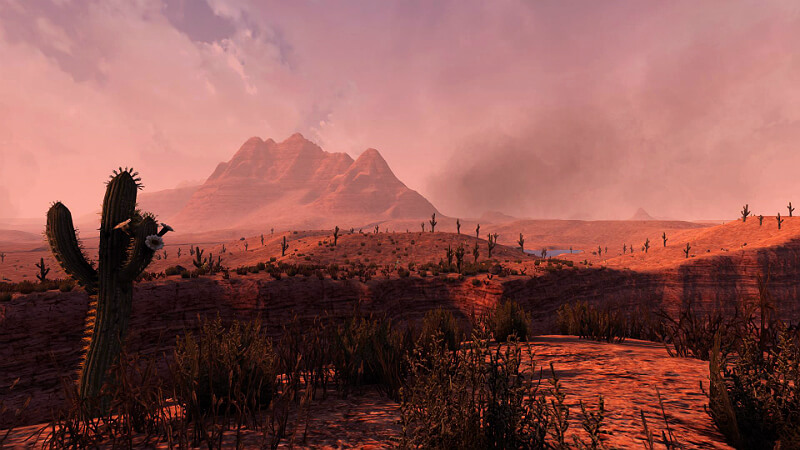
5. Cactus can be cut down for yucca fruit to keep from starving.
6. A broken leg will render you unable to jump past 1-block high. Splint it to regain jumping freedom.
7. Crouching gives you back the aiming crosshair and does double damage to your targets.
8. When aiming through the scope of the sniper rifle, use your mouse-wheel to zoom in further.
BUILDING TIPS
1. Make a bucket, collect a block of water and place it in a hole in your base. Like the toilet, it will become an infinite water source.
2. Cobblestone and Reinforced Concrete break down in several stages; cobblestone – 3 stages, reinforced concrete – 4 stages, making them some of the strongest materials to build a base with. To repair a broken-down cobblestone or reinforced concrete block, right-click it with a cobblestone or concrete mix.
3. Worried your walls are not reinforced enough? Place reinforced metal sidings over them. Each siding is made of 4 scrap iron.
4. Lay down 1 layer of hay bale to cushion high falls. You can also use a plunging pool, but the water has to be at least 2 blocks deep.
5. You can fire guns, but not bows through wood frames and metal trussings. You can fire both guns and bows through iron bars.
6. Wood frames, iron bars, metal trussings are considered solid blocks – you can see zombies through them, but they can’t see you. Note that cop vomit will still hurt you through iron bars.
7. The ground is uneven no matter how you try to level it? Place removable blocks (eg: wood frames) on bumpy places and remove them to even the ground out.
8. Crops can be grown under cover if you have sunlight access. 1 block of sunlight access allows sunlight in for a radius of 4 blocks.
9. Iron bars & windows can be placed horizontally to form protective sunlight access. Structural integrity applies.
10. Coolers, luxury 4-piece beds, worn leather chairs, creme and adobe peach drywalls (note: this list is not exhaustive) can be mined, picked up and placed down again. Go, interior decorating, go!
11. Construct a protruding ledge around your base/walls to prevent spider zombies from climbing in. It doesn’t have to be full blocks (eg: wood poles placed horizontally make for fanciful ledges). You can also put barb wire on your walls to kill spider zombies.
12. Unlike players, zombies (spider zombies excepted) cannot jump to access a ladder if the lowest rung is missing.
GAME MECHANICS

1. Run out of inventory space? Put all items that can break down into 1 type of basic item (eg: scrap iron, scrap brass) in your crafting table. They’ll stay there intact if you don’t press the craft button. Presto, more inventory space! (note: probably unintended)
2. Discard unwanted loot in pre-gen containers for them to regen loot again. Alternatively, if you come to a previously-visited area and find old loot in it, throw it out, and the container will regen new loot on the spot.
3. Failing to find airdrops? Stand directly facing the orange smoke, open your map and place a waypoint in the line of the direction the arrow is pointing (preferably far away). Now run towards that marker on your compass to locate the supply crate.
4. Torches/Candles do not prevent zombies from spawning. Placing down a sleeping bag/bed/mattress (your current spawn point) prevents zombies from spawning within a 15-block radius on 2 conditions:
(a) They are not part of a horde called in by spider zombies.
(b) You are not within a pre-fab area or a cave system.
5. The game attempts to spawn zombies on the highest surface it can find (unless it’s a prefab with a spawner designed into it or a cave system). Cover your base entirely and they should only spawn on the roof.
6. Water is considered a solid block. You can make a floating base by removing blocks (eg: wood frames) touching the ground once you have built the platform on the water surface.
7. Zombies do not swim, but will walk slowly in water. You can plant spikes at the bottom and swim to access your base entrance, leaving the zombies to die on the spikes.
8. Zombie gore blocks do not contribute to the heatmap. Only animal gore blocks do and should be destroyed to prevent spider zombie incursions.
9. Gore blocks do not form in water that’s at least 2 blocks deep. Guns can be used to clear gore blocks from safety.
10. Don’t have a hoe? Dig up dirt and place it down, the dirt will become tilled land ready for farming. (note: probably unintended)
11. Corn can be grown on ANY block. Yes, you can plant it on bricks, wood frames, asphalt and it will grow. (note: probably a bug).
EXPLORATION
1. Use an axe on non-interactable wooden crates in the Shotgun Messiah, Working Stiff Tools & Shamway Foods prefabs until they ‘crack’ open to reveal labels and you can loot the content. Be careful not to destroy already-opened crates!
2. You can mine lighting fixtures from pre-fabs for brass (all pre-fabs contain either iron or brass lighting fixtures).
3. Mine metal railings with 1 hit of the pickaxe for 1 scrap iron each.
4. A hub city can always be found at the centre (coords: 0, 0) of every random-gen world. Zombies spawn continuously in hub cities. Venture with caution.
5. Caves appear as black dots on your world map.
6. Gravel takes forever to be broken down via a pickaxe, but a shovel makes short work of it.
7. You can mine stalactites and stalagmites in caves for potassium nitrate.
Original Link – Continuation of discussion


Add comment