
Here you will find EVERYTHING you need to know about yoyos!!!
Introduction
This is my first “big” guide, and would like some feedback to make it perfect 😉
If you have any tips or see any mistakes, please leave a message down below.
This guide is only for the PC version of Terraria.
Basics
I’m gonna explain the basics, if you are used to mechanics of Terraria you can skip to next section.
Every yoyo has:
- Damage
- Speed
- Reach
- Duration
- Knockback
- Critical Chance
- Velocity
- Source
Here is a short explanation of the list:
Damage
This is the basic amount of damage the yoyo will deal without any modifiers/buffs/critical hits (all yoyos do Melee damage).
For example, without any armor, buffs and modifiers the Wooden Yoyo (9 basic damage) will hit random from 8 to 10.

Speed
Speed is measured in “Use time”, which means the lower the use time the faster the weapon attacks. All yoyos have a “Fast” use time, which means the use time lays between 21 and 25.
The attack speed is calculated like this:
60 use time means 1 hit/second, 30 use time means 2 hits/second
Reach
The reach is how far the yoyo can go, for example, the “Amazon” has a reach of 13 tiles, and can stretch out for 13 tiles.

You can increase the reach by using a “String”, the “Yoyo Bag” or accessory/armor that gives you Melee Attack Speed.
Duration
The yoyo will return automatically after a certain amount of time, that time is called “Duration”. This will be measured in seconds.
If the duration is “∞” the yoyo will not return automatically.
Knockback
This is how far the enemies will be “knocked back” to the opposite direction of the attack, the knockback of the yoyos are between “Very weak” and “Strong” so it really depends on which yoyo you use.
Critical Chance

A critical hit is a hit which gives double damage and 40% more knockback, the change that the yoyo will give a critical hit without any modifiers etc. is 4% chance (only the Terrarian has 14%)
Velocity
Velocity is how fast it will fire, the higher the velocity the faster the yoyo will be at the mouse pointer. All the yoyo’s have the same velocity (16) so you won’t find any more info about this further in the guide.
A velocity of 16 means that in 1 second the yoyo travels around 32 blocks.
(no proof of this, but I couldn’t find any legit formula for the velocity. I tested it out and it’s pretty accurate, if you found a better solution please let me know in the comments).
Source
This is what you need to craft the yoyo or how and where you can find it.
For items, I give you the name and icon, not how to obtain it.
For drops, I give the name, picture, and drop chance, not where to find the enemies.
Size
None of the yoyo’s fit through a half block and all of them fit through a 1 block hole. This doesn’t count if you try to go from up to down, for some reason the yoyo won’t fit then.
If you have a triangle block with a solid block above it (1 block free space in between) then only 12 out of 20 yoyo’s will fit. All pre-hardmode yoyo’s besides the Valor will fit through that hole and the Format C, Gradient, Chik, Amarok, and the Yelets are the only hardmode yoyo’s which fit through that hole.
Never knew about the different sizes, so credits to Phantorom for finding this out.
Modifiers

Modifiers are very important if you want to be a yoyo master, the best modifier for yoyos is: “Godly” and the worst is “Broken”. Here you can see the differents:
If you want to change the modifier on your yoyo, you need to have the Goblin Tinkerer NPC and reforge them.
Pre-Hardmode Yoyos
These are all the 8 yoyos you are able to obtain in Pre-hardmode, they are ordered from low to high damage.
Wooden Yoyo
The wooden yoyo is probably the first yoyo you encounter, it’s easy to make on your first day.
It is used to craft a early hardmode yoyo, but we’ll come to that later 😉
Stats
| Damage | 9 |
| Speed | 24 |
| Reach | 9 tiles |
| Duration | 4 seconds |
| Knockback | 2.5 (Very Weak) |
| Critical Chance | 4% |
Source
Crafting Station:
- Work bench
Ingredient(s):
- 10 Wood
- 20 Cobweb
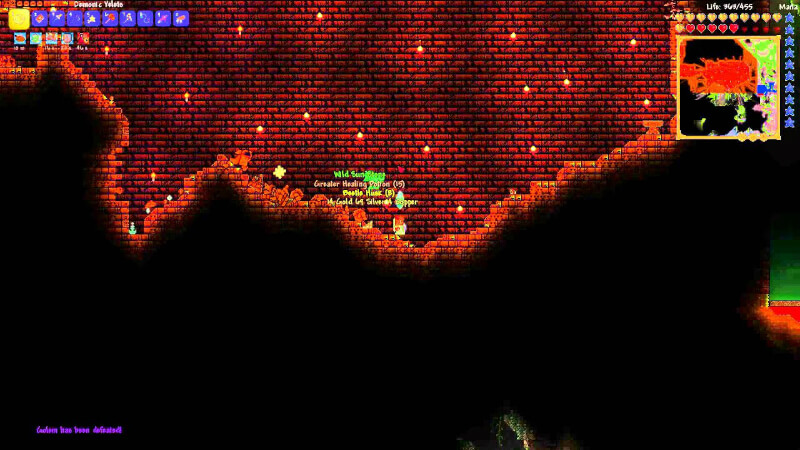
Rally
The Rally is an early-game yoyo that you most of the time skip during a yoyo only run because you can easily get a better one as a second yoyo.
This is one of the yoyos with the “One Drop” logo, One Drop is a real yoyo brand and the yoyos with this logo are sold there.
This is the one drop logo:
And this is where you find it in-game:
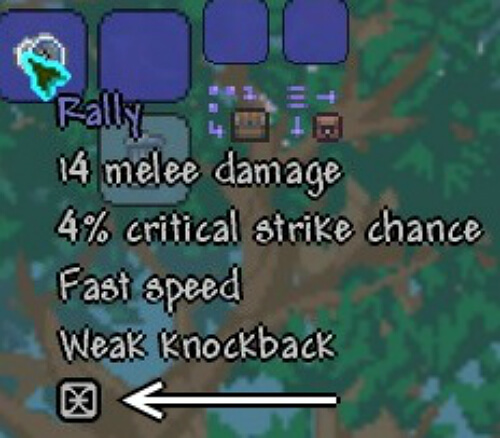
Stats
| Damage | 14 |
| Speed | 24 |
| Reach | 10 tiles |
| Duration | 5 seconds |
| Knockback | 3.5 (Weak) |
| Critical Chance | 4% |
Source
Dropped by:
- Giant Shellies (3.9% chance)
- Crawdads (3.9% chance)
- Salamanders (3.9% chance)
Malaise

The Malaise is a yoyo made from the ores you get from the Eater of Worlds and Eye of Cthulu if the world is corrupted.
That means you can only get one in a corrupted world and not in a crimson world.
Stats
| Damage | 16 |
| Speed | 24 |
| Reach | 12 tiles |
| Duration | 7 seconds |
| Knockback | 4.5 (Average) |
| Critical Chance | 4% |
Source
Crafting Station:
- Anvil
Ingredient(s):
- 12 Demonite Bars
Artery

The Artery is a yoyo made from the ores you get from the Brain of Cthulhu and Eye of Cthulu if the world is crimson.
That means you can only get one in a crimson world and not in a corrupted world.
Stats
| Damage | 17 |
| Speed | 24 |
| Reach | 12.5 tiles |
| Duration | 6 seconds |
| Knockback | 4 (Weak) |
| Critical Chance | 4% |
Source
Crafting Station:
- Anvil
Ingredient(s):
- 12 Crimtane Bars
Amazon

The Amazon is a strong easy to make yoyo, this is a good one to go for after you obtained the wooden yoyo.
Stats
| Damage | 20 |
| Speed | 24 |
| Reach | 13 tiles |
| Duration | 8 seconds |
| Knockback | 3.75 (Weak) |
| Critical Chance | 4% |
Source
Crafting Station:
- Anvil
Ingredient(s):
- 8 Rich Mahogany
- 2 Stingers
- 1 Vine
- 3 Jungle Spores
Code 1
The Code 1 strong early game yoyo, only problem is that you need to be lucky to get it early.
This yoyo also has the “One drop” logo.
Stats
| Damage | 21 |
| Speed | 24 |
| Reach | 13.5 tiles |
| Duration | 9 seconds |
| Knockback | 3.5 (Weak) |
| Critical Chance | 4% |
Source
Sold by:
- Travelling Merchant
Price:
- 5 gold (buy)
Note: He will only sell this after you have defeated the Eye of Cthulhu
Valor
The Valor is probably the one you will get after the Amazon.
The Valor also has the “One Drop” logo.
Stats
| Damage | 22 |
| Speed | 24 |
| Reach | 14 tiles |
| Duration | 11 seconds |
| Knockback | 3.85 (Weak) |
| Critical Chance | 4% |
Source
Found in:
- Golden Lock Box or Locked Golden Dungeon Chests
Cascade
The Cascade is the strongest Pre-hardmode yoyo, also this is the only Pre-hardmode yoyo that gives the enemy a debuff.
This yoyo also has the “One drop” logo.
Stats
| Damage | 27 |
| Speed | 24 |
| Reach | 15.5 tiles |
| Duration | 16 seconds |
| Knockback | 4.3 (Average) |
| Critical Chance | 4% |
Source
Dropped by:
- Any enemy in the Underworld (0.25% chance – 1/400)
Note:
- This yoyo will give the enemy the “On-Fire” debuff (-4 health/second, no health regeneration).
- This yoyo won’t drop until you defeated Skeletron.
Hardmode Yoyos
These are all the 12 yoyos you are only able to obtain in hardmode (after defeating the wall of flesh), they are ordered from low to high damage.
(I will add them ASAP)
Format C
The Format C is the weakest Hardmode yoyo, you probably get a better one before obtaining this one, and because of the short duration, it’s better to use the Cascade.
This yoyo also has the “One drop” logo.
Stats
| Damage | 29 |
| Speed | 24 |
| Reach | 16 tiles |
| Duration | 8 seconds |
| Knockback | 3.25 (Weak) |
| Critical Chance | 4% |
Source
Sold by:
- Skeleton Merchant
Price:
- 20 gold
Note: He will only sell this after you have defeated the Wall of Flesh
Gradient
The Gradient is one of the weaker hardmode yoyos, you probably skip this one in your yoyo run.
This yoyo also has the “One drop” logo.
Stats
| Damage | 34 |
| Speed | 24 |
| Reach | 15.5 tiles |
| Duration | 10 seconds |
| Knockback | 3.8 (Weak) |
| Critical Chance | 4% |
Source
Sold by:
- Skeleton Merchant
Price:
- 20 gold
Note: He will only sell this after you have defeated the Wall of Flesh
Chik
The Chik is an easy to make Hardmode yoyo, this is probably your first yoyo in hardmode.
This yoyo also has the “One drop” logo.
Stats
| Damage | 41 |
| Speed | 24 |
| Reach | 17 tiles |
| Duration | 12 seconds |
| Knockback | 4.5 (Average) |
| Critical Chance | 4% |
Source
Crafting Station:
- Hardmode Anvil
Ingredient(s):
- 1 Wooden Yoyo
- 15 Crystal Shards
- 10 Souls of Light
Hel-Fire
The Hel-Fire is like the upgraded version of the Cascade, dropped around the same area’s and also gives the same debuff.
Stats
Source
Dropped by:
- Any enemy in the bottom half of the Caverns or in the Underworld (0.25% chance – 1/400)
Notes:
- You need to be in hardmode to get this drop.
- This yoyo will give the enemy the “On-Fire” debuff (-4 health/second, no health regeneration).
Amarok
The Amarok is like the cold version of the Hel-Fire but a little bit stronger.
Stats
| Damage | 43 |
| Speed | 24 |
| Reach | 16.5 tiles |
| Duration | 15 seconds |
| Knockback | 2.8 (Very Weak) |
| Critical Chance | 4% |
Source
Dropped by:
- Any enemy in the snow biome (1.25% chance – 1/80)
Notes:
- You need to be in hardmode to get this drop.
- This yoyo will give the enemy the “Frostburn” debuff (-6 health/second, no health regeneration).
Code 2
The Code 2 is like the upgrade version of the Code 1.
This yoyo has the “One drop” logo.
Stats
| Damage | 47 |
| Speed | 24 |
| Reach | 18 tiles |
| Duration | ∞ infinite |
| Knockback | 3.8 (Weak) |
| Critical Chance | 4% |
Source
Sold by:
- Travelling Merchant
Price:
- 25 gold (buy)
Note: He will only sell this after you have defeated one of the mechanical bosses
Yelets
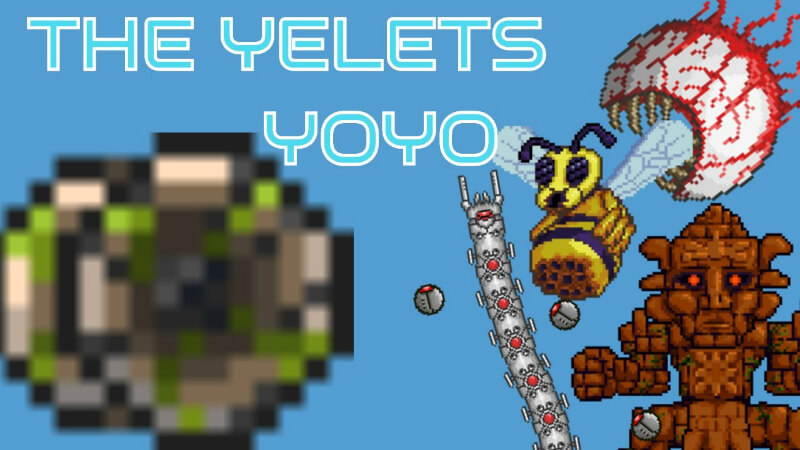
After defeating one of the mechanical bosses this will be the best yoyo possible till you defeat plantera (the “Red’s Throw” and “Valkyrie Yoyo” are expert mode only).
This yoyo also has the “One drop” logo.
Stats
| Damage | 60 |
| Speed | 24 |
| Reach | 18 tiles |
| Duration | 14 seconds |
| Knockback | 3.1 (Weak) |
| Critical Chance | 4% |
Source
Dropped by:
- Any enemy in the jungle biome (0.5% chance – 1/200)
Note: This yoyo will only drop after defeating one of the mechanical bosses
Red’s Throw/Valkyrie Yoyo

These yoyos are identical to each other, only a little different way to get them. These yoyos are only obtainable in expert mode. These are also the best yoyos obtainable before you defeated Plantera, but you rarely get them that early.
Stats
| Damage | 70 |
| Speed | 24 |
| Reach | 23 tiles |
| Duration | ∞ infinite |
| Knockback | 8.5 (Very strong) |
| Critical Chance | 4% |
Source
Found in:
- Treasure Bags from Hardmode bosses. 5% chance to get 1 of the “developer sets”
- The “Red’s Throw” comes with Red’s armor.
- The “Valkyrie Yoyo” comes with Lazure’s Clothes.
Kraken
This is the yoyo you are probably first gonna get after Plantera in a yoyo-only run.
Stats
| Damage | 90 |
| Speed | 24 |
| Reach | 21 tiles |
| Duration | ∞ infinite |
| Knockback | 4.3 (Average) |
| Critical Chance | 4% |
Source
Dropped by:
- Any enemy in the Dungeon (0.5% chance – 1/200)
Note: He will only drop after defeating Plantera.
The Eye of Cthulhu

This is probably the yoyo you’re going to defeat the Moon Lord with for the first time.
Stats
| Damage | 115 |
| Speed | 24 |
| Reach | 23 tiles |
| Duration | ∞ infinite |
| Knockback | 3.5 (Weak) |
| Critical Chance | 4% |
Source
Dropped by:
- Mothron (25% chance – 1/4)
Note: In expert mode the drop chance will be (33.33% chance – 1/3)
Terrarian
This is the strongest yoyo in Terraria, also this yoyo has with the right accessory the highest single enemy DPS of all the melee weapons.
This yoyo also has the “One Drop” logo.
Stats
| Damage | 190 |
| Speed | 25 |
| Reach | 25 tiles |
| Duration | ∞ infinite |
| Knockback | 6.5 (Strong) |
| Critical Chance | 14% |
Source
Dropped by:
- Moon Lord (11.11% chance – 1/9)
Note: It fires homing projectiles when using it.
Pre-Hardmode Armors
Here I will only mention the armors which will upgrade the stats of the yoyo. These are NOT always the best choice because there are other things important about the armor besides the yoyo stats.
The defense will be shown as the following: Head | Chest | Legs | Full set
Pumpkin Armor
Defense:
- 2 | 3 | 2 | 7
Set Bonus:
- +10% damage
Source:
Crafting station:
- Work bench
Ingredients:
- 75 Pumpkins
(Ancient) Shadow Armor
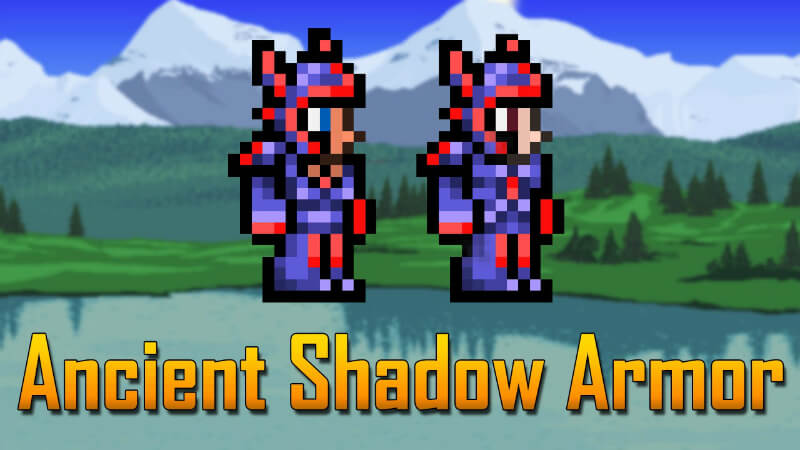
Defense:
- 6 | 7 | 6 | 19
Set Bonus:
- +21% melee attack speed
- +15% movement speed
Source:
Shadow Armor:
Crafting station
- Anvil
Ingredients:
- 60 Demonite Bars
- 45 Shadow Scales
Ancient Shadow Armor:
Dropped by:
- Eater of Souls (0.19% chance)
Crimson Armor
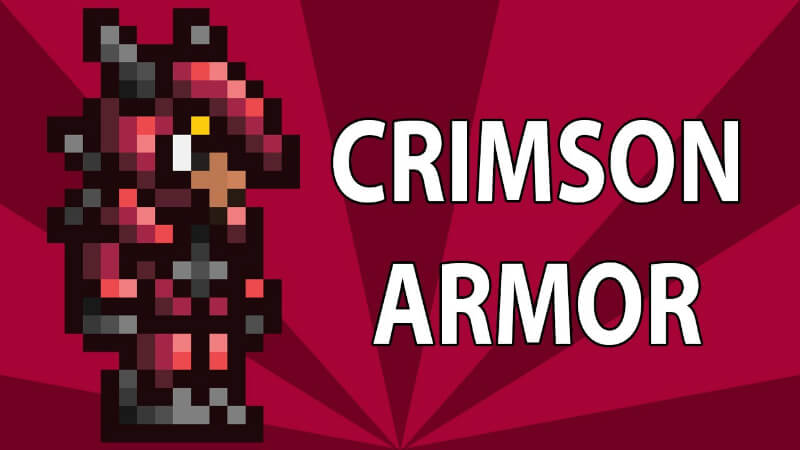
Defense:
- 6 | 7 | 6 | 19
Set Bonus:
- +6% damage
- +Greatly increased life regeneration
Source:
Crafting station
- Anvil
Ingredients:
- 60 Crimtane Bars
- 45 Tissue Samples
Molten Armor
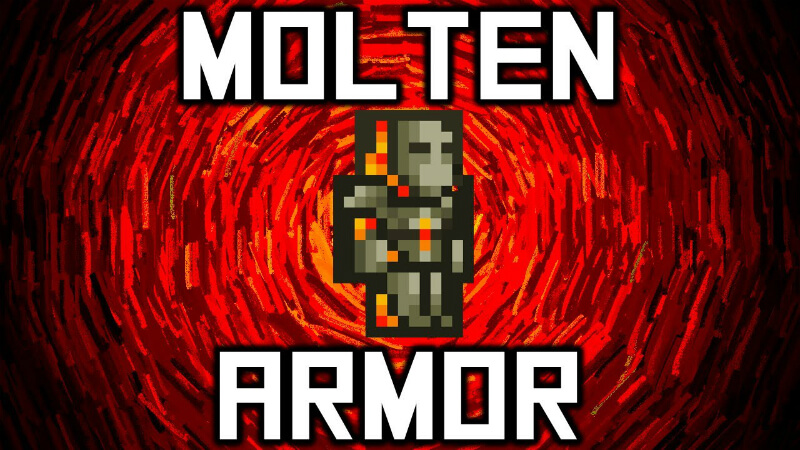
Defense:
- 8 | 9 | 8 | 25
Set Bonus:
- +17% damage
Source:
Crafting station
- Anvil
Ingredients:
- 60 Hellstone Bars
Gi
This is 1 piece of armor which belongs in the “shirt” slot.
Defense:
- 4
Bonus:
- +5% Damage
- +5% Critical Strike Chance
- +10% Melee Speed
- +10% Movement Speed
Source:
Sold by:
- Travelling Merchant
Price:
- 2 gold (buy)
Hardmode Armors [Part 1]
For most of the Hardmode armors you can choose between different parts like for example:
In this case you can choose between a Headgear, Mask or Helmet. I’m only going to talk about the ones you should craft when using the yoyo.
Sometimes the armor pieces give a bonus without having the full set, but I’m just going to put all the bonuses of the armor underneath “Set Bonus” because I don’t think it’s really necessary, why should you wear different kinds of armor?
Cobalt Armor (Helmet)
Use the helmet for the melee bonus!
Defense:
- 11 | 8 | 7 | 26
Set Bonus:
- +3% Critical Strike Chance
- +17% Movement Speed
- +27% Melee Speed
Source:
Crafting station:
- Anvil
Ingredients:
- 45 Cobalt Bars
Palladium Armor (Mask)
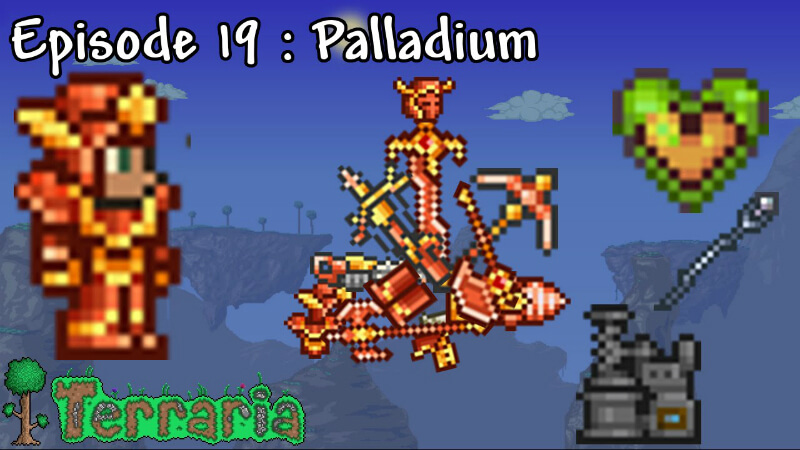
Use the mask for the melee bonus!
Defense:
- 14 | 10 | 8 | 32
Set Bonus:
- +3% Critical Strike Chance
- +5% Damage
- +8% Melee Damage (+13% Total)
- +12% Melee Speed
Grants 5 seconds of “Rapid Healing” buff after each successful attack
Source:
Crafting station:
- Anvil
Ingredients:
- 54 Palladium Bars
Mythril Armor (Helmet)

Use the helmet for the melee bonus!
Defense:
- 16 | 12 | 9 | 37
Set Bonus:
- +3% Critical Strike Chance
- +10% Melee Critical Strike Chance (+13% Total)
- +5% Damage
- +10% Melee Damage (+15% Total)
Source:
Crafting station:
- Hardmode Anvil
Ingredients:
- 45 Mythril Bars
Orichalcum Armor (Mask)
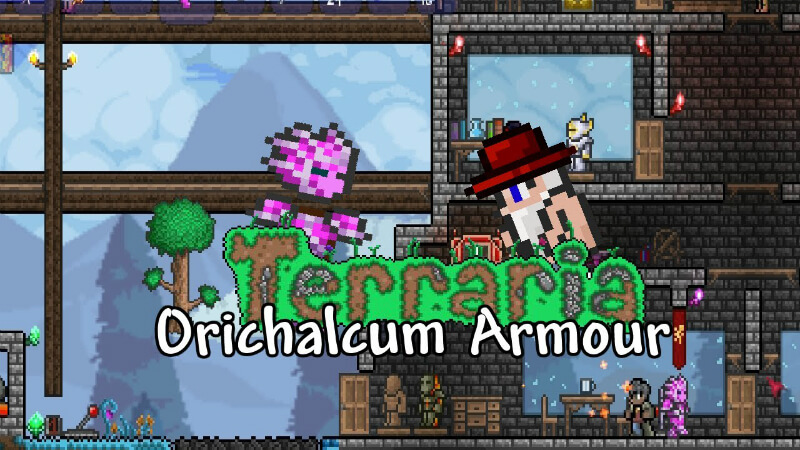
Use the mask for the melee bonus!
Defense:
- 19 | 13 | 10 | 42
Set Bonus:
- +6% Critical Strike Chance
- +18% Movement Speed
- +7% Melee Damage (+13% Total)
- +7% Melee Speed
Flower petals will fall on your target for extra damage
Source:
Crafting station:
- Hardmode Anvil
Ingredients:
- 54 Orichalcum Bars
Adamantite Armor (Helmet)
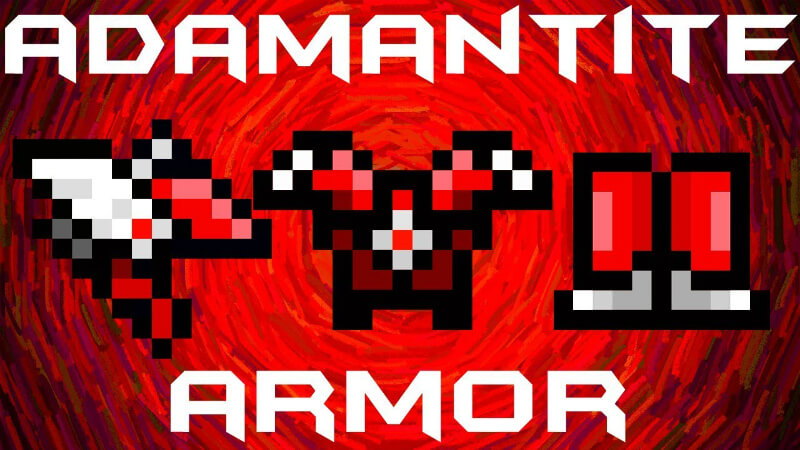
Use the helmet for the melee bonus!
Defense:
- 22 | 16 | 12 | 50
Set Bonus:
- +7% Melee Critical Strike Chance
- +14% Melee Damage
- +18% Movement Speed
- +18% Melee Speed
Source:
Crafting station:
- Hardmode Anvil
Ingredients:
- 54 Adamantite Bars
Titanium Armor (Mask)
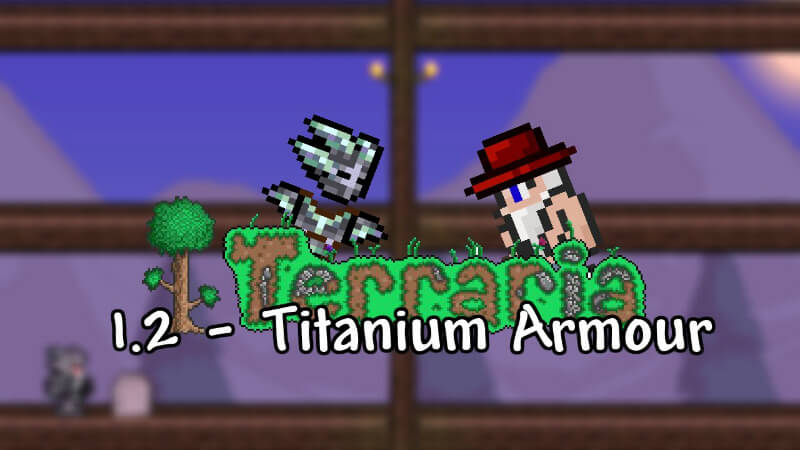
Use the mask for the melee bonus!
Defense:
- 8 | 15 | 11 | 34
Set Bonus:
- +8% Melee Critical Strike Chance
- +8% Melee Damage
Gives a “Shadow Dodge” buff which will make you dodge the next attack.
Source:
Crafting station:
- Hardmode Anvil
Ingredients:
- 59 Titanium Bars
Frost Armor

Defense:
- 10 | 20 | 13 | 43
Set Bonus:
- +16% Melee/Ranged Damage
- +11% Melee/Ranged Critical Strike Chance
- +8% Movement Speed
- +7% Melee speed
Gives a “Frostburn” debuff on the enemy when attacking with melee or ranged weapons
Source:
Crafting station:
- Hardmode Anvil
Ingredients:
- 59 Titanium or Adamantite Bars
- 3 Frost Cores
Hallowed Armor (Mask)
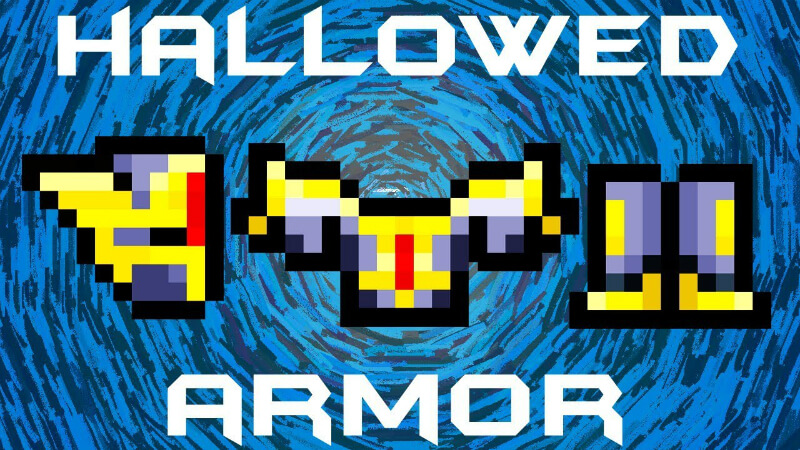
Use the mask for the melee bonus!
Defense:
- 24 | 15 | 11 | 50
Set Bonus:
- +7% Damage
- +7% Critical Strike Chance
- +27% Movement Speed
- +10% Melee Critical Strike Chance (17% Total)
- +10% Melee Damage (17% Total)
- +19% Melee Speed
Source:
Crafting station:
- Hardmode Anvil
Ingredients:
- 54 Hallowed Bars
Hardmode Armors [Part 2]
Chlorophyte Armor (Mask)
Use the helmet for the melee bonus!
Defense:
- 25 | 18 | 13 | 56
Set Bonus:
- +5% Damage
- +7% Critical Strike Chance
- +5% Movement Speed
- +16% Melee Damage (21% Total)
- +6% Melee Critical Strike Chance (13% Total)
Gives the “Leaf Crystal” buff on yourself which will provide you with a powerful leaf crystal above your head which attacks nearby enemies.
Source:
Crafting station:
Hardmode Anvil
Ingredients:
- 54 Chlorophyte Bars
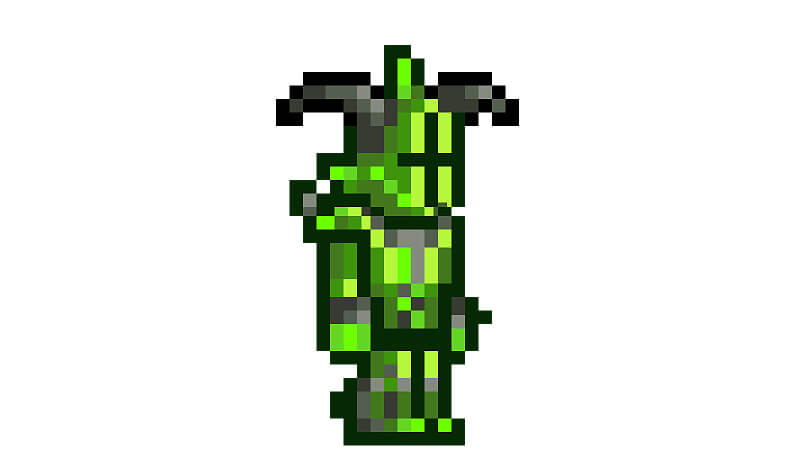
Turtle Armor

Defense:
- 21 | 27 | 17 | 65
Set Bonus:
- +14% Melee Damage
- +12% Critical Strike Chance
Inflict 100% damage taken by melee attacks onto the attacker as well
Source:
Crafting station:
- Hardmode Anvil
Ingredients:
- 54 Chlorophyte Bars
- 3 Turtle Shells
Beetle Armor (Scale Mail)
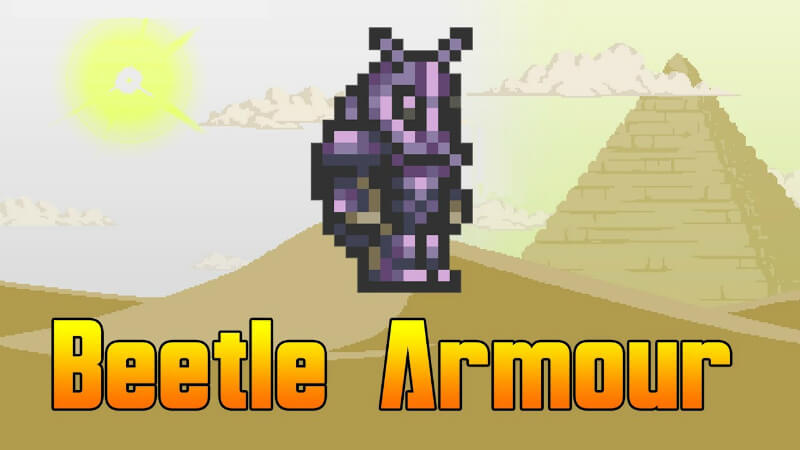
The Beetle Armor has 2 kinds of bodies, which both provide a melee bonus.
In this set, I used the Scale Mail
Defense:
- 23 | 20 | 18 | 61
Set Bonus:
- +14% Melee Damage
- +8% Critical Strike Chance
- +12% Melee Speed
- +12% Movement Speed
Beetles Increase your melee damage and speed.
Source:
Crafting station:
- Hardmode Anvil
Ingredients:
- 1 Full Turtle Armor Set
- 18 Beetle Husks
Beetle Armor (Shell)

In this set, I used the Shell
Defense:
- 23 | 32 | 18 | 73
Set Bonus:
- +11% Melee Damage
- +5% Critical Strike Chance
- +6% Melee Speed
- +6% Movement Speed
Beetles protect you from damage.
Source:
Crafting station:
- Hardmode Anvil
Ingredients:
- 1 Full Turtle Armor Set
- 18 Beetle Husks
Solar Flare Armor
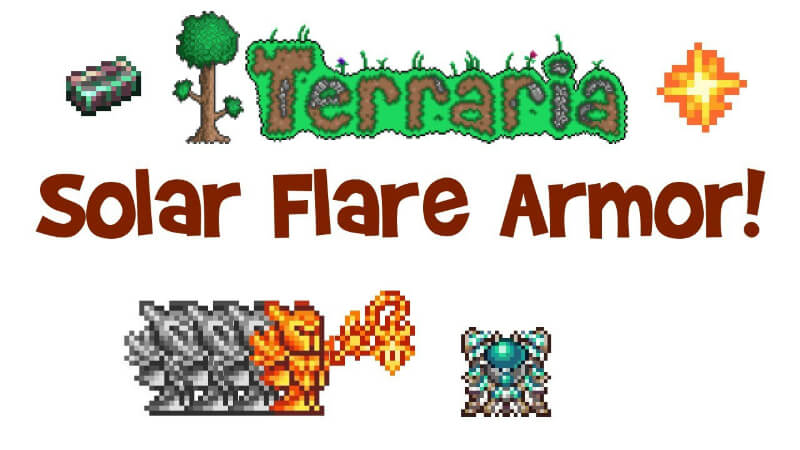
Defense:
- 24 | 34 | 20 | 78
Set Bonus:
- +22% Melee Damage
- +17% Melee Critical Strike Chance
- +15% Movement Speed
- +15% Melee Speed
Damage taken reduced by 30%, repel enemies when taking damage
Source:
Crafting station:
- Ancient Manipulator
Ingredients:
- 45 Solar Fragments
- 36 Luminite Bars
Note: With this armor you can dash by double-tapping left or right.
Accessory (Yoyo Exclusive)

This may look like small amount of usable items, but there are a lot more items that can help you. For example boots, wings, and defensive items.
These are all the yoyo exclusive accessory items.
Strings
Strings will give an extra 4 to 5 reach to your yoyo. These are Pre-Hardmode and very easy to make early game.
Source:
Crafting Station:
- Loom
Ingredient(s):
- 30 Cobwebs
You can make colored strings by using the White String with a dye. These are crafted by hand.
Here I used the “Code 2” yoyo with the Green dyed string and without
Counterweights
There are 6 different Counterweights, all of these do the same and don’t stack.
The Counterweights fire a small yoyo like projectile after hitting an enemy with the yoyo which bounces back and forward.
Source:
Black/Yellow Counterweight:
Sold by:
Traveling Merchant
- Black: 25% chance – 1/4
- Yellow: 33.33% chance – 1/3
Price:
- 5 gold
Blue/Red/Purple/Green Counterweight:
Sold by:
Skeleton Merchant
- Blue: During Moon phase 1 and 5
- Red: During Moon phase 2 and 6
- Purple: During Moon phase 3 and 7
- Green: During Moon phase 4 and 8
Price:
- 5 Gold
Note: If you don’t know what moon phases are, feel free to take a look at my other guide which you can find at the bottom of this guide.
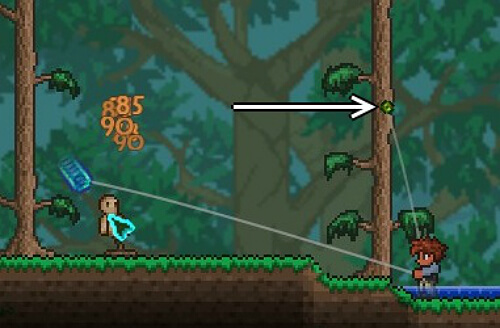
The color of the Counterweight depends on which Counterweight you use, in this example, I used the green Counterweight.
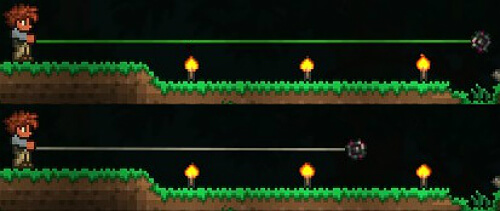
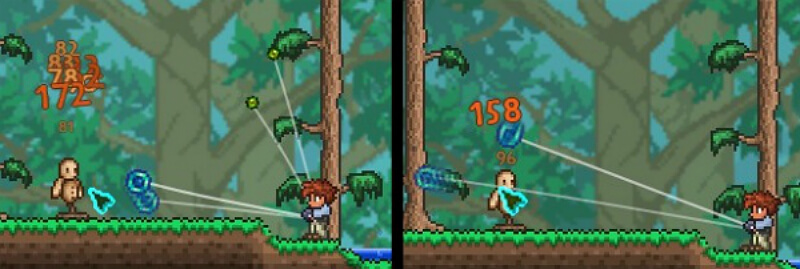
Yoyo Glove
The Yoyo Glove is a Hardmode yoyo accessory that will let you hold 2 yoyos (when using Counterweights it will also hold 2 counterweights). On first hit the extra yoyo appears, on second hit the first Counterweight appears and on third hit the last Counterweight (if you have the Counterweight equipped of course).
Source:
Sold by:
Skeleton Merchant
Price:
- 50 Gold
Note: Only available in Hardmode
In this example on the left I used the Yoyo Glove and the Green counterweight, in the example on the right I used only the Yoyo Glove.
Yoyo Bag
The Yoyo Bag is the ultimate harmode yoyo accessory, this will let you hold 2 yoyos, 2 counterweights and a longer reach (same as if you would use those items not combined). The Yoyo Bag does not stack with the other yoyo items.
Source:
Crafting Station:
- Tinkerer’s Workshop
Ingredient(s):
- 1 White String
- 1 Yoyo Glove
- 1 Counterweight
Note: The color of the counterweights is chosen randomly. And if you want to chance the color of the string, you can put a colored string in the social slot.
Accessory (Gloves)
This may look like small amount of usable items, but there are a lot more items that can help you. For example boots, wings, and defensive items.
Feral Claws
Feral Claws give you a 12% increased melee speed.
Source:
Found in:
- Jungle Shrines
Note: This is the only Pre-Hardmode melee accessory so I recommend taking a look at the wiki for possible other accessory Accessory Wiki[terraria.gamepedia.com]
Titan Glove
Titan Gloves increase your knockback by 70%.
Source:
Dropped by:
- Mimics (14.29% chance – 1/7)
Power Glove
Power Gloves increase your knockback and gives you a 12% increased melee speed.
Source:
Crafting Station:
- Tinkerer’s Workshop
Ingredient(s):
- 1 Feral claw
- 1 Titan Glove
Mechanical Glove
Gives a 70% extra knockback and 12% increased melee damage and speed.
Source:
Crafting Station:
- Tinkerer’s Workshop
Ingredient(s):
- 1 Power Glove
- 1 Avenger Emblem
Fire Gauntlet
The Fire Gauntlet increase your knockback by 80% and gives you a 10% increased melee damage and speed.
Also when attacking an enemy with a melee attack you will give the enemy the “On Fire” debuff
Source:
Crafting Station:
- Tinkerer’s Workshop
Ingredient(s):
- 1 Mechanical Glove
- 1 Magma Stone
Accessory (Emblems/Stones/Shells)
Warrior Emblem
The Warrior Emblem gives you a 15% melee damage.
Source:
Dropped by:
- The Wall of Flesh (12.5% chance – 1/8)
Note: In expert mode the drop chance will be 25% – 1/4
Avenger Emblem
The Avenger Emblem increases damage by 12% for all weapons.
Source:
Crafting Station:
- Tinkerer’s Workshop
Ingredient(s):
- 1 of the emblems dropped by the Wall of Flesh
- 5 Souls of Fright
- 5 Souls of Might
- 5 Souls of Sight
Eye of the Golem
The Eye of the Golem gives +10% critical strike chance.
Source:
Dropped by:
- Golem (12.5% chance – 1/8)
Destroyer Emblem
The Destroyer Emblem increases damage by 10% and 8% critical strike chance.
Source:
Crafting Station:
Tinkerer’s Workshop
Ingredient(s):
- 1 Avenger Emblem
- 1 Eye of the Golem
Note: Stacks with the Avenger/Warrior/Ranger/Sorcerer/Summoner Emblems.
Sun Stone
Stats:
- +10% melee speed
- +10% damage (all types)
- +2% critical strike chance
- +1 HP/s life regeneration
- +4 defense
- +15% mining speed
- +50% minion knockback
Source:
Dropped by:
- Golem (12.5% chance – 1/8)
Note: Only works during daytime and has the same bonuses as the Moon Stone.
Moon Stone
Stats:
- +10% melee speed
- +10% damage (all types)
- +2% critical strike chance
- +1 HP/s life regeneration
- +4 defense
- +15% mining speed
- +50% minion knockback
Source:
Dropped by:
- Golem (2.86% chance – 1/35)
Note:
- Only works during nighttime and has the same bonuses as the Sun Stone
- In expert mode the drop chance will be 4.29% – 1/23
Celestial Stone
Stats:
- +10% melee speed
- +10% damage (all types)
- +2% critical strike chance
- +1 HP/s life regeneration
- +4 defense
- +15% mining speed
- +50% minion knockback
Source:
Crafting Station:
- Tinkerer’s Workshop
Ingredient(s):
- 1 Sun Stone
- 1 Moon Stone
Note: Works during day and night and has the same bonuses as the Sun/Moon Stone
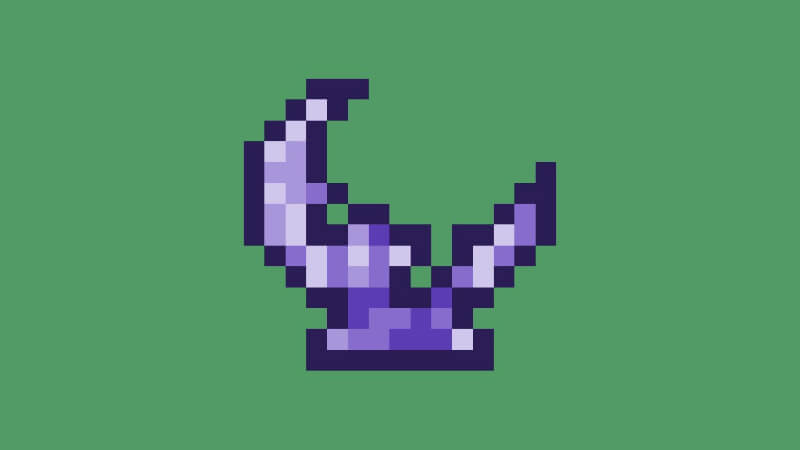
Moon Charm
During night, the Moon Charm gives you the Werewolf Buff, this buff will give you:
- +2% Melee critical hit chance
- +5.1% Melee damage
- +5.1% Melee speed
- +5% Movement speed
- +3 Defense
- +0.5 HP regeneration per second
Slightly increased jump height and jump speed
Also, your character will look like this:
Source:
Dropped by:
- Werewolf (1.67% chance – 1/60)
Note: When also wearing the Neptunes Shell, the Werewolf buff will not work when underwater
Moon Shell
This is the Neptune Shell and the Moon Charm combined, that means you will get these 2 buffs:
The Merfolk Buff gives you the opportunity to breath and swim underwater.
And also gives you the Werewolf Buff during night, this buff will give you the same as the Werewolf buff from the Moon Charm:
- +2% Melee critical hit chance
- +5.1% Melee damage
- +5.1% Melee speed
- +5% Movement speed
- +3 Defense
- +0.5 HP regeneration per second
Slightly increased jump height and jump speed
Also, your character will look like this:
Source:
Crafting Station:
- Tinkerer’s Workshop
Ingredient(s):
- 1 Moon Charm
- 1 Neptunes Shell
Note: When underwater at night, the Werewolf buff will not work, but you will be just a Merfolk
Celestial Shell
This is the Moon Shell and the Celestial Stone combined, it always gives you these bonuses (even when you’re a Werewolf or a Merfolk):
- +10% melee speed
- +10% damage
- +2% critical strike chance
- +1 HP/s life regeneration
- +4 defense
- +15% mining speed
- +50% minion knockback
And again, you will grant these 2 buffs:
The Merfolk Buff gives you the opportunity to breath and swim underwater.
And also gives you the Werewolf Buff during night, this buff will give you the same as the Werewolf buff from the Moon Charm:
- +2% Melee critical hit chance
- +5.1% Melee damage
- +5.1% Melee speed
- +5% Movement speed
- +3 Defense
- +0.5 HP regeneration per second
Slightly increased jump height and jump speed
Also, your character will look like this:
Source:
Crafting Station:
- Tinkerer’s Workshop
Ingredient(s):
- 1 Moon Shell
- 1 Celestial Stone
Note:
- When underwater at night, the Werewolf buff will not work, but you will be just a Merfolk
- Stacks with the Celestial/Moon/Sun Stone
Potions
There are dozens of potions that can help you, but I’m only gonna mention the ones which increase the stats of the yoyo.
Ale
Buff:
- Tipsy (+Melee damage, -Defense)
Duration:
- 2 minutes
Source:
Crafting Station:
- Keg
Ingredients:
- 1 Mug
Rage Potion
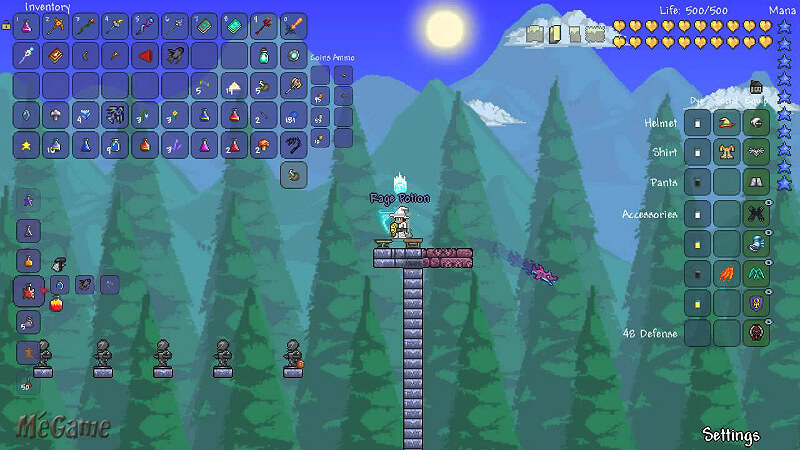
The Hemopiranha is caught in the Crimson biome so the only way you can obtain this potion in a Corrupted world is by creating a Crimson biome by yourself.
Buff:
- Rage (+10% critical strike chance)
Duration:
- 4 minutes
Source:
Crafting Station:
- Placed bottle/Alchemy Table
Ingredients:
- 1 Bottled Water
- 1 Hemopiranha
- 1 Deathweed
Titan Potion
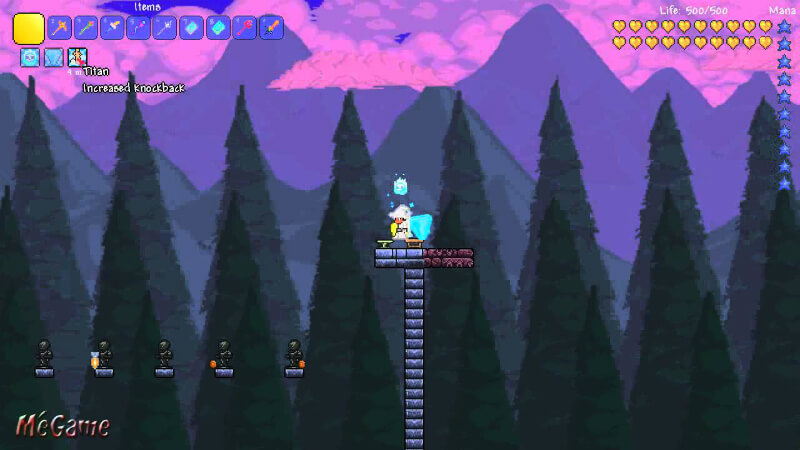
Buff:
- Titan (Increases knockback)
Duration:
- 4 minutes
Source:
Crafting Station:
- Placed bottle/Alchemy Table
Ingredients:
- 1 Bottled Water
- 1 Bone
- 1 Deathweed
- 1 Shiverthorn
Wrath Potion
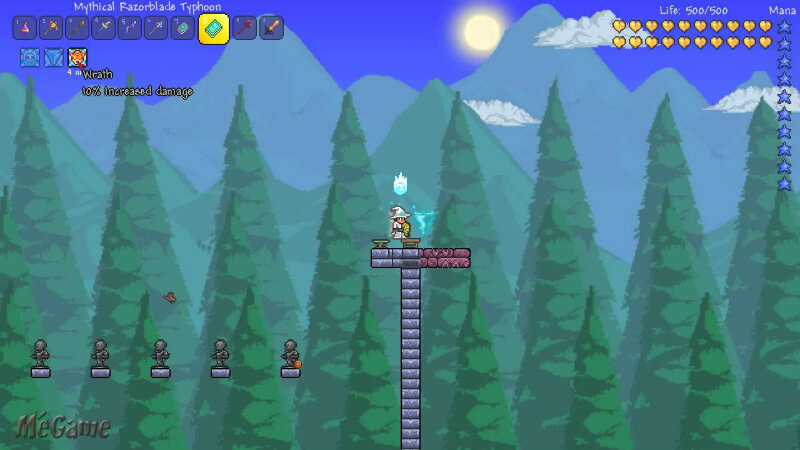
The Ebonkoi is caught in the Corrupted biome so the only way you can obtain this potion in a Crimson world is by creating a Corrupted biome by yourself.
Buff:
- Wrath (+10% Damage)
Duration:
- 4 minutes
Source:
Crafting Station:
- Placed bottle/Alchemy Table
Ingredients:
- 1 Bottled Water
- 1 Ebonkoi
- 1 Deathweed
Others
The flask potions won’t upgrade the yoyo stats but will help you by giving the enemies a debuff.
All the food which give you the “Well Fed” buff also give some minor improvements to all stats.
Achievements
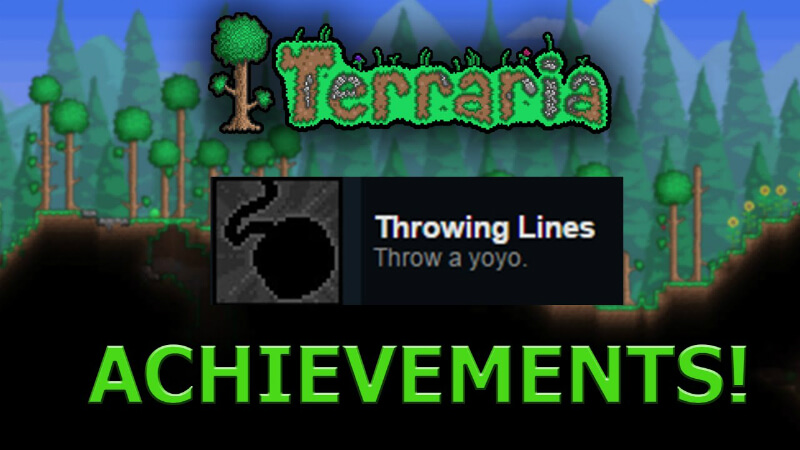
There are only 2 yoyo specific achievements:
Throwing lines
- Throw a Yoyo for the first time.
Sick Throw
- Obtain the Terrarian.
Original Link – Continuation of discussion

Add comment