Grow plants for food and water shortly after starting the game.
Food and water from plants, ASAP!
Farming is a thing in Subnautica. Two plants – Marblemelon and Bulbo Tree – have such high water content it’s almost like drinking while you eat. This makes it easy to satisfy both your food and water needs with plants alone; just keeping eating until your food and water are both full.
You do need some basic equipment and blueprints, as well as samples or seeds from the three best crops. This guide will help you find those, and get started in the quickest time. With some luck you can start farming as early as day 1!
Marblemelon is nutritious and grows fastest, so it’s the best plant for your first crop. Bulbo Tree is good eating and less work than melons, but it takes a far longer time to grow. A third food – Lantern Fruit – is far less nutritious but still has a niche: it practically grows itself so it’s great for snacking… or powering a remote base.
Spoilers ahead!
Since this is a quickest-time-to-farming guide, I’ll describe the minimum steps to start growing Marblemelons in a new survival game. It describes locations and basic game mechanics, in other words: SPOILERS. If you prefer to discover these for yourself, don’t use this guide.
Gear up
The seeds and blueprints you need to start farming are on an island, and you’ll need to gear up for the trip. Nothing fancy, just the basics:
- Tank – basic swim gear
- Fins – basic swim gear
- Knife – fend off Cave Crawlers, take plant samples and seeds
- Scanner – scan for blueprints
- Flare (or Flashlight or Seaglide headlight) – to see on the island at night. No need to craft a flare; there are a couple in your lifepod’s locker.
- Habitat Builder – build mini base and planters to start farming
A Compass is helpful, but optional since I give directions based on landmarks below. If you prefer, you can postpone making the Habitat Builder until after you return from the island.
Swim to Floater Island
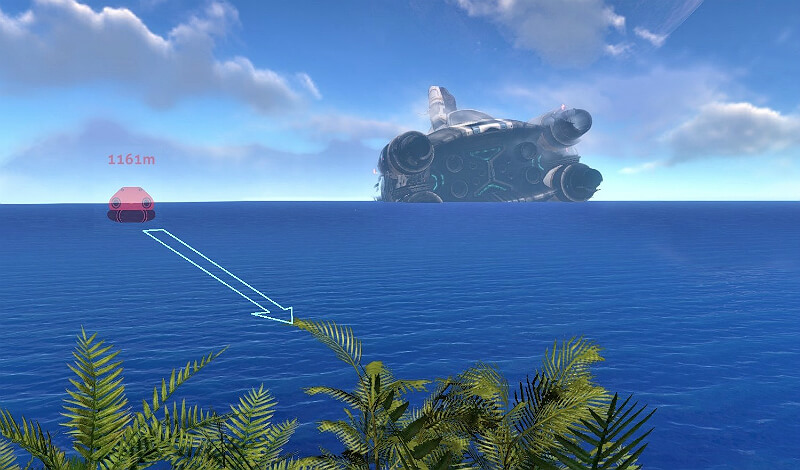
Yep. swim. You need to visit Floater Island, about 1000 meters SSW (south – southwest) of your life pod. A sub is nice for a trip this long but it’s really not necessary.
Before you leave, top off your food and water from the local fish. Then raid the locker aboard the life pod for extra water and food in case you get hungry or thirsty during your trip.
Floater Island is directly behind the Aurora, but at quite a distance. You can swim there without being attacked, day or night, provided you follow three simple rules:
- Swim on top of the water
- Don’t go close to the Aurora’s engines — that’s Reaper territory
- Don’t pause in kelp areas, especially at night when Stalkers are most aggressive
The Cloud: There’s a “cloud” or “fog bank” that obscures the view of the island, and you might read advice to ‘aim for the cloud’. But new players often can’t identify the correct cloud. It’s pretty similar to every other cloud, and your ability to spot the difference might depend on your graphics settings. If you can spot it, great — swim for that. But I’ll also describe how to get there using other landmarks.
Aim yourself toward a spot several hundred meters behind the Aurora and swim on the surface. (If you have a compass, head SSW.) Time your swim. After 2 or 3 minutes you should see the island. If you look behind you, your life pod should be about 1000 meters away.
If you still haven’t seen the island, adjust your position relative to the Aurora. Maintain your distance but move so you are directly behind it. This should bring the island into view.
Swim to the island, go ashore and cross to the far side of the island, away from the Aurora.
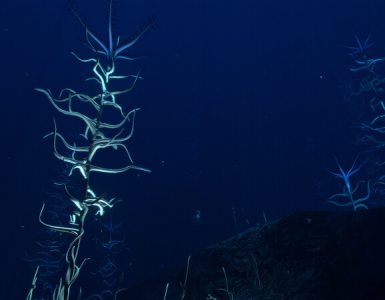
Plants and blueprints
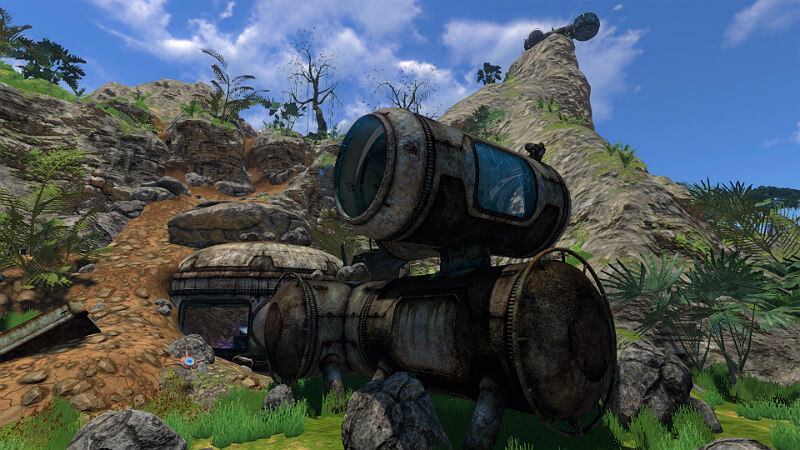
There are three sites you need to visit on Floater Island: the main abandoned base and two mountaintop observatories. Each site contains technology you’ll want to scan for blueprints, as well as plants and PDAs with story elements.
Main base
The abandoned Degasi base is on the side of the island facing away from the Aurora, just above sea level. You’ll probably encounter some annoying cave crawlers as you cross the island, and some more at the base itself. I usually just run past the ones on the path and kill the ones at the base with my knife.
There is a grove of Lantern Fruit trees nearby so eat some fruit to refill your food and water meters. You can gather seeds from flowers and other decorative plants by slicing them with your knife. It’s also time to start gathering foods to plant, and blueprints. I’ve highlighted the items you’ll need to grow food, but it’s all super useful.
Grab fruits from these plants to start your crops:
- Marblemelon
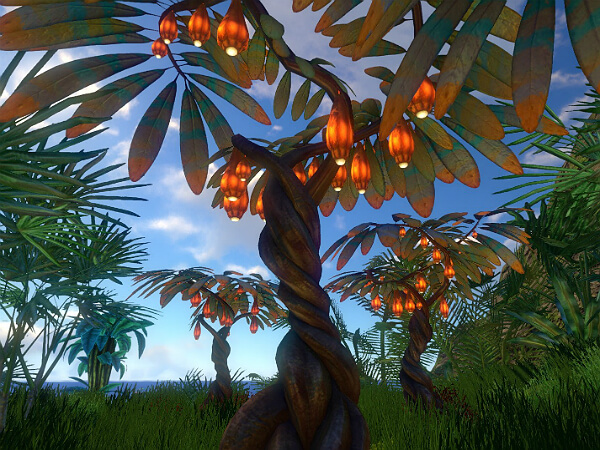
- Lantern Fruit
There are a few Bulbo Trees nearby too; slice a sample from one with your knife.
Scan the follow items for blueprints:
- Exterior growbed
- Multipurpose room
- Stasis rifle
- Bulkhead
- Spotlight
- Living Wall
- Desk
Grab the PDAs; there are three at this base.
Eastern observatory
Next, go up hill and turn right to visit the mountaintop observatory in that direction. The blueprints here are:
- Composite Plant Pot
- Observatory
- Chair
There’s a PDA here as well as Desk, Bulkhead, and Spotlight to scan for blueprints if you missed them earlier.
Western observatory
Cross the island to the other mountaintop observatory. The blueprints here are:
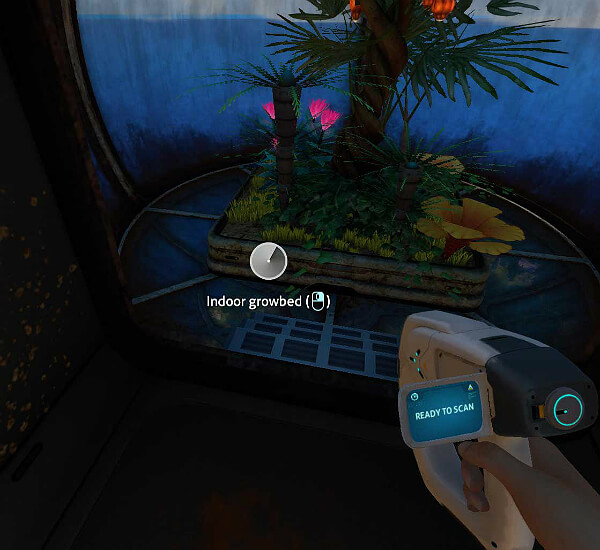
- Interior growbed
- Stasis rifle
There’s a PDA here as well as Observatory, Bulkhead, and Spotlight if you missed them earlier.
Your first crop in Safe Shallows: Marblemelons
Head down the mountain toward the life pod and swim back. Next step: build a mini base to grow some marblemelons.
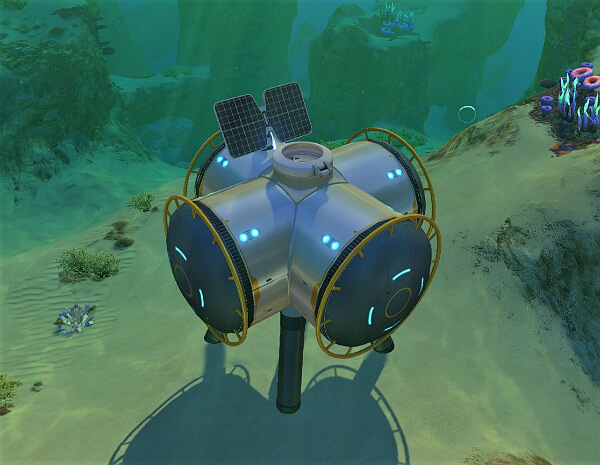
This is a temporary tiny base — just somewhere to grow food and store materials in the short term. I like to build an X corridor with a hatch in the top for maximum space for planters and storage lockers. The plants will grow without power, but you can add a solar panel if you’d like air to breathe when you’re inside.
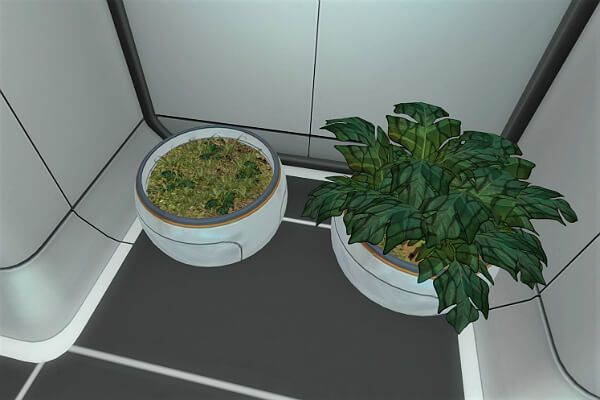
Inside your base build two small pots, then plant your Marblemelons:
- Plant one of the melons you brought back from island in a pot
- Get out your knife and slice it! Four melon seeds will drop into your inventory
- Plant the four seeds in the small pot
After about 7 minutes, you’ll have a pot with 4 ready-to-eat melons in it. Harvest three melons to eat and cut up the fourth melon to make seeds for replanting.
As soon as you pick a melon, it starts to decay and lose its nutrition. Marblemelons are still good to eat for about 20 minutes after picking. It’s OK to store marblemelons. In fact, it’s one of the reasons marblemelons are such a good food source. A melon that has decayed too much to eat safely can be replanted and then harvested immediately to restore its freshly-picked goodness.
Option Two: Bulbo Trees
You can slice samples from a Bulbo tree with a knife and eat them. After 9 slices the tree vanishes and drops two samples. You can eat one sample and use the other to replant the tree.
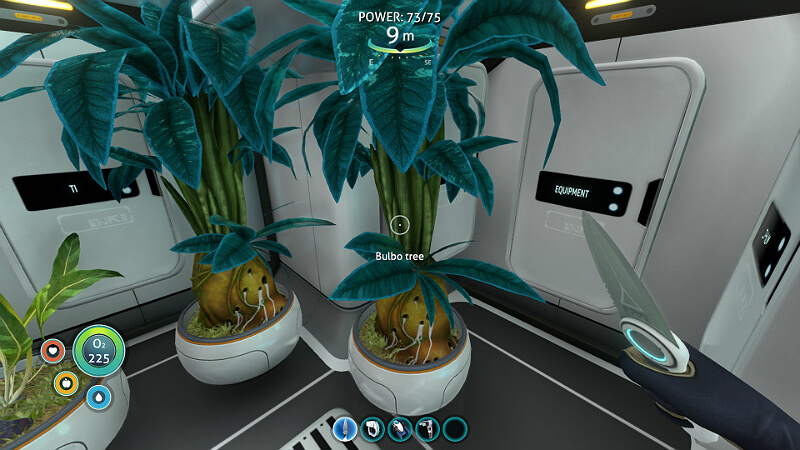
The biggest downside to Bulbo trees is the long delay between planting and harvest. It takes 25 minutes to grow a Bulbo tree, compared to just 7 minutes for Marblemelons. Also, you can’t tell how much food is left just by looking at the tree. I don’t keep track so I never know when the tree will poof. Instead I grow several trees to avoid running out of food.
Unlike Marblemelons, there’s no trick to store Bulbo tree samples to eat later.
What about Lantern Fruit?
When farming was first introduced, Lantern Fruit was the go-to food because it is super convenient to grow and – at the time – was quite nutritious. The nutrition has since been cut to about 20% of a marblemelon.
But the convenience is still there. A single tree holds 20 fruits that regrow rapidly when picked, making Lantern Fruit a carefree option for casual grazing. It’s also great to feed a bioreactor in a remote base.
Exploring in style
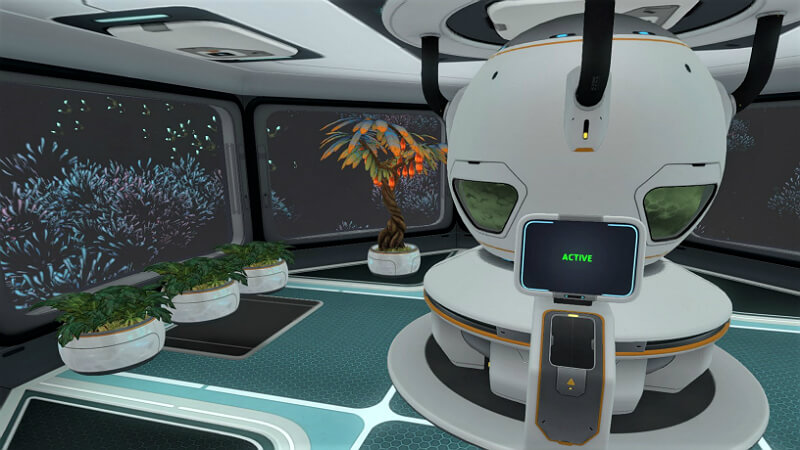
Plants on planet 4546B don’t need power or sunlight to grow, so you can create tiny unpowered bases in areas you like to explore to have a ready supply of food and water whenever you happen to visit. (Add power if you want air and lights too.)
You can even build a plant-powered remote base using a multipurpose room and a bioreactor. Add some Marblemelons for food and water, and a Lantern Fruit tree to power the reactor. No need worry about the power between visits: just pop a few fruit into the reactor when you arrive.
Note, Marblemelons and Bulbo Tree samples produce twice as much bioreactor power as Lantern Fruit. On the other hand, fruit from a single Lantern tree provides the same power as 10 Marblemelons with rapid regrowth and no replanting hassle. I find Lantern Fruit still provides more than enough power for my own remote bases, but if it isn’t keeping up with your power needs try Marblemelons or Bulbo Tree samples instead.
Later in the game, players often use a Cyclops submarine as a mobile base. A few plants means you’ll have food and water with you wherever you travel.
Original Link – Continuation of discussion


Add comment